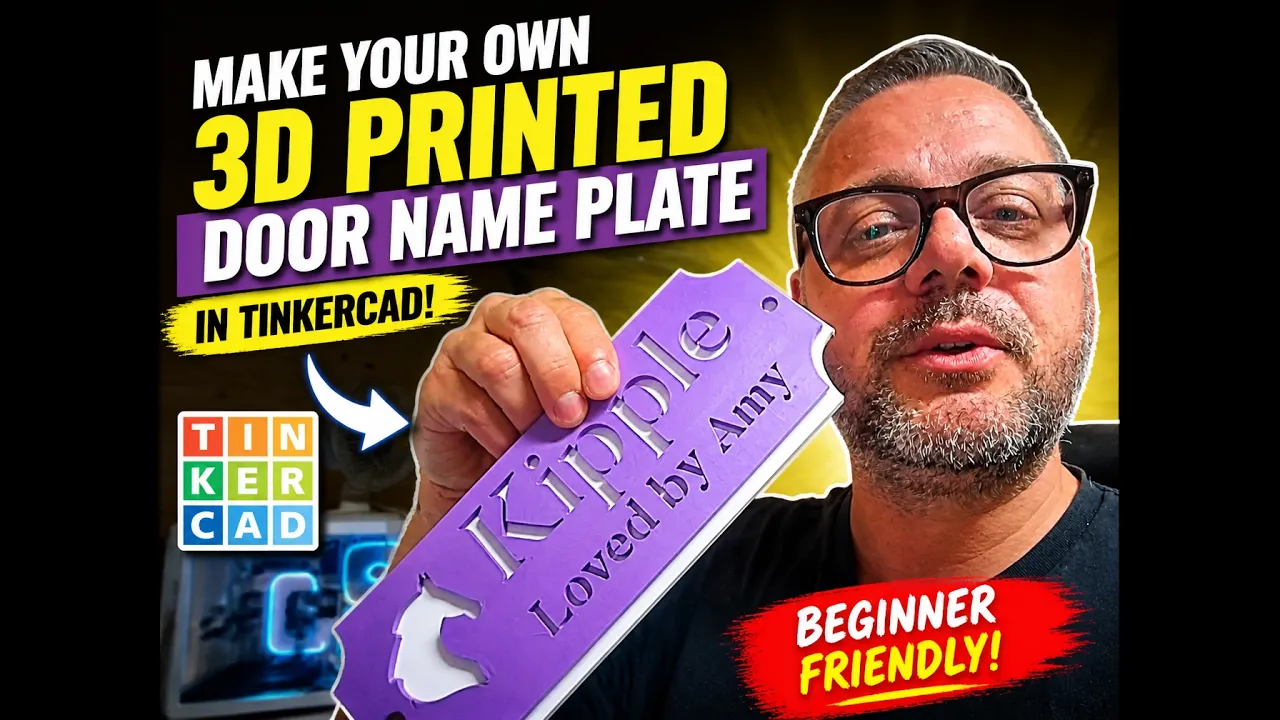
How to 3D Print a Personalised Door Nameplate (Free STL + Tinkercad Tutorial)
A beginner-friendly two-piece design you can customise, print, and mount in an afternoon.
There’s something satisfying about putting your name on your front door and knowing you made it yourself.
This tutorial walks you through exactly how to design and print a personalised door nameplate using Tinkercad — a free, browser-based design tool that needs zero prior experience. No CAD background. No engineering degree. Just a browser and a bit of time.
The finished plaque is a two-piece design: a shaped back plate with mounting holes, and a front plate with your name raised on it. You print them in different colours, stack them together, and the result looks like something you’d find in a gift shop.
[Download the free STL files here]
What You’ll Need
- A 3D printer (this tutorial uses a Bambu Lab A1, but any FDM printer works)
- Two colours of PLA filament — one for the base, one for the text plate
- A free Tinkercad account at tinkercad.com
- Two small screws or adhesive strips to mount it
- About 30–40 minutes to design, 2–3 hours to print
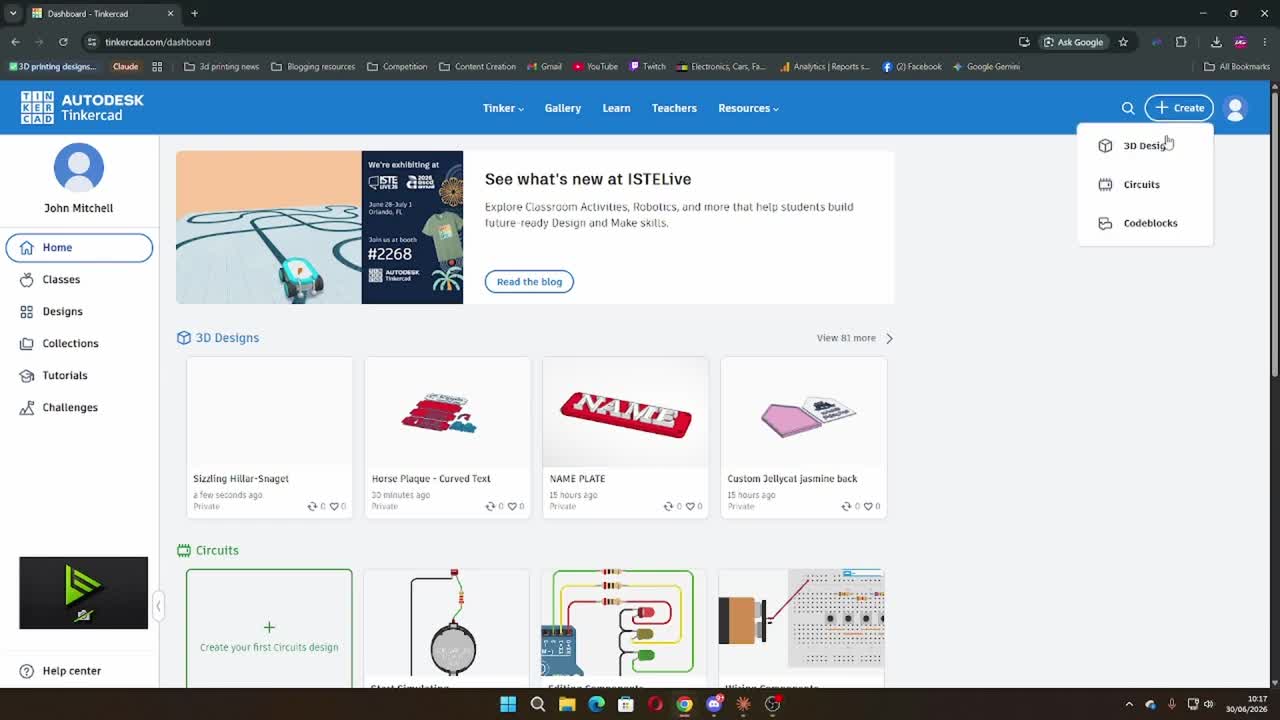
Step 1: Open Tinkercad and Start a New Design
Go to tinkercad.com and sign in. On your dashboard, click the Create button in the top right, then select 3D Design from the dropdown.
You’ll land on a blank workplane — a flat grid where everything happens. Don’t be put off by it. You’re only working with a few basic shapes here.
Step 2: Create the Base Plate
On the right-hand panel you’ll see a list of basic shapes. Click and drag a Box onto the workplane.
Click on the box to select it and set the dimensions in the inspector panel that appears. Aim for something like:
- Length: 180–200mm (adjust depending on your name length)
- Width: 50–60mm
- Height: 6–8mm
This is your base plate. Pick a colour you like — the colour you choose in Tinkercad is just for visualising, not the actual print colour, but it helps to keep track of which piece is which.

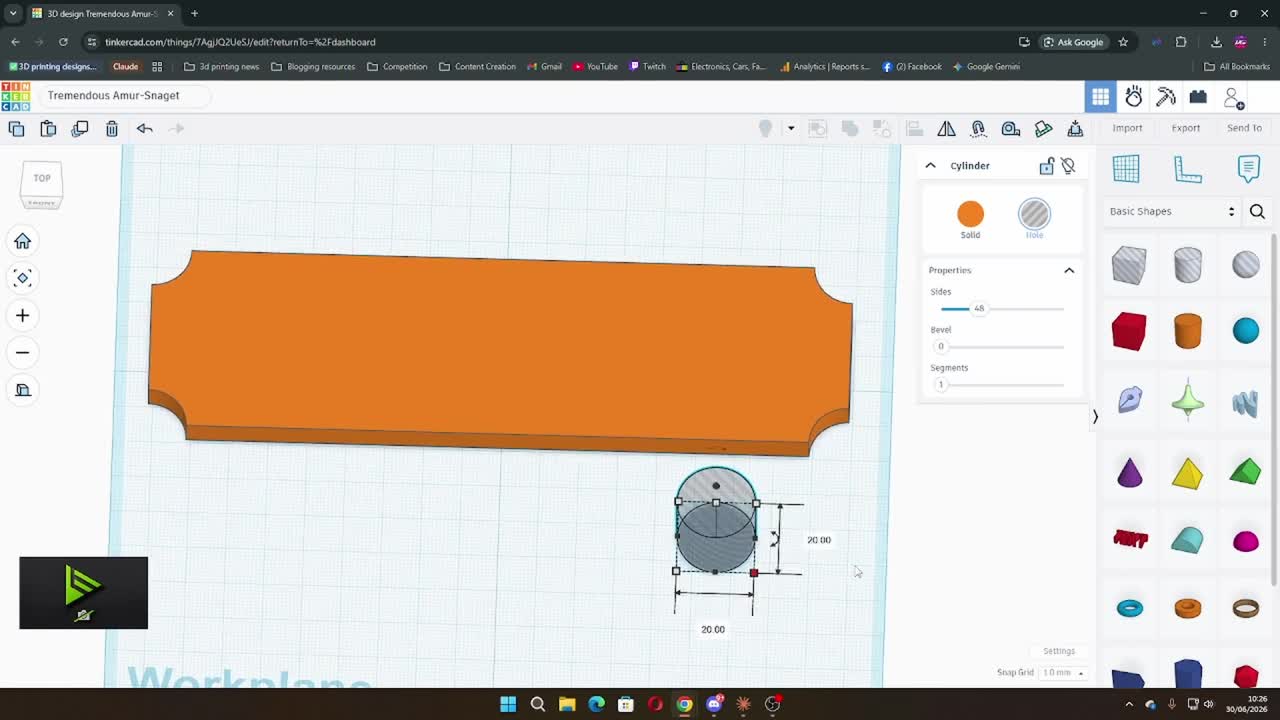
Step 3: Add the Decorative Corner Scallops
This is what gives the plaque its classic sign shape rather than just a plain rectangle. You’re going to use cylinders set as holes to cut a curved notch out of each corner.
Search for Cylinder in the shapes panel and drag one onto the workplane. Set it to:
- Diameter: 20mm
- Height: 10mm (taller than the base so it cuts all the way through)
In the inspector, click Hole — this turns the cylinder from a solid shape into a cutter.
Position it so it overlaps one corner of the base plate, with roughly half the cylinder hanging off the corner. Copy and paste it three more times, then position one at each corner.
Select all four cylinder holes and the base plate together, then click Group. Tinkercad cuts the corners away and you’re left with a neat scalloped plaque shape.
Step 4: Add the Mounting Holes
You need two holes to screw the plaque to the wall. Add two more small cylinders — set these to Hole as well — and place one near each short end of the plaque, roughly centred top to bottom.
A diameter of 5–6mm works for most wall screws.
Group everything again. The cylinders punch clean circular holes through the plate.

Your back plate is done. This is piece one.
Step 5: Create the Text Plate
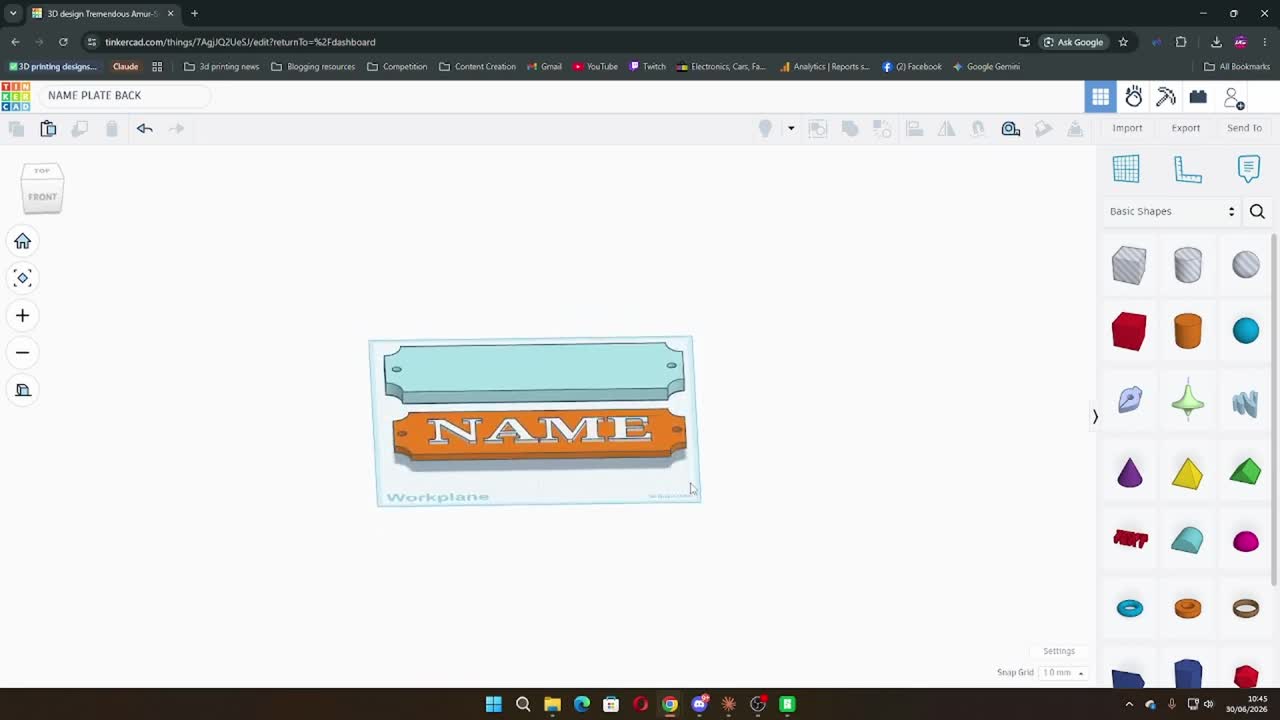
Now for the piece that goes on top. This is a simpler shape — a flat plate the same size as your back plate, but with your name raised on the surface.
Start a new design in Tinkercad (or open a second tab) and create another box matching the same length and width as your back plate. Set the height to 4–5mm.
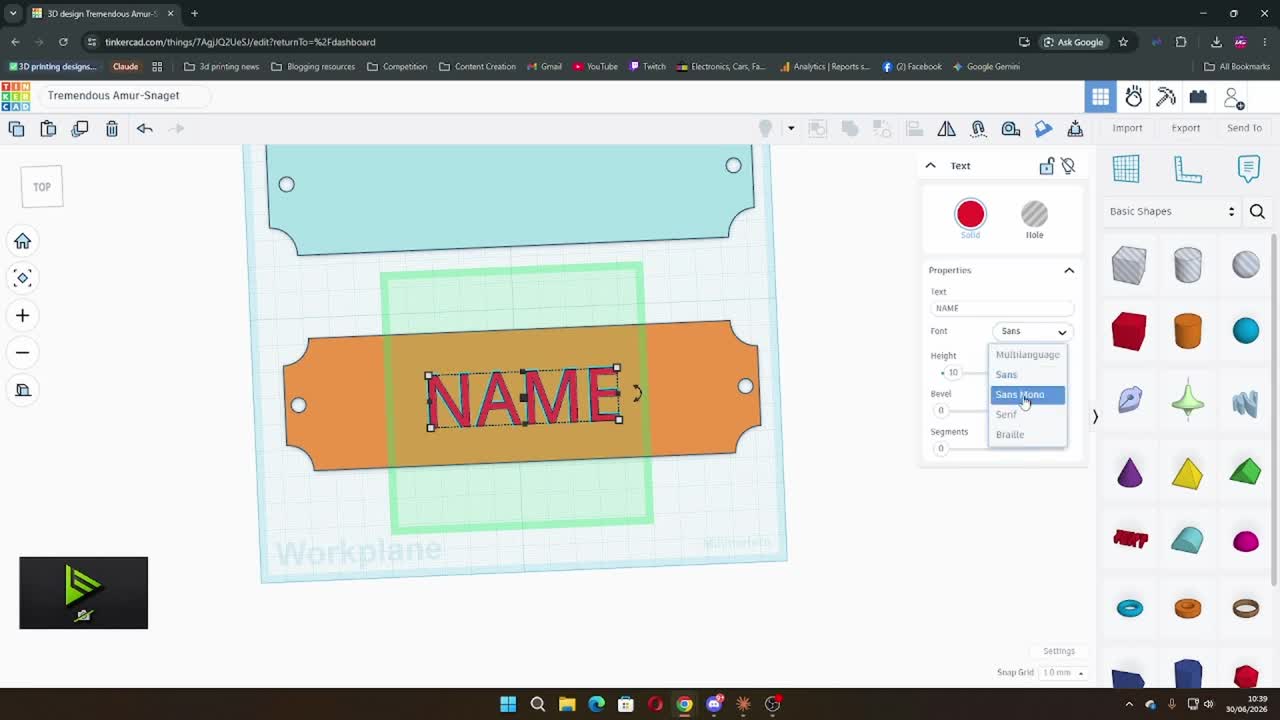
Then search for Text in the shapes panel and drag it onto the workplane. In the inspector:
- Type your name in the Text field
- Choose a Font — Serif gives a classic nameplate look, Sans gives something cleaner and more modern
- Set the Height to around 10–12mm
- Set the Depth to 4mm so the letters stand proud of the surface
Drag the text so it sits centred on your plate. Select both the text and the plate, then use the Align tool to centre them precisely.
Scale and reposition the text until it fills the plate comfortably with a small margin on each side. You can see the live dimensions as you drag.

When you’re happy, group the text and the plate together. This locks everything in place and merges the raised text into the surface.
Step 6: Export Both Pieces as STL Files
Export each piece separately.
For each design, click the Export button in the top right of Tinkercad and choose .STL. You’ll end up with two files — one for the back plate, one for the text plate.
Name them clearly so you know which is which when you open your slicer. Something like nameplate-back.stl and nameplate-front.stl works fine.
Step 7: Slice and Print
Open both STL files in your slicer. If you’re using Bambu Studio, drag both files in and assign them to separate plates or use the multi-colour setup if your printer supports it.
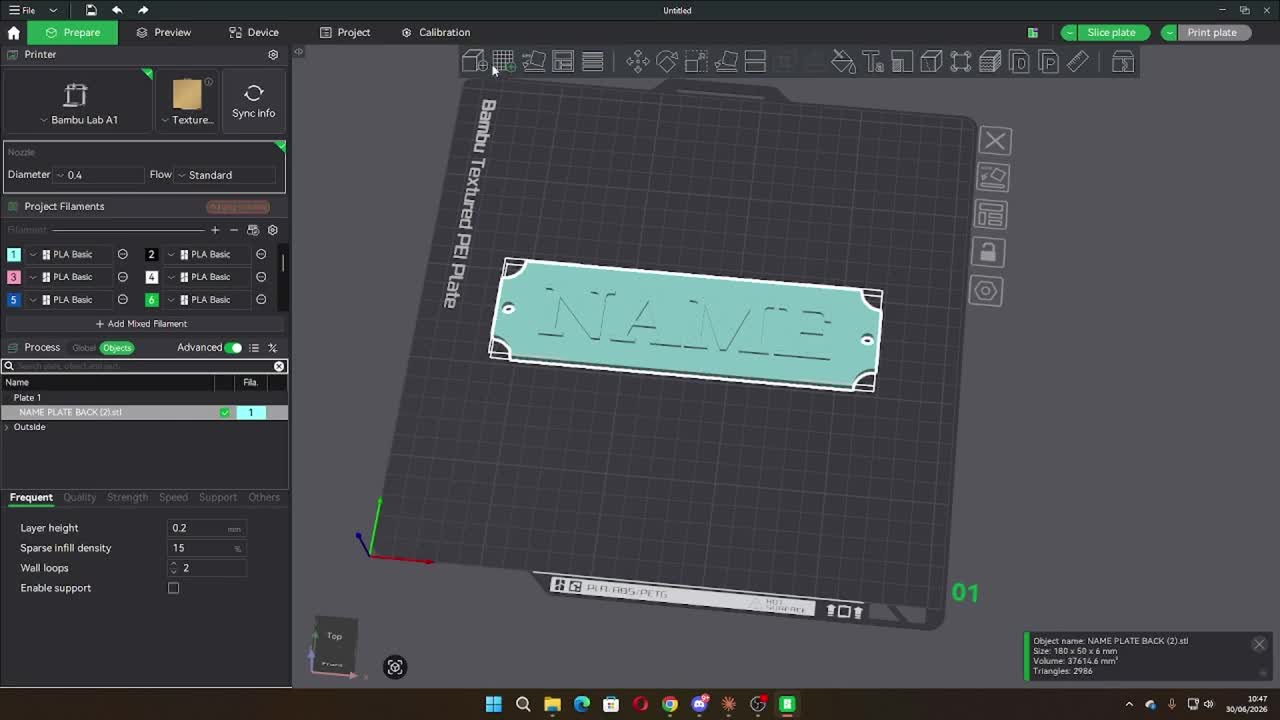
Recommended settings:
- Layer height: 0.2mm
- Infill: 15% — it’s decorative, it doesn’t need to be solid
- Wall loops: 2
- Supports: off — neither piece needs them
- Orientation: flat side down, face up
Print the back plate in your base colour and the text plate in a contrasting colour. Print time is roughly 1.5–2.5 hours depending on your printer and name length.
Step 8: Assemble and Mount
Once both pieces have finished printing, press the text plate onto the back plate. A few dots of super glue around the edges keeps it in place permanently.
Use two small screws through the mounting holes to fix it to the wall, or use heavy-duty adhesive strips if you’d rather not drill.
That’s it. Your name is on the door.
Ideas to Take It Further
- Try different fonts — the Serif font in Tinkercad gives a very traditional plaque look. Sans is clean and modern. Try both and see which suits your home.
- House name instead of family name — “The Old Barn,” “No. 12,” or even a combination of both work just as well.
- Outdoor use — swap PLA for PETG or ASA if it’s going somewhere exposed to rain or direct sun.
- Paint it — print in white PLA and hand paint it for a rustic or vintage look.
Free STL Download
Don’t want to design it yourself? The blank template is ready to go — just open it in Tinkercad, add your text, and print.
[Download the free door nameplate STL ]
If you make one, I’d love to see how it turns out. Drop a photo in the comments or share it in the community — seeing what people do with these tutorials is genuinely the best part of running this site.
What name is going on yours?
This page contains affiliate links and I earn a commission if you make a purchase through one of the links, at no cost to you. As an Amazon Associate I earn from qualifying purchases.