Top 10 Mistakes I Made as a 3D Printing Beginner (So You Don’t Have To)
When I purchased my first 3D printer, I was beyond excited. I imagined churning out flawless figurines, phone stands, and household gadgets without breaking a sweat. The reality? I made a ton of mistakes. From bed leveling disasters to messy filament tangles, these errors cost me time, money, and quite a few gray hairs.
In this article, I want to share the biggest blunders I encountered a 3d printing beginner, so you can skip the frustration and jump straight to successful prints. Here are the top 10 mistakes I made—and how you can avoid them.
1. Neglecting Proper Bed Leveling
What Happened:
I vividly remember the first time I tried to print a simple calibration cube. The filament wouldn’t stick to the build plate at all. Instead of a neat layer, it looked like the extruder was just dragging hot noodles around. The culprit? My bed was drastically uneven.
How to Avoid:
Before printing anything major, I learned to thoroughly check my bed’s level using the “paper test”: I slid a piece of printer paper between the nozzle and the bed at each corner. If there was too much resistance or it’s too loose, I adjusted the leveling knobs. Some machines even come with auto-leveling sensors—though I still keep an eye on the bed just in case.
“Ever since I started re-leveling the bed regularly, I stopped making ‘spaghetti prints.’ Now my first layers almost always lay down perfectly.”

2. Overlooking the First Layer
What Happened:
For me, the first layer was just something the printer slapped down before the real show started. This mindset led to many half-finished or completely failed prints because the foundation was weak. I realized that if the first layer isn’t dialed in—perfect height, speed, and temperature—the entire print might fail.
How to Avoid:
I discovered slowing down the first layer speed to around 20-30 mm/s can do wonders for adhesion. I also set my bed temperature carefully based on the filament type (usually around 60°C for PLA, 100°C for ABS) and make sure the nozzle height is neither too high nor too low.
“Now I treat the first layer like a VIP. Once that’s sorted, I can walk away confidently, knowing the rest of the print has a stable base.”
3. Using the Wrong Filament Settings
What Happened:
I thought all filaments were created equal—just slap in some PLA, ABS, or PETG, and let the machine do its thing. Wrong! My prints were constantly warping, stringing, or failing mid-print. I realized each filament has specific temperature, speed, and cooling needs.
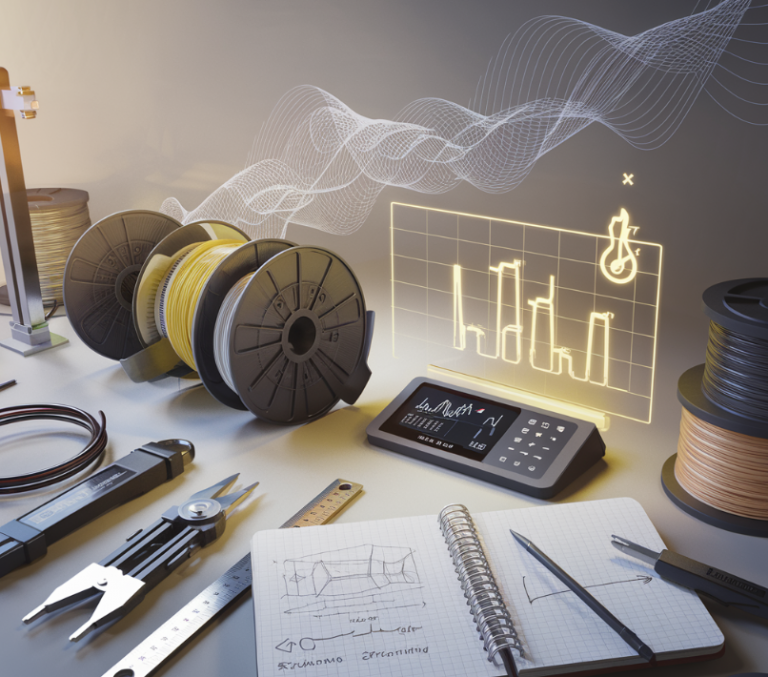
Here’s some lessons on what I learnt about filament for 3d printers.
How to Avoid:
Whenever I crack open a fresh spool, I check the manufacturer’s recommended temperatures. If I’m trying something new, like TPU (flexible filament), I do a few small test prints first to dial in the best speed, retraction settings, and cooling fans.
“It took me a while to realize the default slicer profile wasn’t a one-size-fits-all solution. Adjusting for each filament type changed everything.”

4. Skipping Essential Calibration
What Happened:
My phone stand was too tight for my phone. My replacement handle for a kitchen cabinet didn’t fit. Everything was off by a few millimeters because I hadn’t calibrated my printer’s steps, belts, or flow rate.
How to Avoid:
I started printing calibration cubes, measuring them with digital calipers, and tweaking my E-steps until the dimensions were near perfect. I also check belt tension and alignment. A routine calibration might feel tedious, but it’s essential for accurate parts.
“After I properly dialed in my machine, I finally made a phone stand that actually fit my phone—small victory, big relief.”
5. Failing to Perform Routine Maintenance
What Happened:
I used to run my printer non-stop without thinking about nozzle clogs, bed wear, or filament buildup in the extruder gears. One day, a huge blob of filament formed around the hotend. It took hours to clean, and it could’ve been prevented with simple checks.
How to Avoid:
Now, I schedule a quick inspection every few prints: I look for any loose screws, clean the nozzle with a small wire brush, and ensure fans are spinning freely. Every month or so, I lubricate rods or lead screws according to the printer’s guidelines.
“Catching small issues early saves me from the dreaded mid-print meltdown, where everything goes wrong at once.”
6. Storing Filament Improperly
What Happened:
I kept some PLA in the open for months, even though my workshop is slightly humid. When I finally tried printing something, the filament popped and crackled like a campfire. Over time, moisture had been seeping in, ruining the material’s integrity.
How to Avoid:
I use resealable bags or sealed containers with silica gel packs to keep filament dry. If I suspect my filament is wet, I dry it in a filament dryer or even a low-temperature oven for a few hours.
“The difference in print quality between wet and properly dried filament is night and day—it’s absolutely worth the extra step.”

7. Ignoring Slicer Settings
What Happened:
I stuck to the default slicer profiles without experimentation, and my prints lacked consistency. Sometimes they had messy overhangs or took way longer to finish than necessary.
How to Avoid:
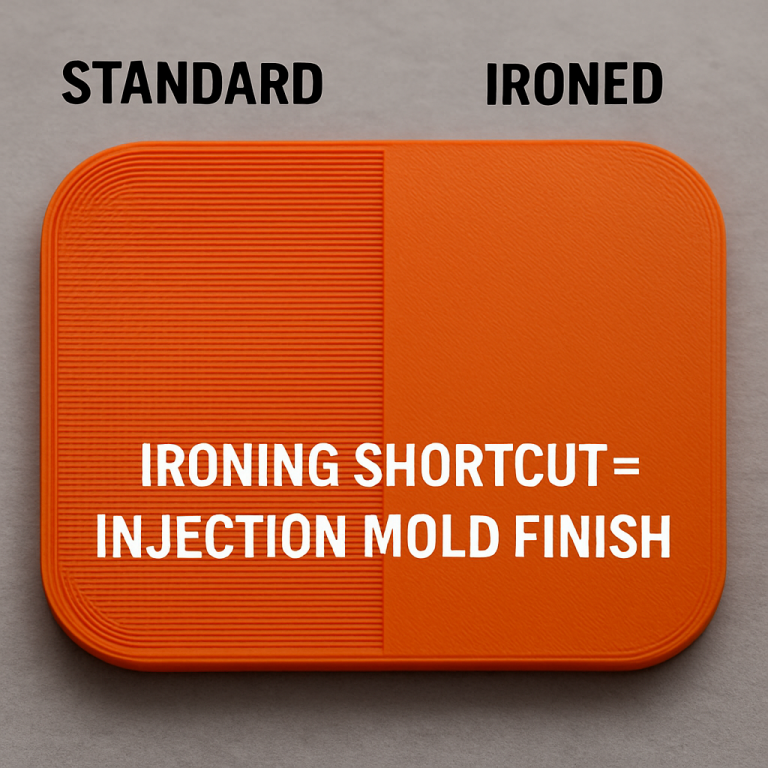
I started playing with layer height, infill density, support settings, and even more advanced features like coasting or ironing. Each time, I’d run a small test print to see if it improved quality or speed.
“Tweaking the slicer gave me much more control—and it made me appreciate that 3D printing isn’t just hardware. The software side is equally critical.”
8. Tackling Complex Prints Too Soon
What Happened:
I downloaded a massive, intricate figurine that needed 12 hours to print. As a beginner, I skipped test prints and went straight to the big challenge. Halfway through, the print failed spectacularly—stringing, layer shifts, and a gnarly blob of molten plastic.
How to Avoid:
Once I realized my impatience was costing me spools of filament, I switched to a more gradual approach. I practiced on smaller models, learning how to handle supports or bridging, and eventually returned to big prints with more confidence.
“It can be tempting to jump straight to that dream project, but mastering simpler prints first saved me time, money, and sanity.”

9. Missing the Correct Bed & Nozzle Temperatures
What Happened:
My ABS prints were warping at the corners, and I later found out my heated bed wasn’t reaching the true temperature displayed on screen. Another time, my nozzle was 10°C cooler than it claimed to be.
How to Avoid:
I bought a surface thermometer and a cheap digital infrared thermometer to verify bed and nozzle temps. If your printer’s thermistor is inaccurate, calibrate or replace it. Understanding exact temperatures helps with bed adhesion and overall print quality.
“Just because the display says 60°C doesn’t mean it’s actually 60°C. A quick temperature check can save a day’s worth of wasted prints.”
10. Not Researching (Or Learning from Others) Early On
What Happened:
I assumed I could figure everything out by trial and error. I didn’t watch enough tutorials or read forums. This meant I repeated the same mistakes others had already solved. I didn’t know my build plate from my bed, my hot end from my extruder!
How to Avoid:
Now, I join 3D printing communities online, read articles, watch YouTube guides, and ask questions when I’m stuck. Others’ experiences often provide solutions I never would’ve considered.
“The 3D printing community is generous with knowledge—don’t be shy about tapping into it. It shortens your learning curve dramatically.”
Conclusion
I still make new mistakes from time to time, but they’re far fewer—and at least now I know how to troubleshoot without panicking. By avoiding these ten pitfalls, you’ll cut down on wasted filament, reduce frustration, and boost your success rate in no time.
Next Steps
- Try a quick calibration cube to check your printer’s accuracy.
- Experiment with different slicer settings on a small, easy print.
- Join a local or online 3D printing group for real-time tips and feedback.
Remember, 3D printing is part science and part art—embrace the learning process and celebrate each successful print. After all, the journey from plastic filament to functional object is what makes this hobby so addictive—and rewarding.
I hope this guide helps you avoid the messiest, most time-consuming lessons I had to learn the hard way. If there’s one thing I’ve discovered, it’s that every print teaches me something new—and I wouldn’t have it any other way.
This page contains affiliate links and I earn a commission if you make a purchase through one of the links, at no cost to you. As an Amazon Associate I earn from qualifying purchases.


