How to Fix Stringing on 3D Prints (Beginner-Friendly Guide)
If you have ever finished a 3d print only to find thin hairs or fuzzy strands all over your model, you have run into one of the most common issues in 3D printing: stringing.
Stringing, sometimes called oozing or 3D printing whiskers, happens when melted filament leaks out of the nozzle while it is moving. Instead of staying inside the nozzle, that extra plastic drags across your print and leaves those annoying little hairs. The good news is that it is easy to fix once you know what is causing it.
In this guide, I will explain why stringing happens in 3D prints and show you step by step how to stop it.
What Causes Stringing in 3D Printing?
Stringing occurs when the nozzle lets out small amounts of filament during travel moves. The filament drags across your print and creates strands that look like spiderwebs.
Here are the most common reasons you might see stringing on your 3D prints:
- Retraction settings are not tuned correctly
- Printing temperature is too high
- Travel paths go across the outer walls of your print
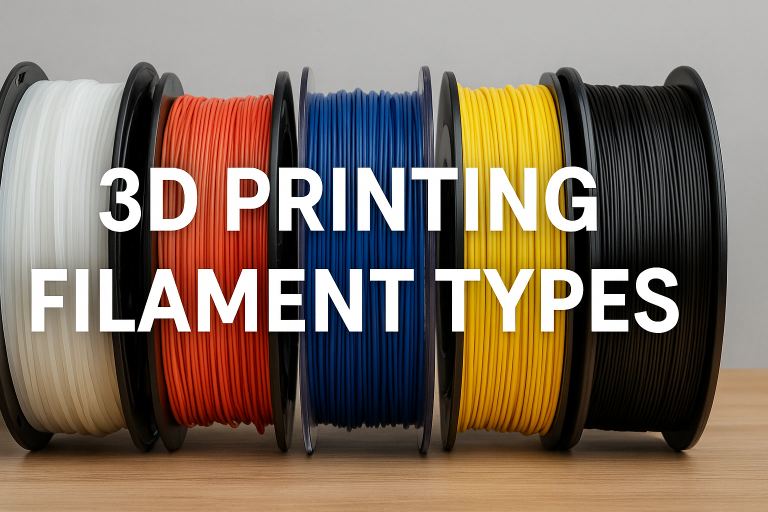
- Filament has absorbed moisture
How to Fix Stringing on 3D Prints
Here is a simple step-by-step approach to fix stringing. Most of the time, adjusting retraction and temperature is enough to solve the problem.
1. Optimize Retraction Settings
Increase the retraction distance by 1 to 2 mm.
Increase the retraction speed by 5 to 10 mm/s.
These adjustments tell your printer to pull filament back into the nozzle before moving so less filament leaks out.
2. Lower Your Print Temperature
Reduce your nozzle temperature by 5 to 10 °C.
Cooler filament is less runny and less likely to ooze.
Make sure not to go too low or you may run into under-extrusion.
3. Adjust Travel Settings
In Cura, enable Combing and set it to “Within Infill.”
In PrusaSlicer, enable Avoid Crossing Perimeters.
These settings keep travel moves inside the print so any oozing does not touch your outer walls.
4. Use Wipe and Coasting if Available
Wipe tells the nozzle to clean itself before traveling.
Coasting stops extrusion slightly early to avoid blobs.
Not every slicer has these options, but they are useful if yours does.
5. Dry Your Filament
Moist filament is a hidden cause of stringing. Signs of wet filament include popping noises, steam, or uneven extrusion.
Use a filament dryer if you own one.
Alternatively, place your spool in a 50 °C oven for a few hours to dry it out.
Quick Cleanup Tip
Even with the best slicer settings, a little stringing can still happen. Using some handy 3d printers tools like a hobby knife, some fine sandpaper, or a gentle pass with a heat gun will remove stray hairs in seconds.
Stringing can be frustrating, but it is usually easy to fix. Start by adjusting your retraction settings, then lower your print temperature, and finally check that your filament is dry. With these steps you will hopefully solve most stringing issues.
✅ Looking for more 3D printing tips? Check out some more guides here.
This page contains affiliate links and I earn a commission if you make a purchase through one of the links, at no cost to you. As an Amazon Associate I earn from qualifying purchases.