How to Make 3D Printed Parts Fit Perfectly—Every Time
One of the most frustrating problems in 3D printing? Getting two parts—like a lid and a base—to fit together perfectly, every single time.
You might design the perfect fit, print it once, and everything works beautifully… but then you print the exact same file in a different color or material, and suddenly it doesn’t fit. What gives?
Welcome to the world of tolerances in 3D printing—where color, material, printer, and even infill settings can throw off your dimensions just enough to cause a part to fail.
Let’s dive into exactly how to design your parts so they’ll fit every time, no matter the printer, material, or settings used.
Why Fit Fails: The Problem with Tolerances
Even the tiniest changes in settings can affect the fit of your printed parts. Here’s what can cause discrepancies:
- Color: Different pigments shrink differently.
- Material: PLA, PETG, ASA, etc. all behave uniquely.
- Infill & Resolution: Both affect shrinkage and precision.
- Machine & Nozzle Size: Variations across printers impact results.
So relying on print settings for consistency? Not reliable. Instead, you need to design for fit tolerance intentionally.
Step 1: Avoid Sharp Corners
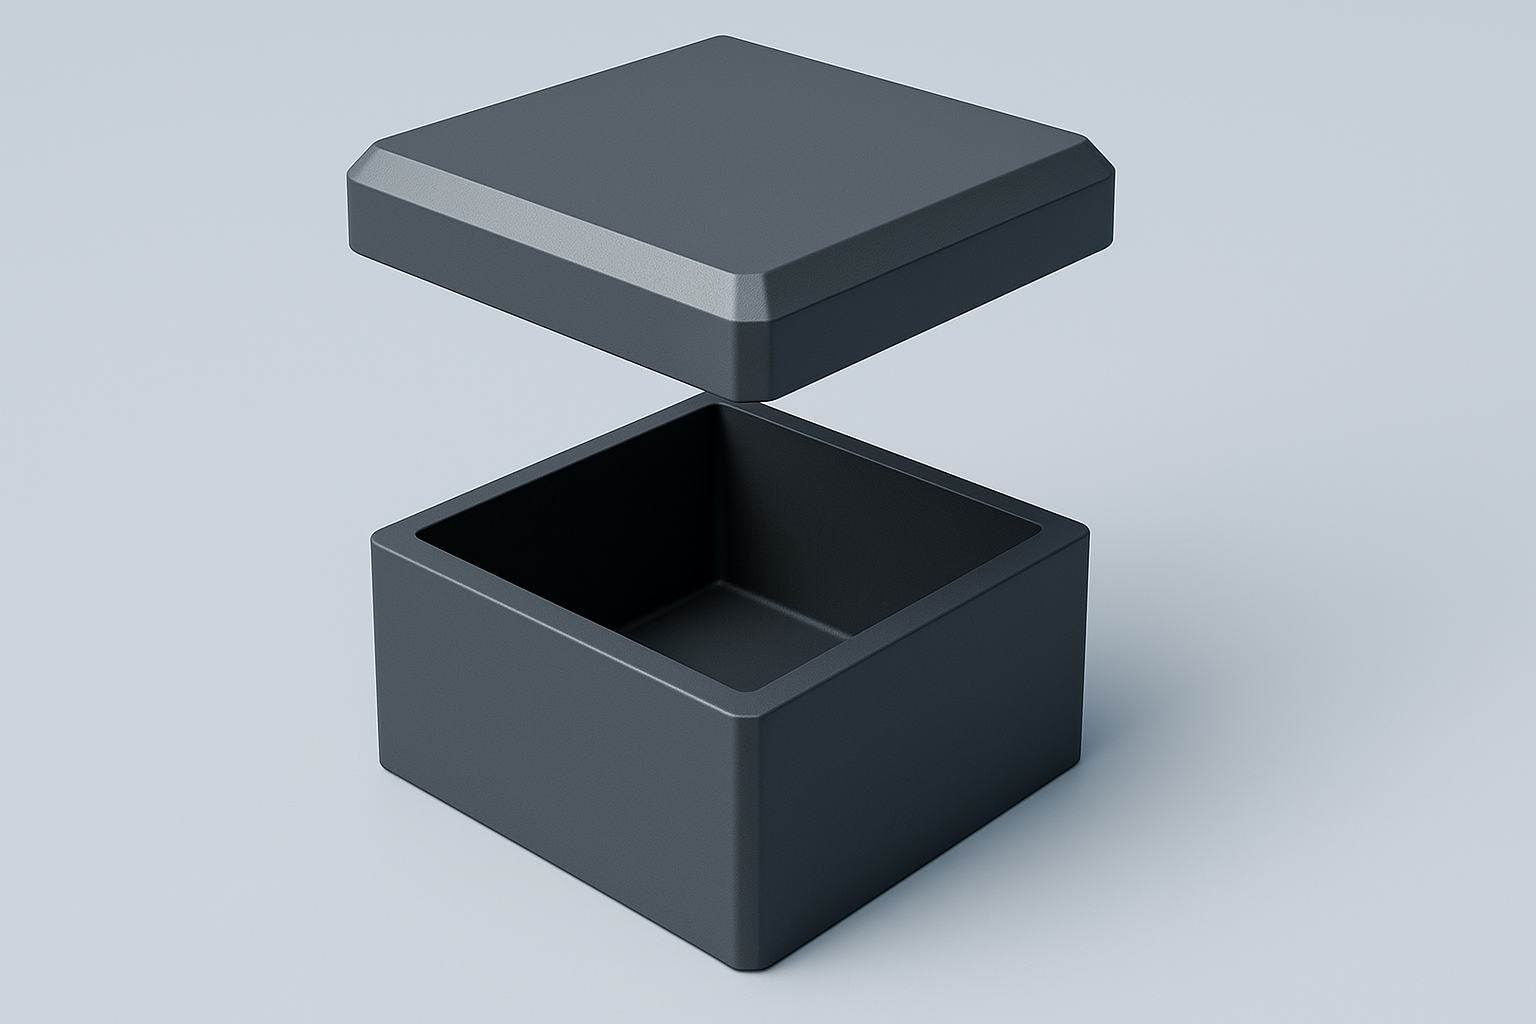
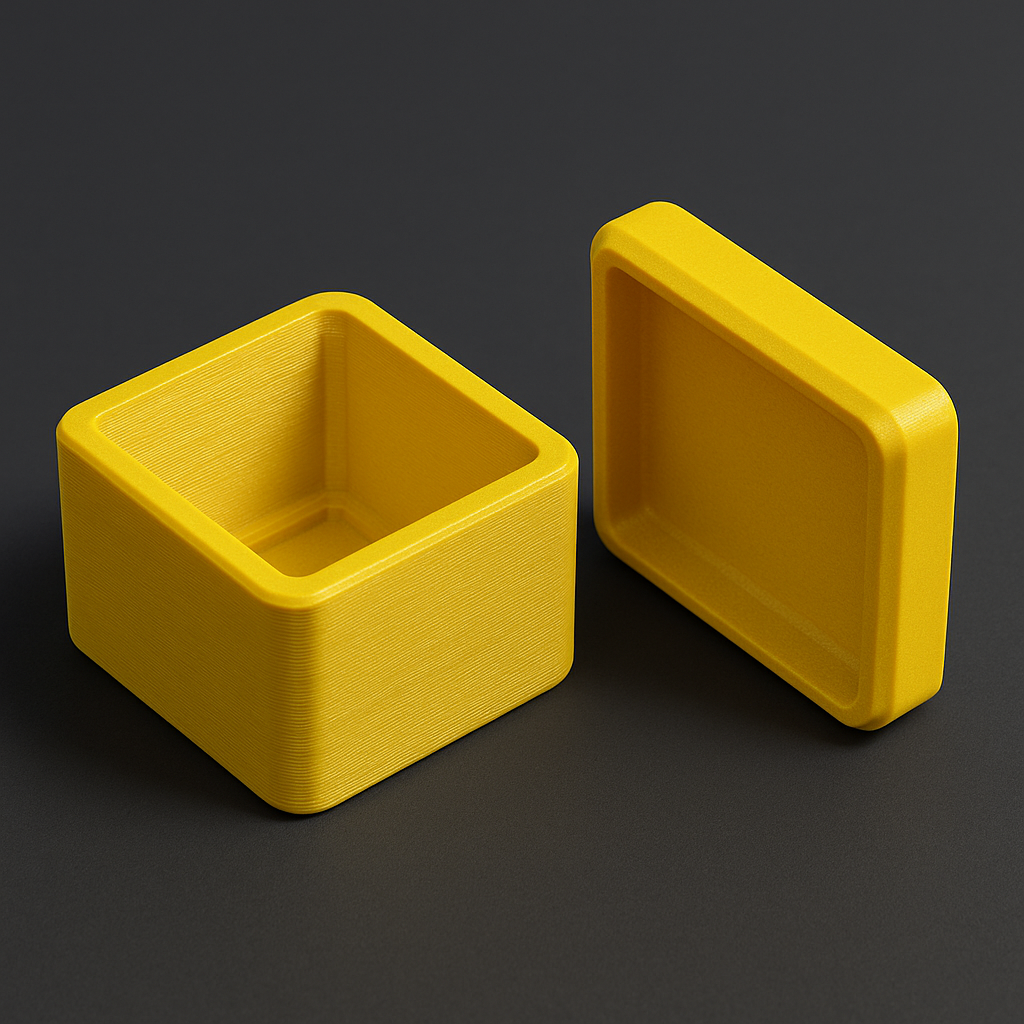
Let’s say you’ve designed a simple square lid and base that fit flush. Basic, right?
Wrong.
Sharp internal corners can cause warping, inconsistent edges, and flow issues. Instead, round your corners.
By rounding out those edges, you:
- Eliminate nozzle bounce or flow delay.
- Reduce stress concentrations.
- Improve dimensional accuracy.
Pro Tip: Replace “bang-bang” corner changes with smooth radiuses.
Step 2: Chamfer the Bottom
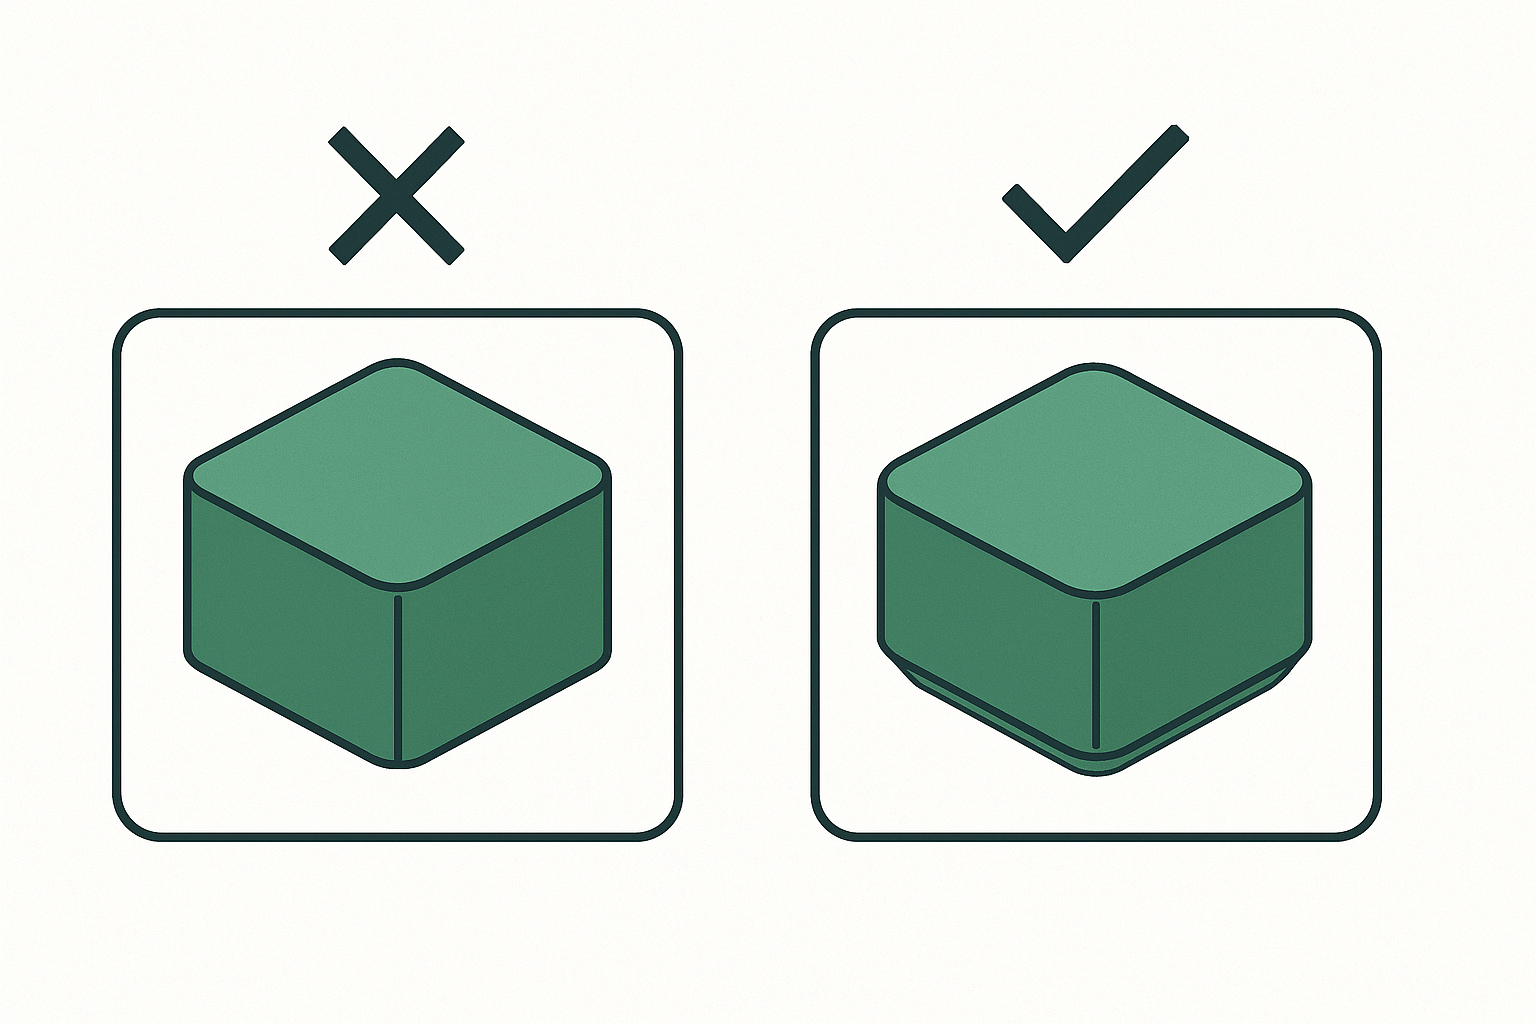
A subtle but important fix: add a chamfer to the bottom of your parts. Why?
- Reduces “elephant foot” from first-layer squish.
- Makes insertion smoother.
- Helps visually clean up the bottom edge.
Chamfers are especially helpful in tight-fitting parts. Just be careful not to overdo it—you want function, not floating gaps.
Step 3: Add a Lead-In Chamfer on the Lid
This is a game-changer: chamfer the outer edge of your lid. Even a slight bevel helps parts:
- Start inserting easily
- Slide in smoothly
- Press-fit reliably
This reduces dependency on one critical measurement. You can adjust the fit by slightly tweaking wall widths or angles without ruining the alignment.
Step 4: Hollow Out the Base for Thin Walls
A solid base can cause unpredictable shrinkage due to infill patterns. One solution?
Use thin walls instead.
Thin-walled bases:
- Shrink more predictably.
- Reduce infill interference.
- Create a more flexible fit.
You can go a step further and cut away contact areas, making only the corners touch. Less surface area = less friction = more reliable fits.
Step 5: Design for Flex with Compliant Features
Want to allow the part to flex slightly? Start incorporating compliant design elements, such as:
➤ Corner Gaps
Add slits or slots in corners to let parts expand slightly. Great for making a base that adapts to slightly oversized lids.
⚠️ Watch out: Slots aligned with layer lines can split under pressure, so use them sparingly and reinforce smartly.
➤ Split Walls & Spring Tabs
Create spring-like features by designing U-shaped or split-thickness walls. These:
- Add give to the walls.
- Help press-fit and remove parts more easily.
- Still retain grip.
Make sure to add a vertical gap of at least 0.3mm underneath compliant features so slicers handle them properly.
Step 6: Master Grip Fins for Ultimate Fit Reliability
Want perfect press fits every single time—regardless of printer, material, or settings?
Use grip fins.
These are flexible fingers that:
- Grip the lid with equal force every time.
- Reduce contact area while maintaining pressure.
- Look awesome, too.
They require a bit of modeling effort—essentially, extrude fins from the wall and cut underneath so they can flex—but the result is unmatched reliability.
Plastics can creep over time, but if designed right, grip fins maintain enough pressure for long-term use.
The Bottom Line
When designing 3D printed parts that need to fit together—like lids and containers—it’s not just about measurements. It’s about engineering smart designs that account for all the variability of 3D printing.
Use:
- Rounded corners
- Chamfers
- Thin walls
- Compliant mechanisms
- Grip fins
…and you’ll create parts that fit like a glove, every single time.
This page contains affiliate links and I earn a commission if you make a purchase through one of the links, at no cost to you. As an Amazon Associate I earn from qualifying purchases.