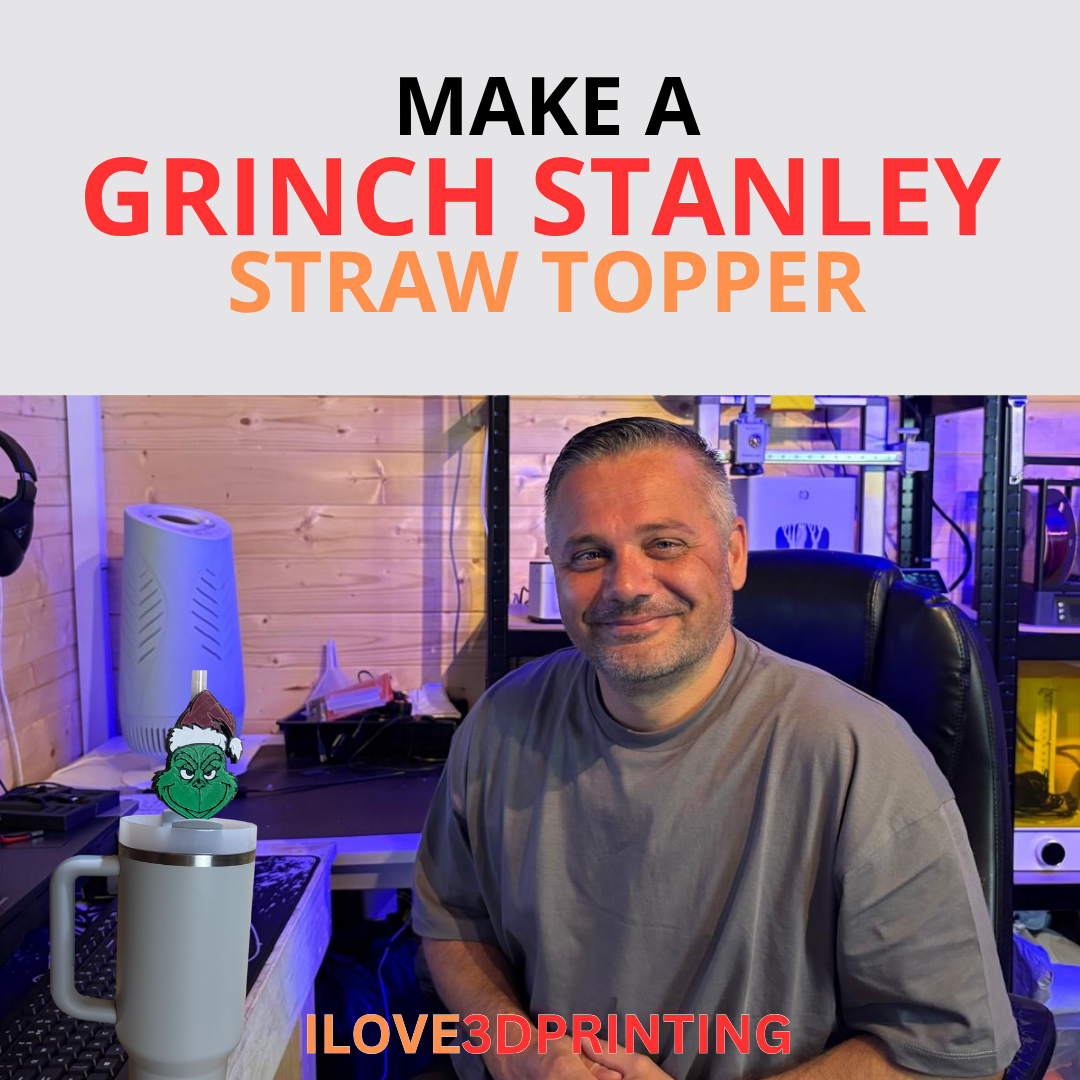
The Grinch Stanley Straw Topper (Tutorial)
Learn how to make a 3d Printed Stanley Straw Topper
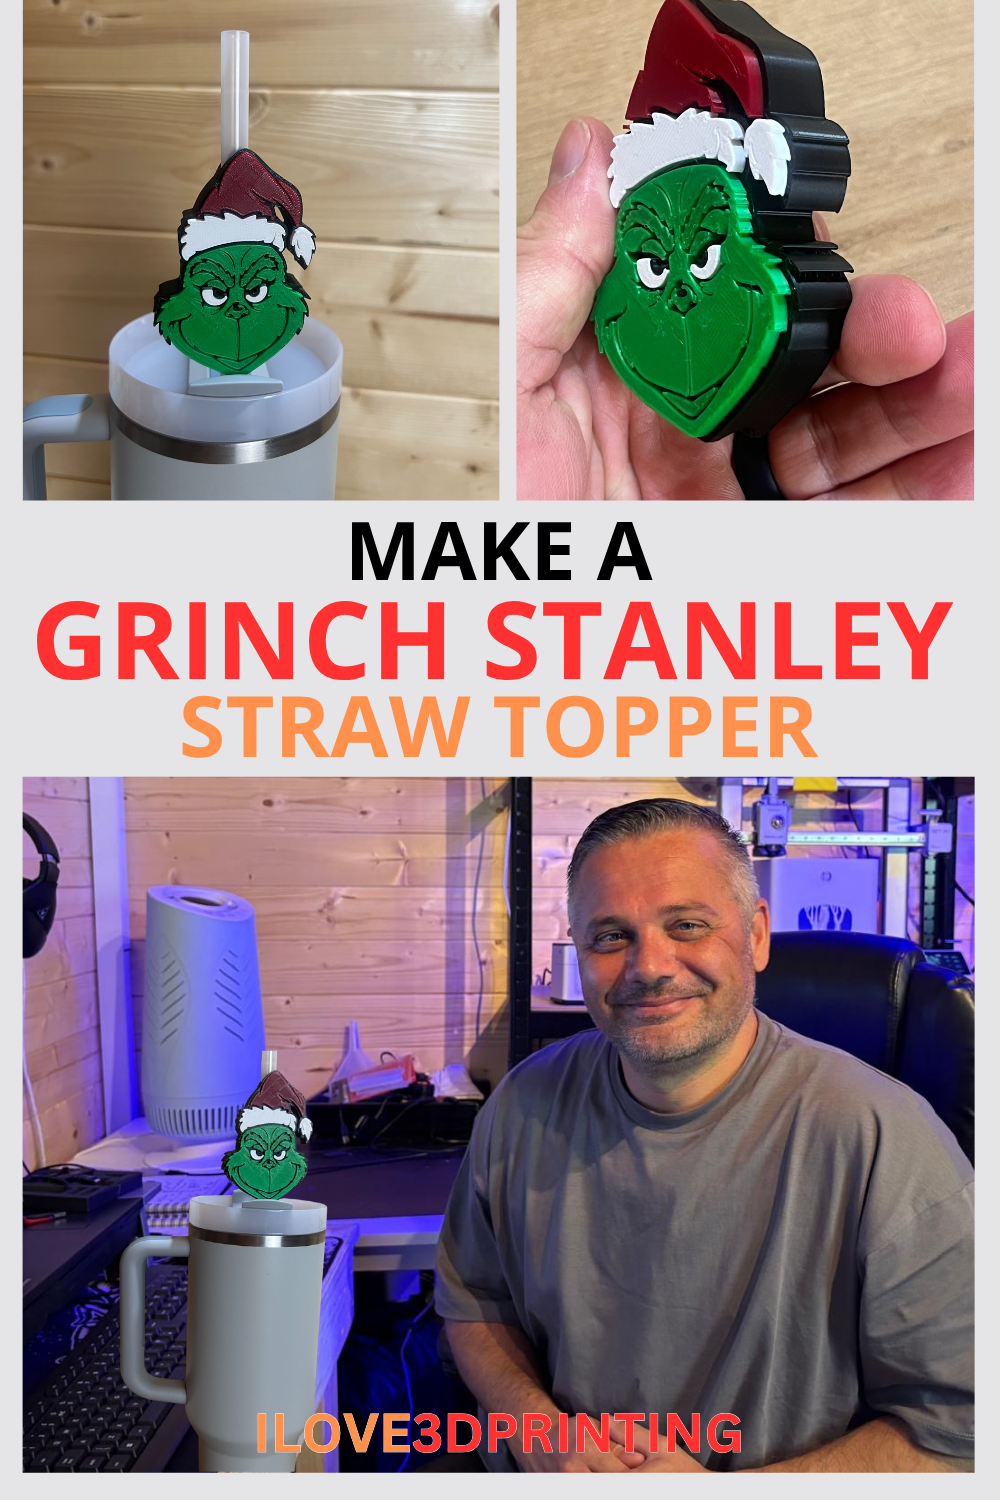
The holiday season is round the corner and that got me thinking about my favourite films. The Grinch being up there! And so I decided to make a Straw Topper for my Stanley Mug, in the shape of him.
I will walk you through the process from start to finish. If you dont want to make your own straw topper and you would rather just download my file, you can get it by heading to our free 3d printing file repository.
Tools Used
Bambu Lab A1 w/ AMS – https://amzn.to/4qA8Rca
ELEGOO Filament PLA+ – https://amzn.to/4oRGmoF
Stanley Mug 30 oz – https://amzn.to/4oRHOYf
Bambu Studio – https://bambulab.com/en-gb/download/studio
Instructions
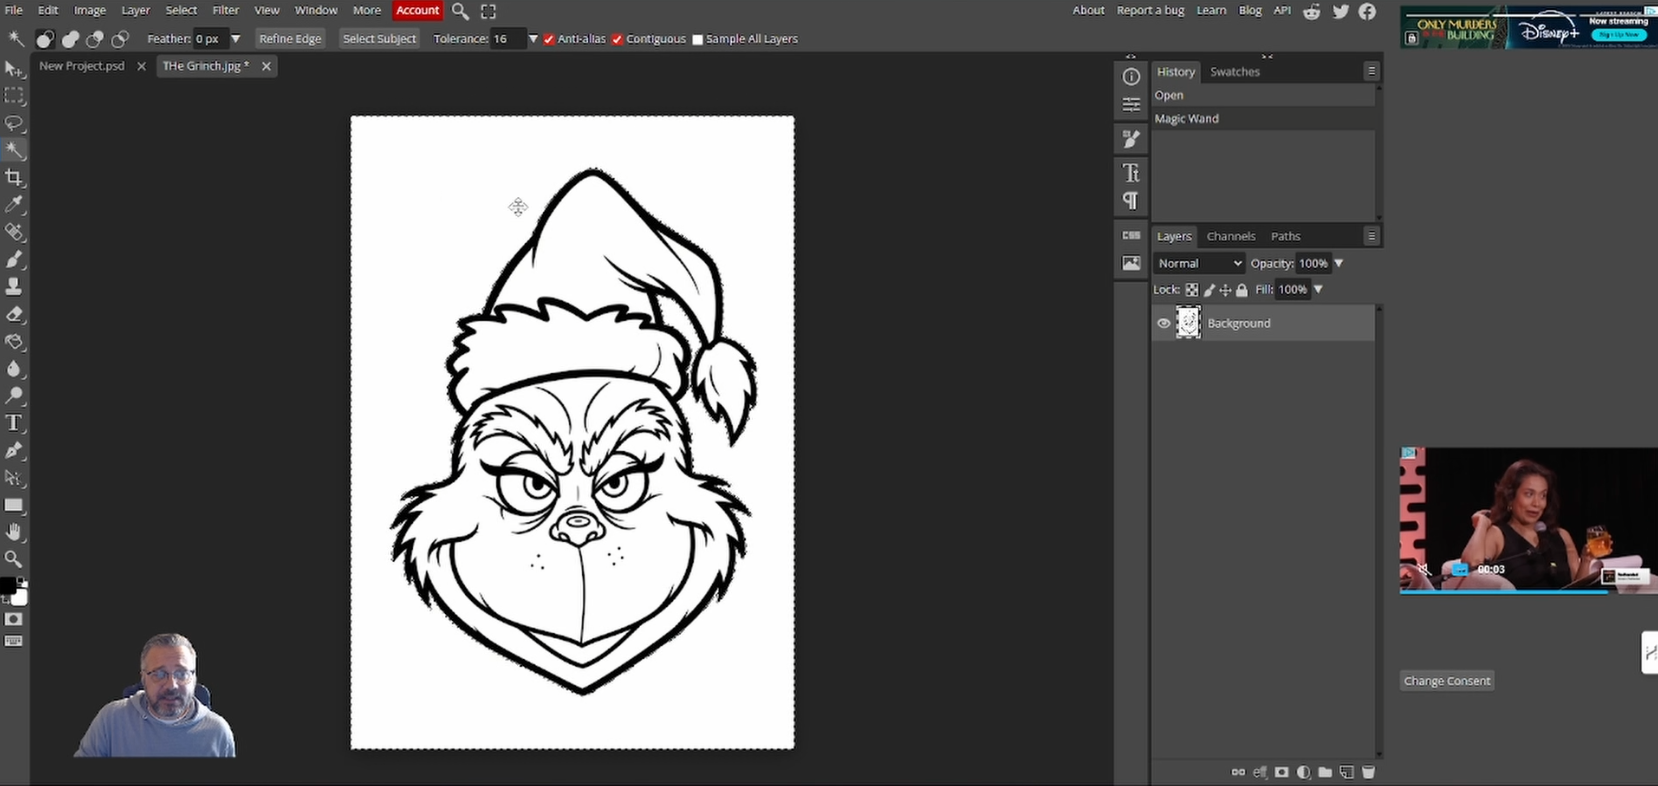
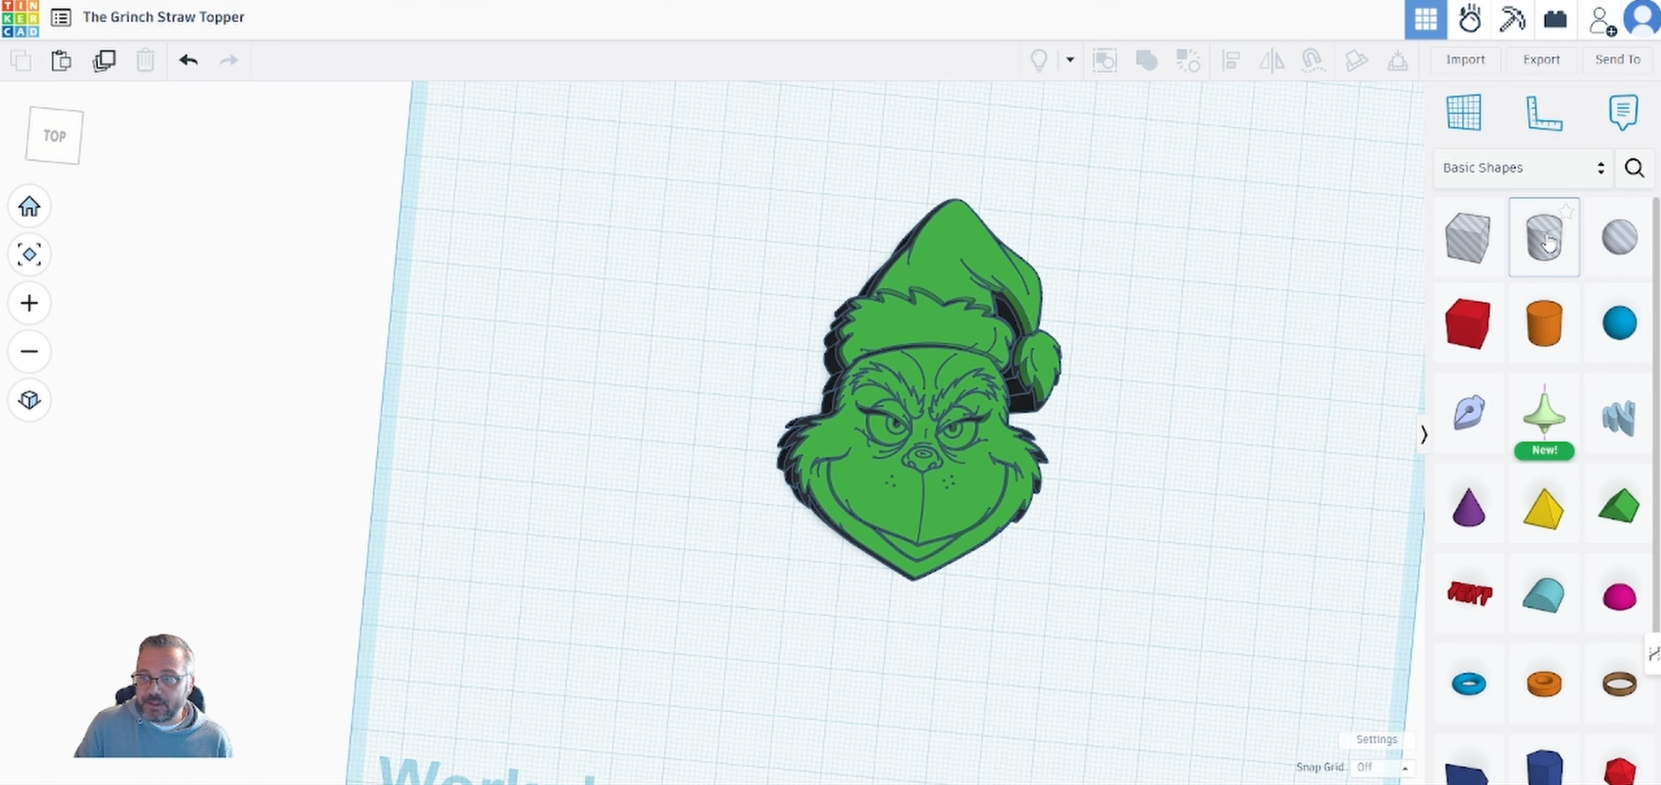
Step 1: GET THE PERFECT IMAGE.
You can give yourself an easier time if you find the perfect image first. You should be looking for images that have a bold outline, in black and white.
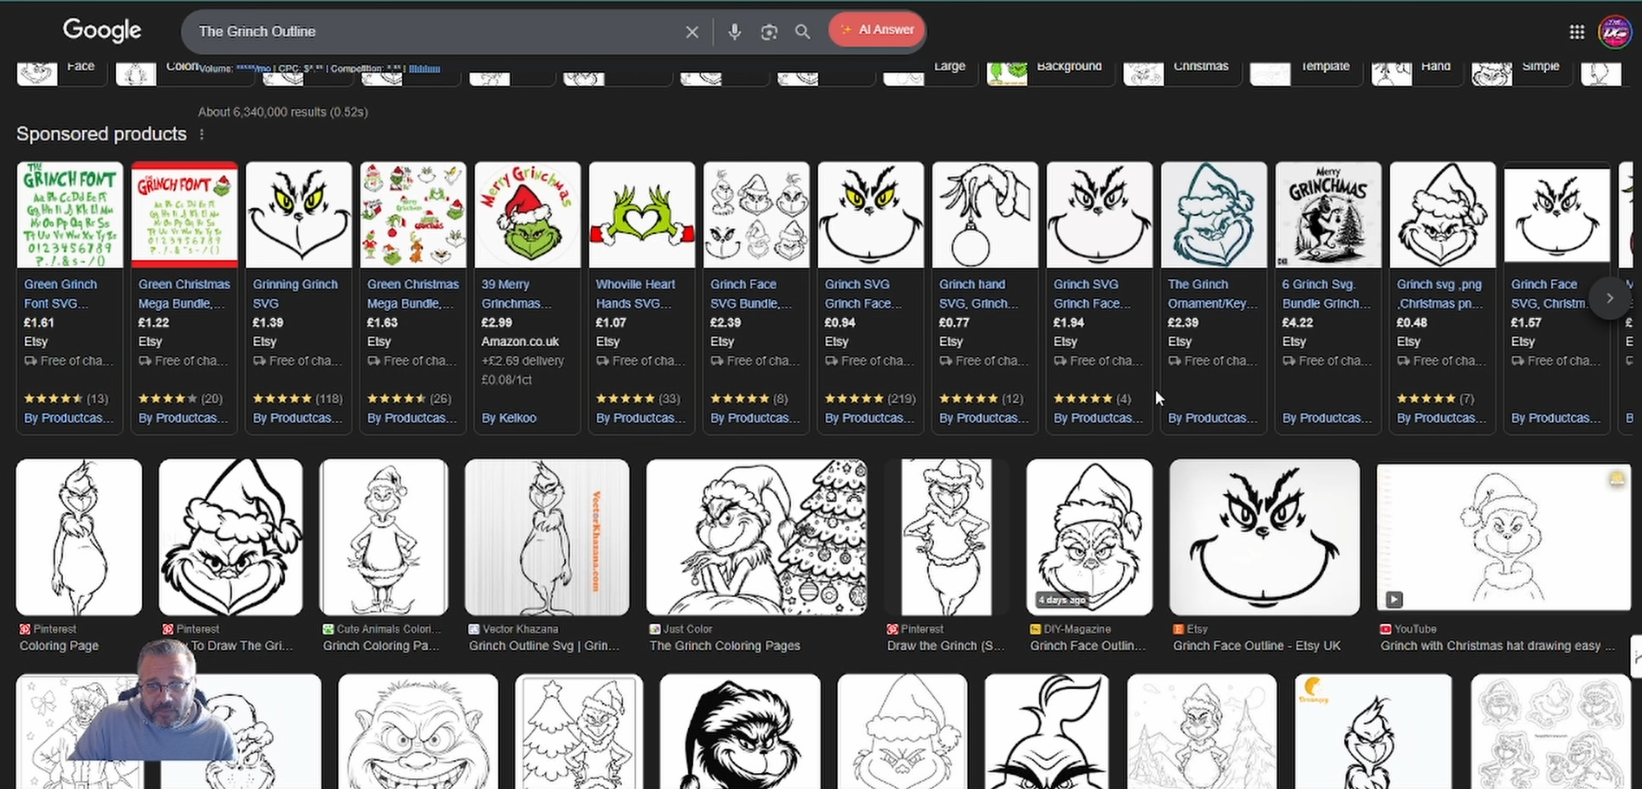
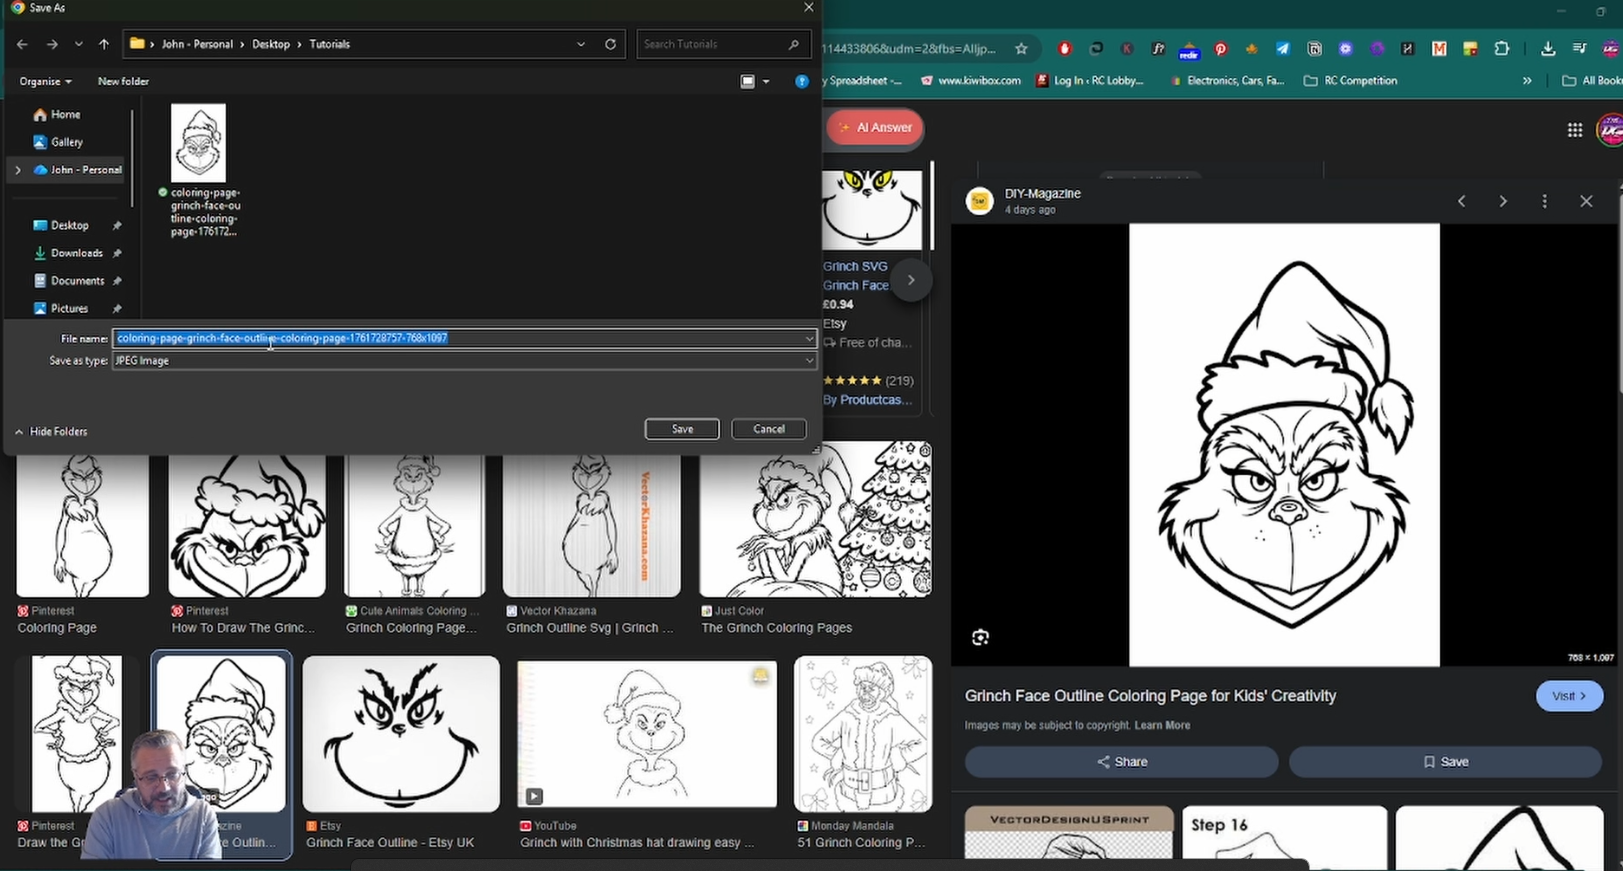
Right click and ‘save as’ making sure you change the name to something memorable.
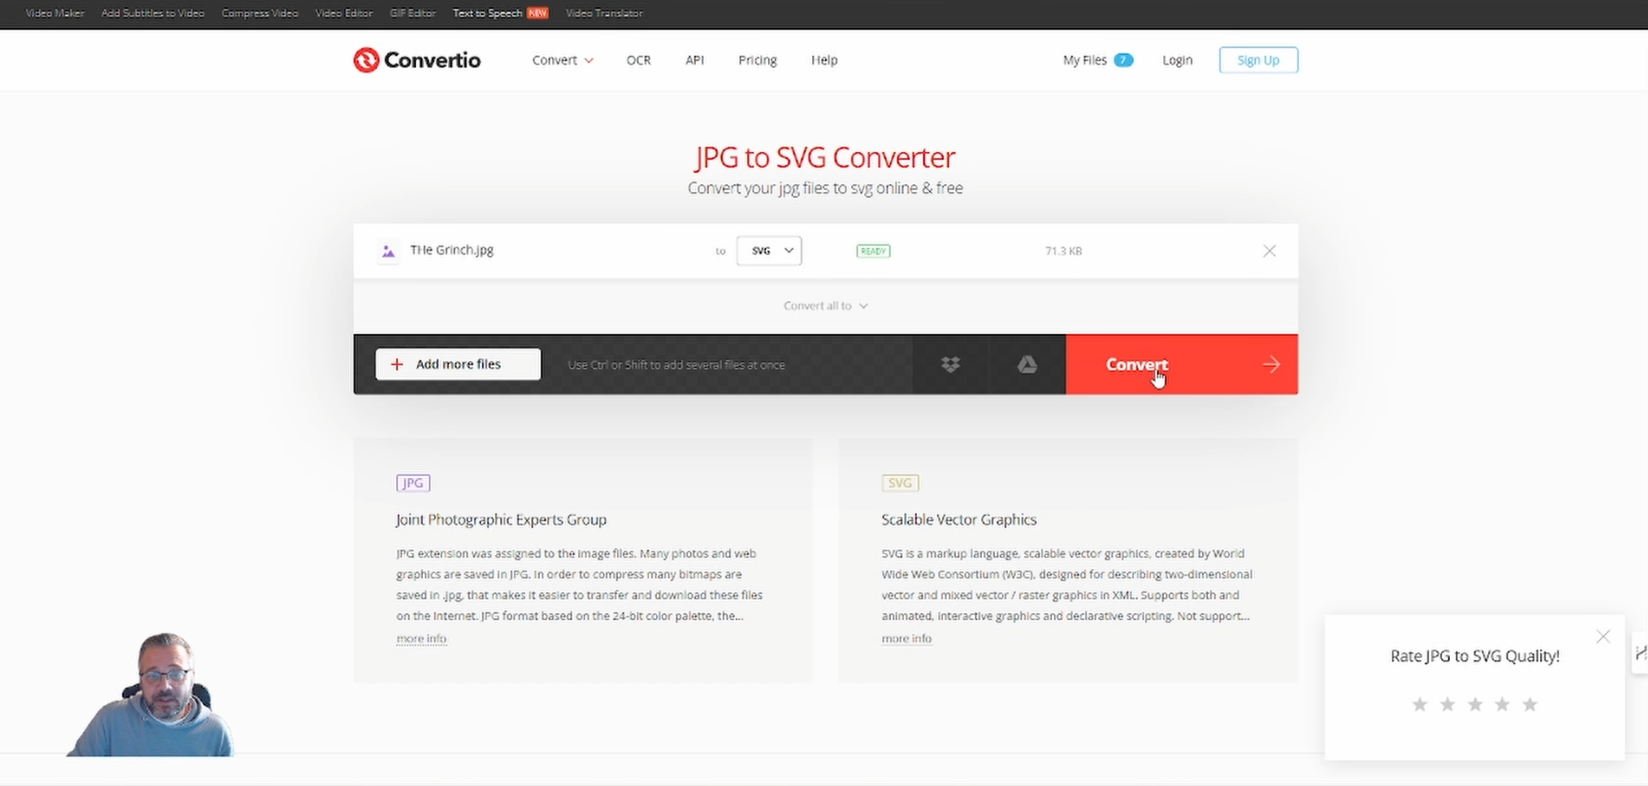
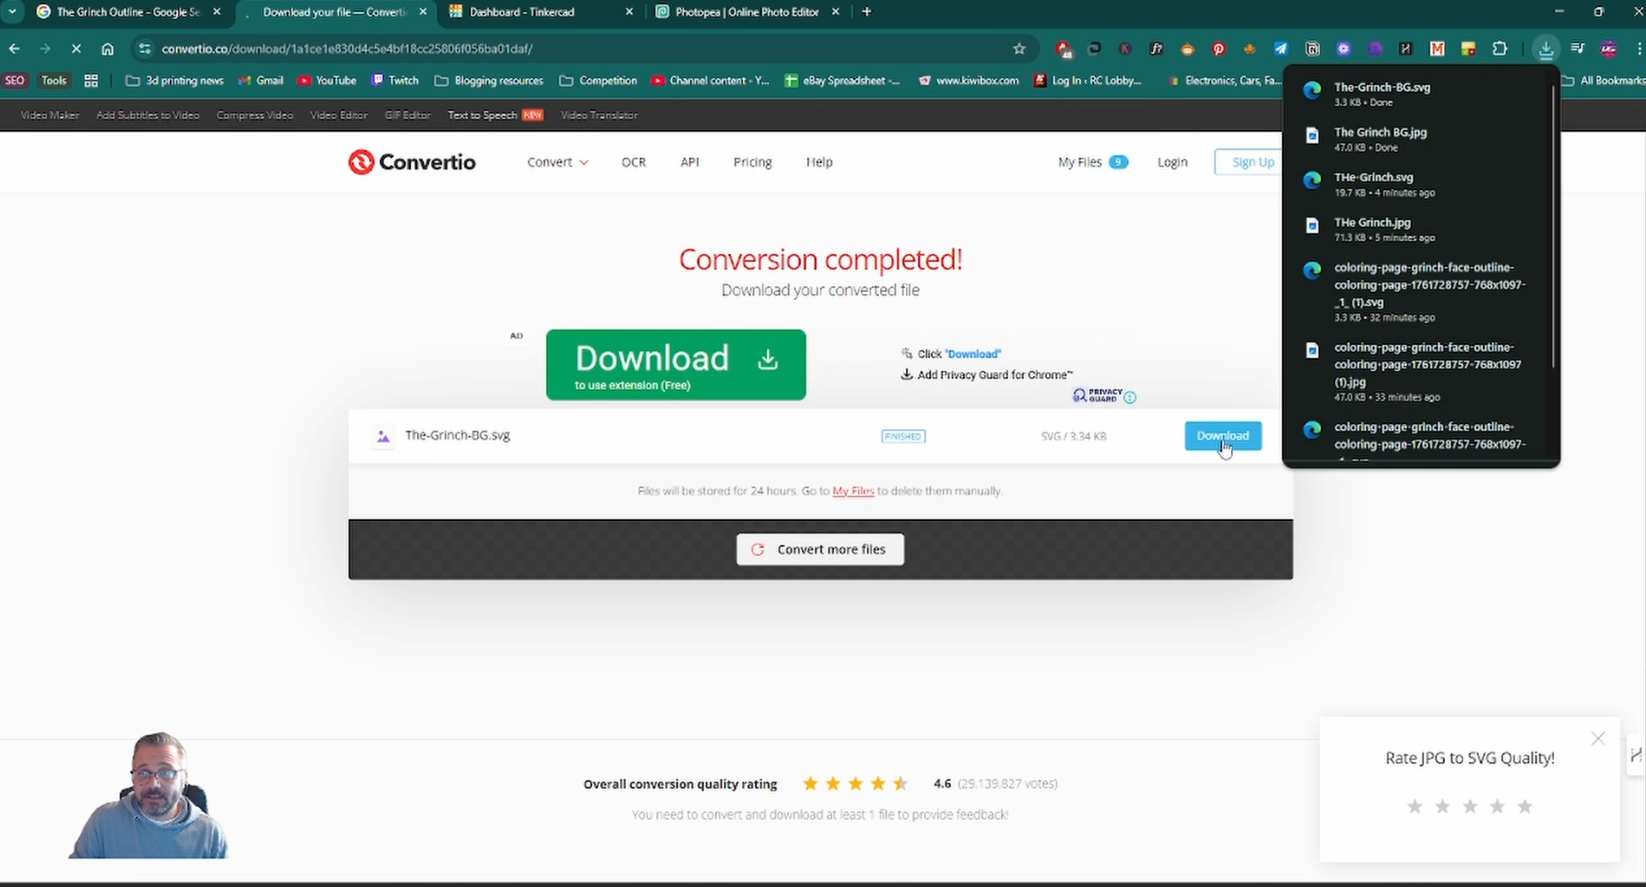
Go to Convertio.co and upload your file and convert it to ‘svg’.
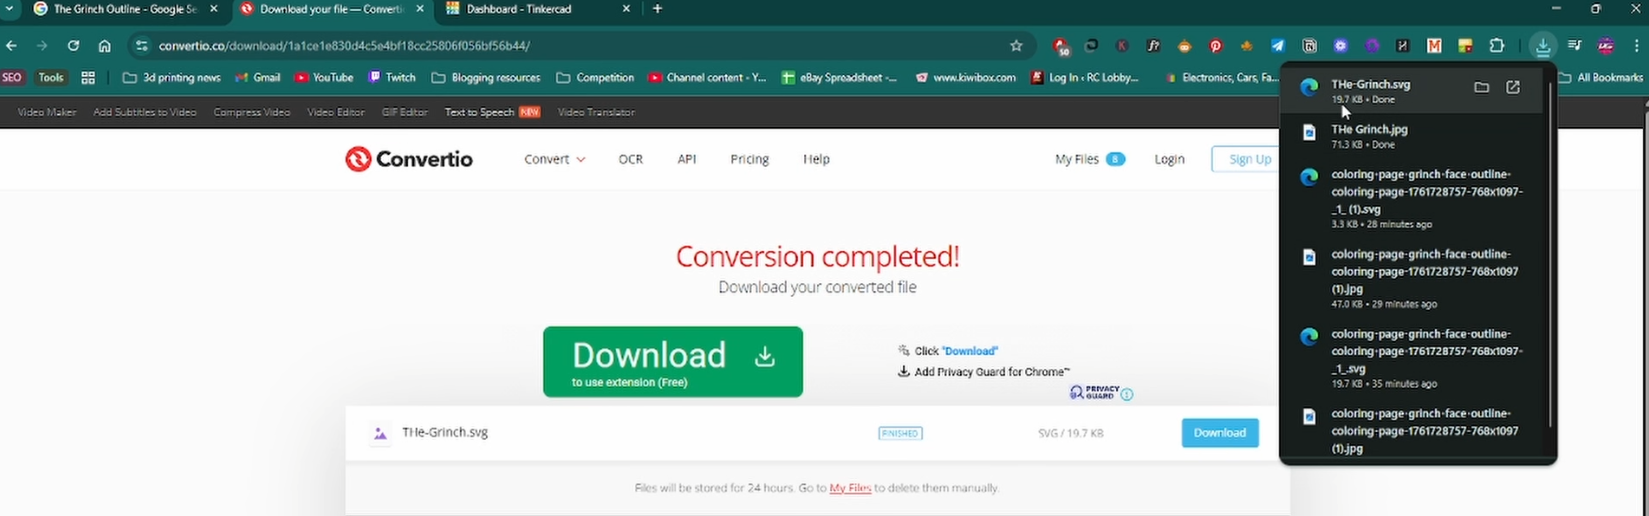
Once it is converted press ‘download’ and take note of the location it has gone to on your computer.
Step 2: CREATE THE BACKGROUND
Next go to photopea.com.
Click on ‘New Project’ and select any pre determined document (it doesn’t matter which one you choose).
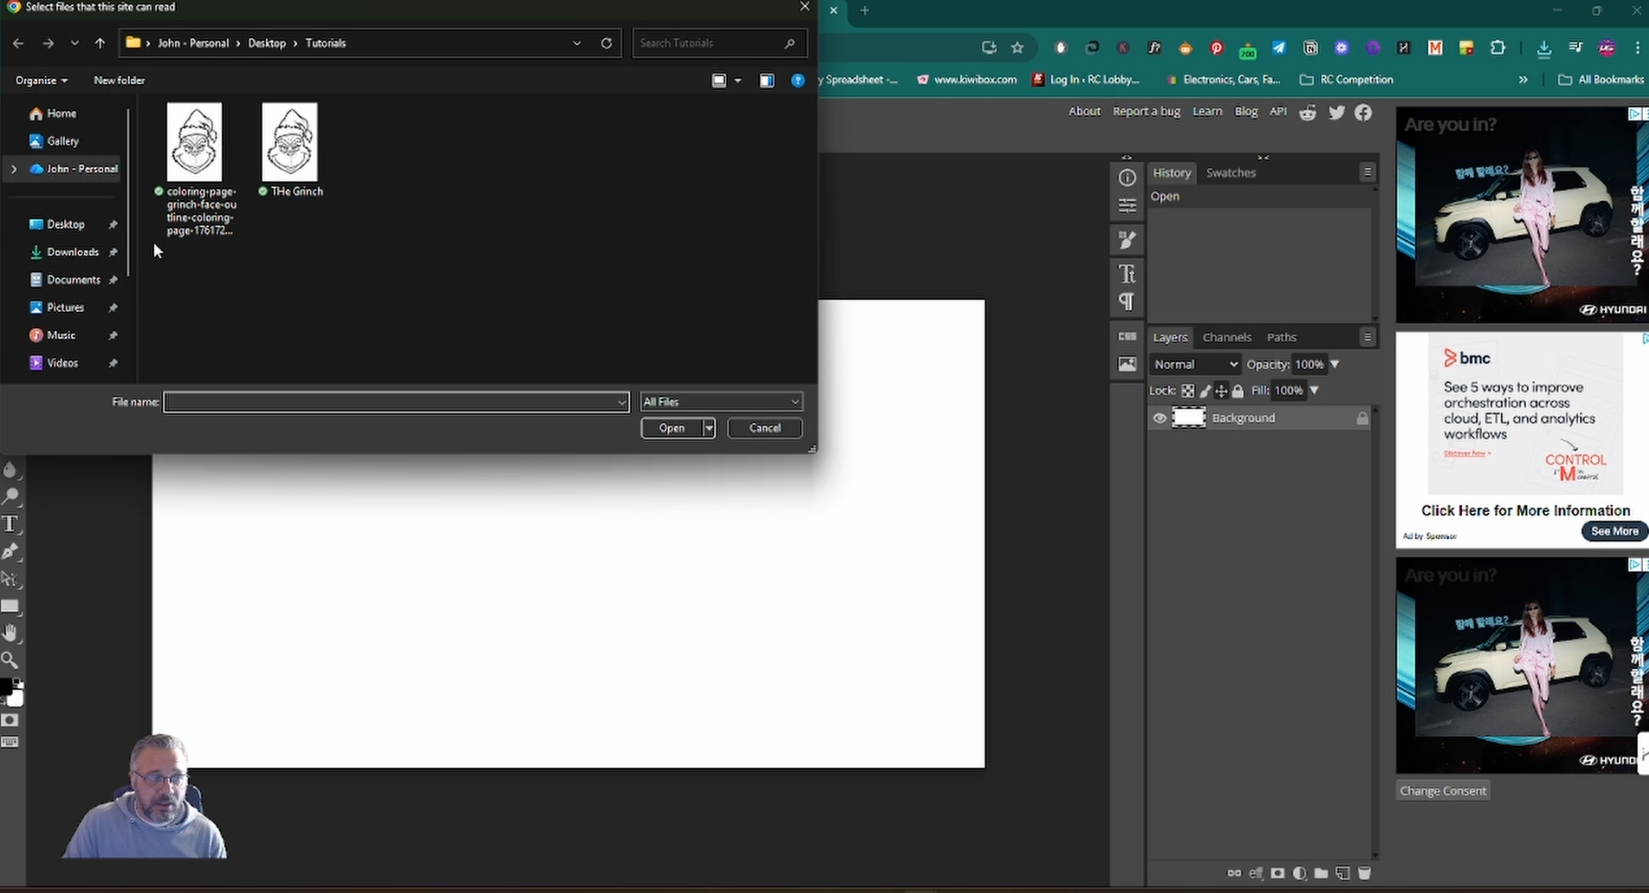
Go to ‘File’ and then ‘Open’
Select the original file you downloaded – NOT THE SVG!
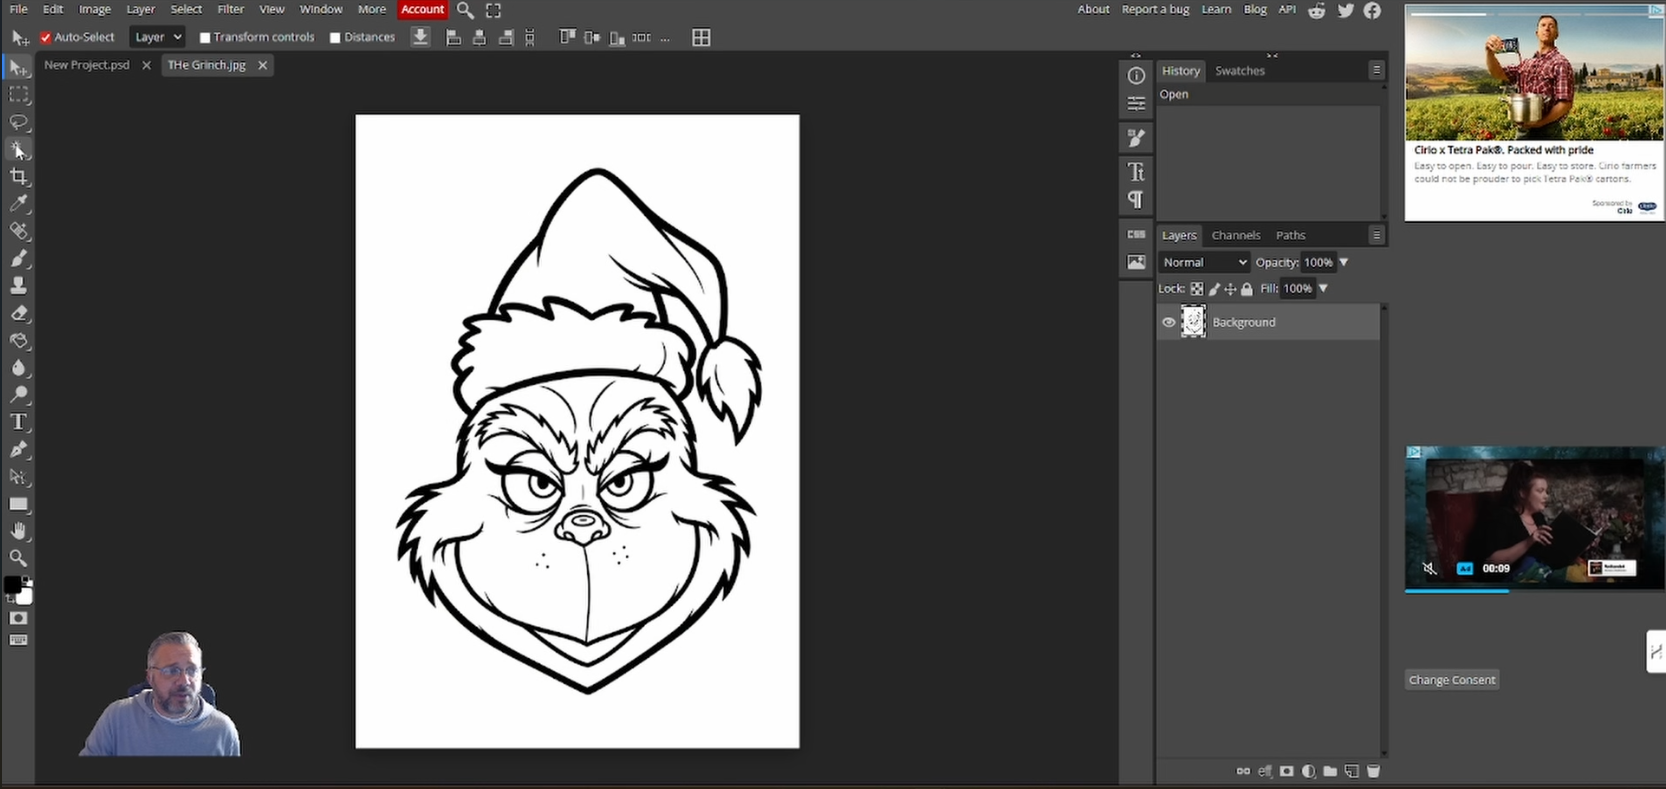
Select the ‘Wand’ (w) tool.
Left click the background of your image, this select the area outside.
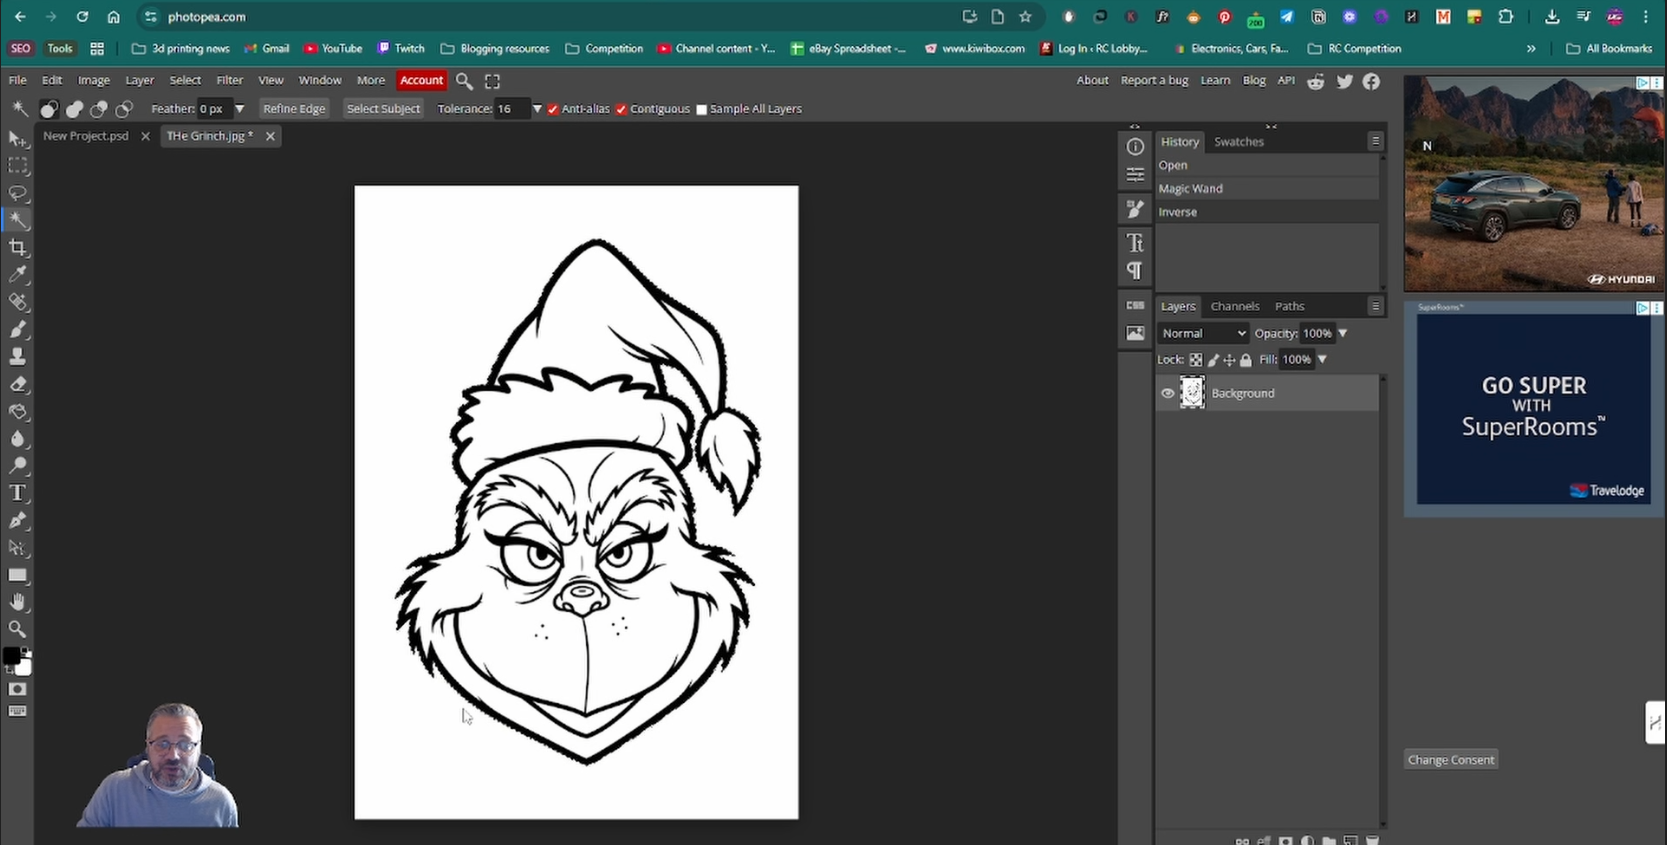
Go to ‘Select’ then ‘Inverse’ to invert your selection. We do this because we want the selection to only be the image.
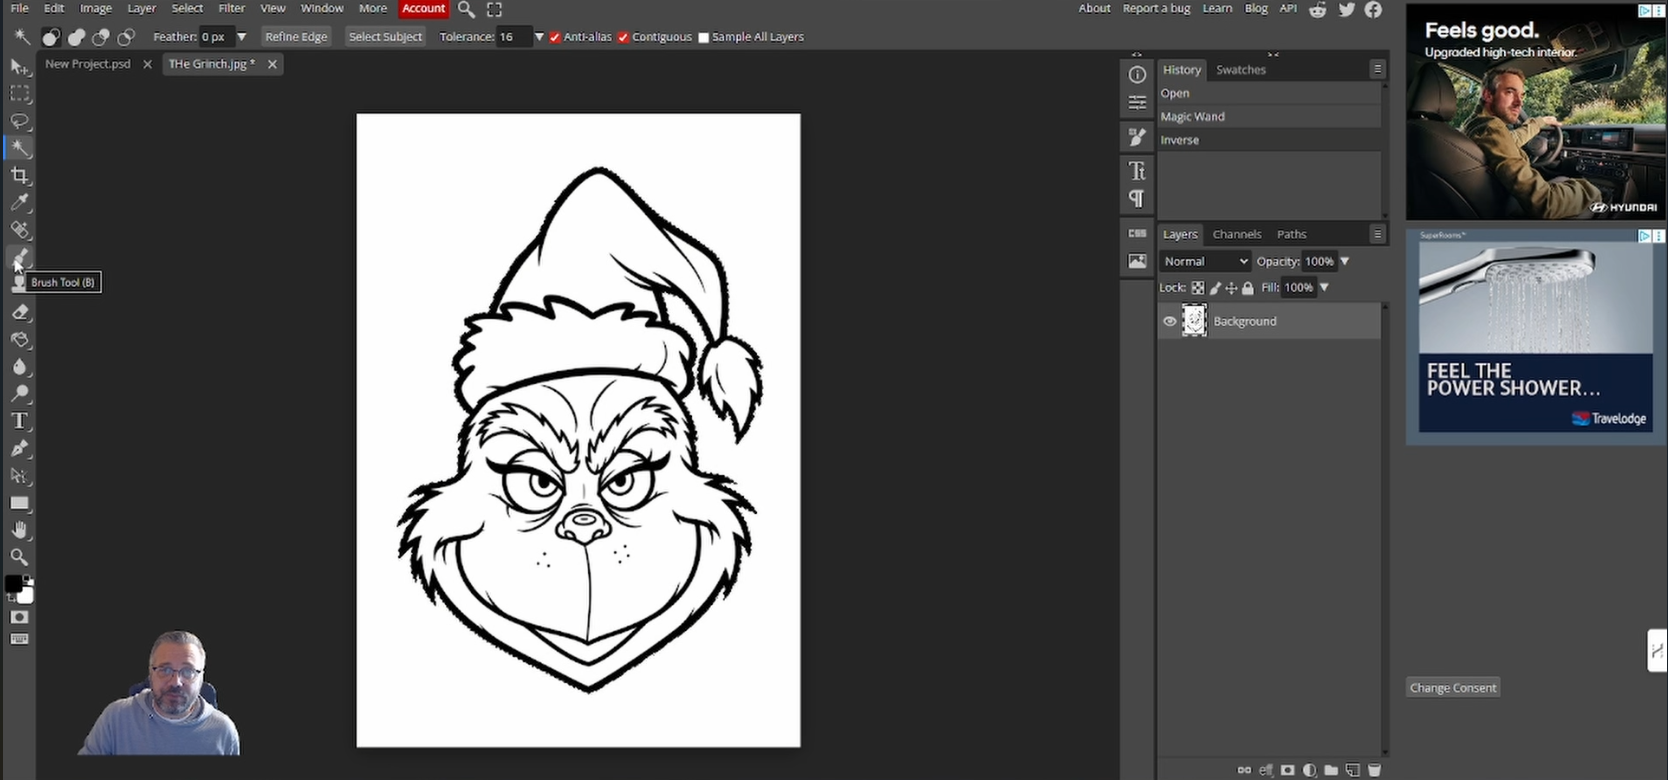
Select the ‘Brush’ (b) tool.
Make sure to select the black colour and paint your image so it is all black.
We do this because the next tool works better with contrast.
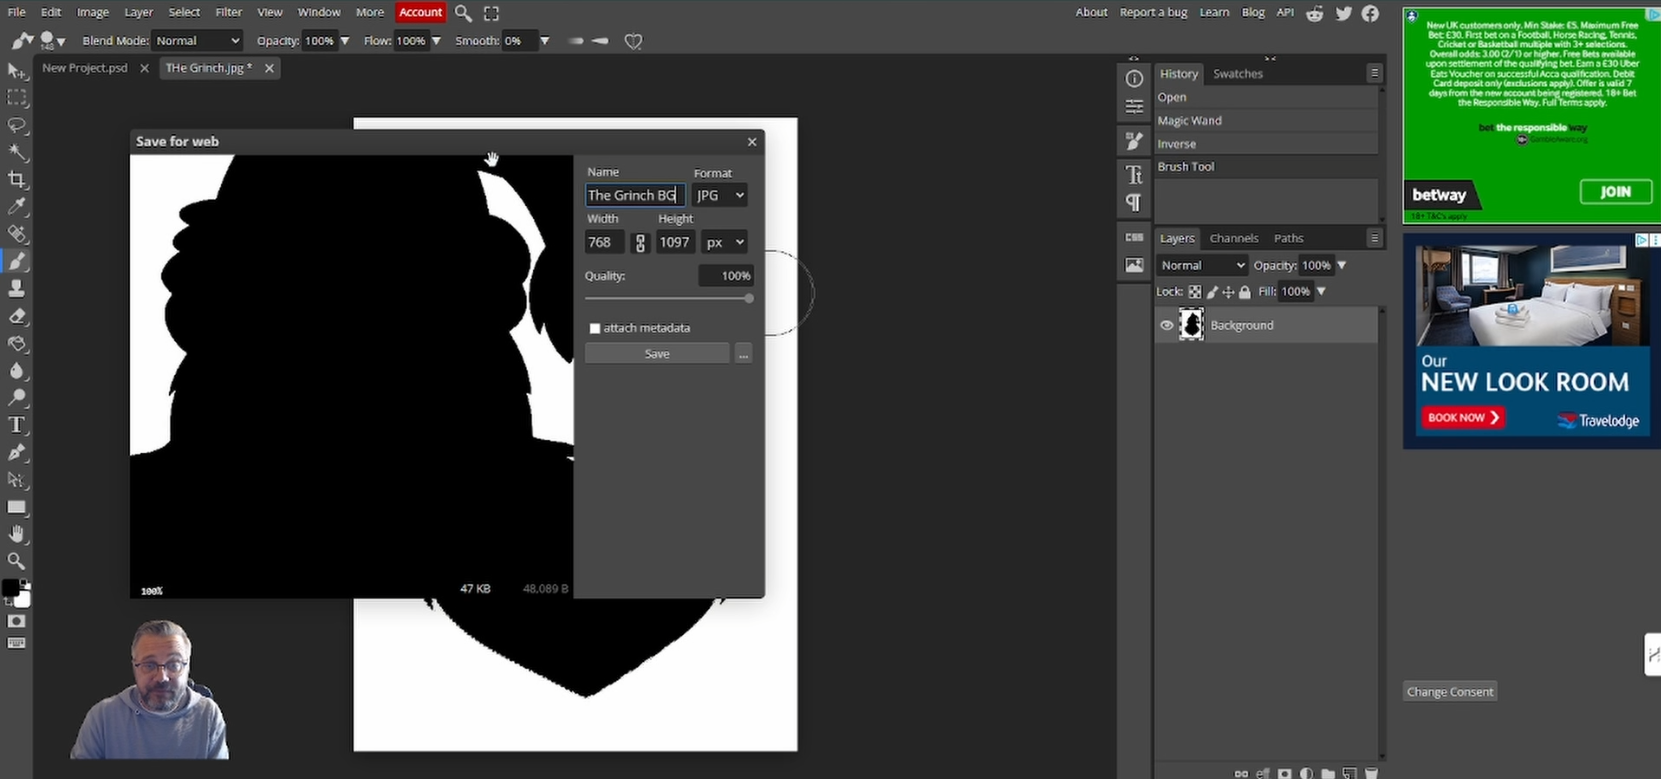
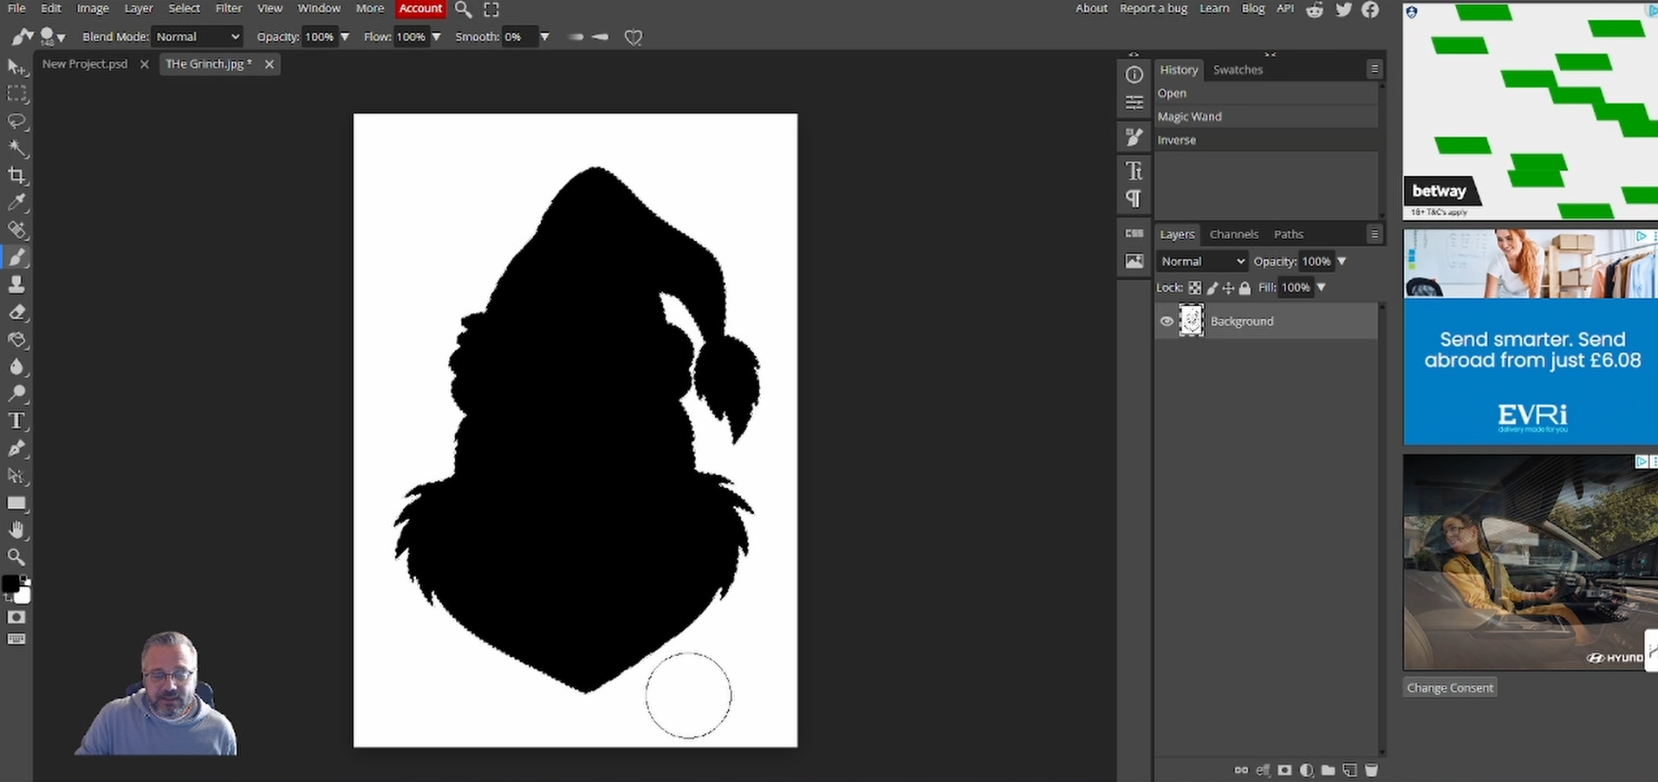
Once finished go to ‘File’ then ‘Export As’ and select ‘JPG’.
Name your file something that will differentiate it from your other ‘svg’. As this is going to be the background file, I have named mine ‘The-Grinch-BG’.
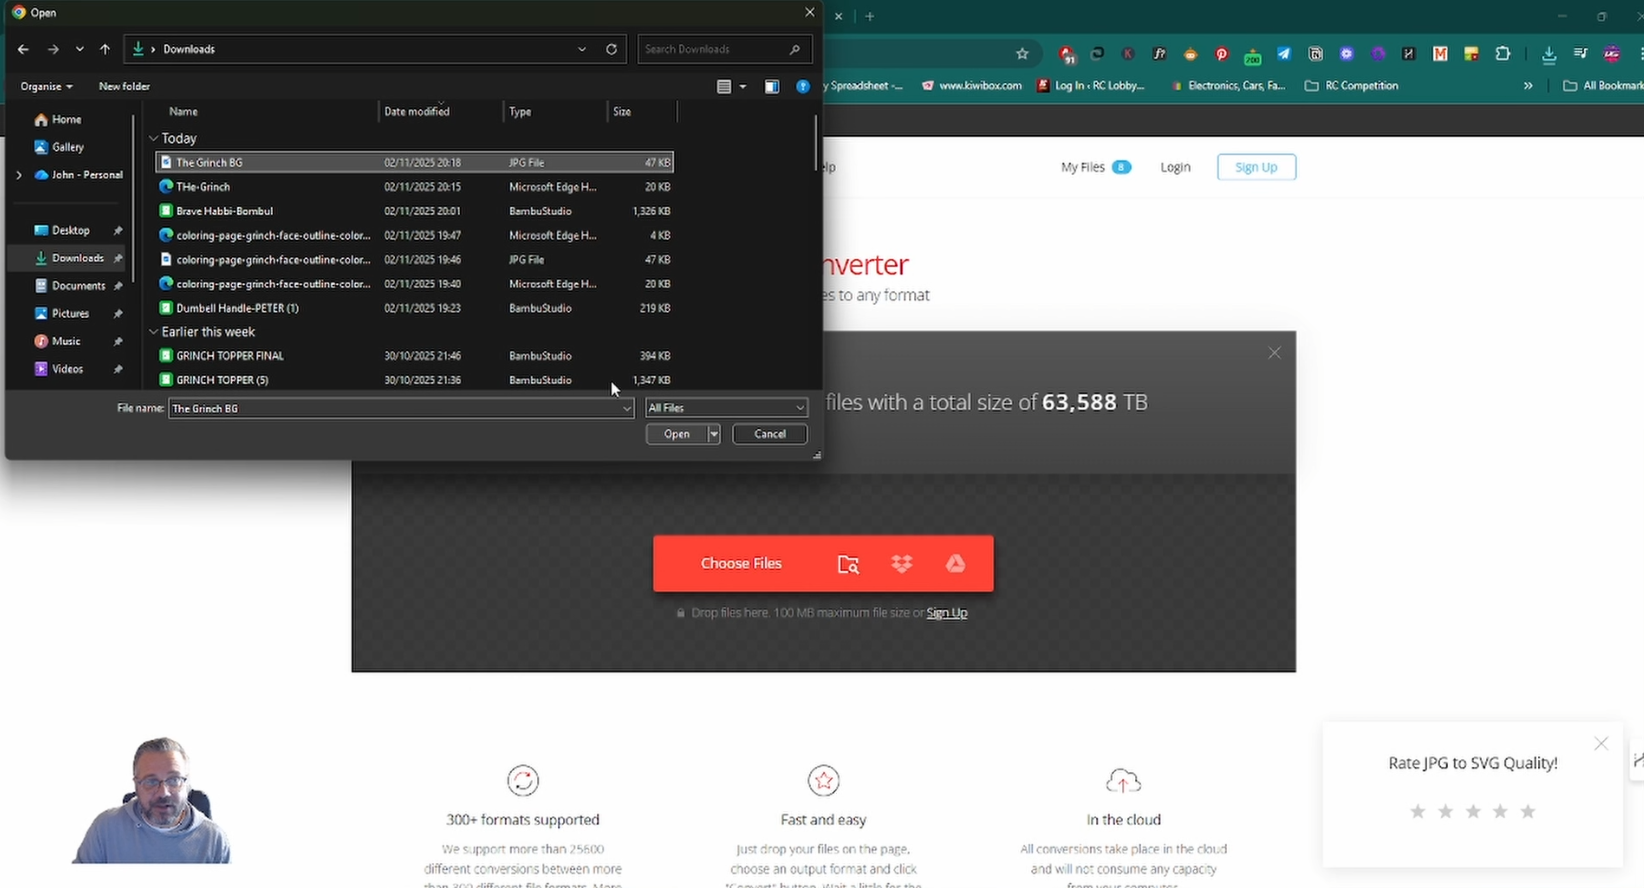
Go to Convertio.co and convert your background file to ‘svg’ and download.
Step 3: 3D MODELLING

Go to Tinkercad.com and click on ‘+create’ then ‘3D DESIGN’. This will open up a new workspace.
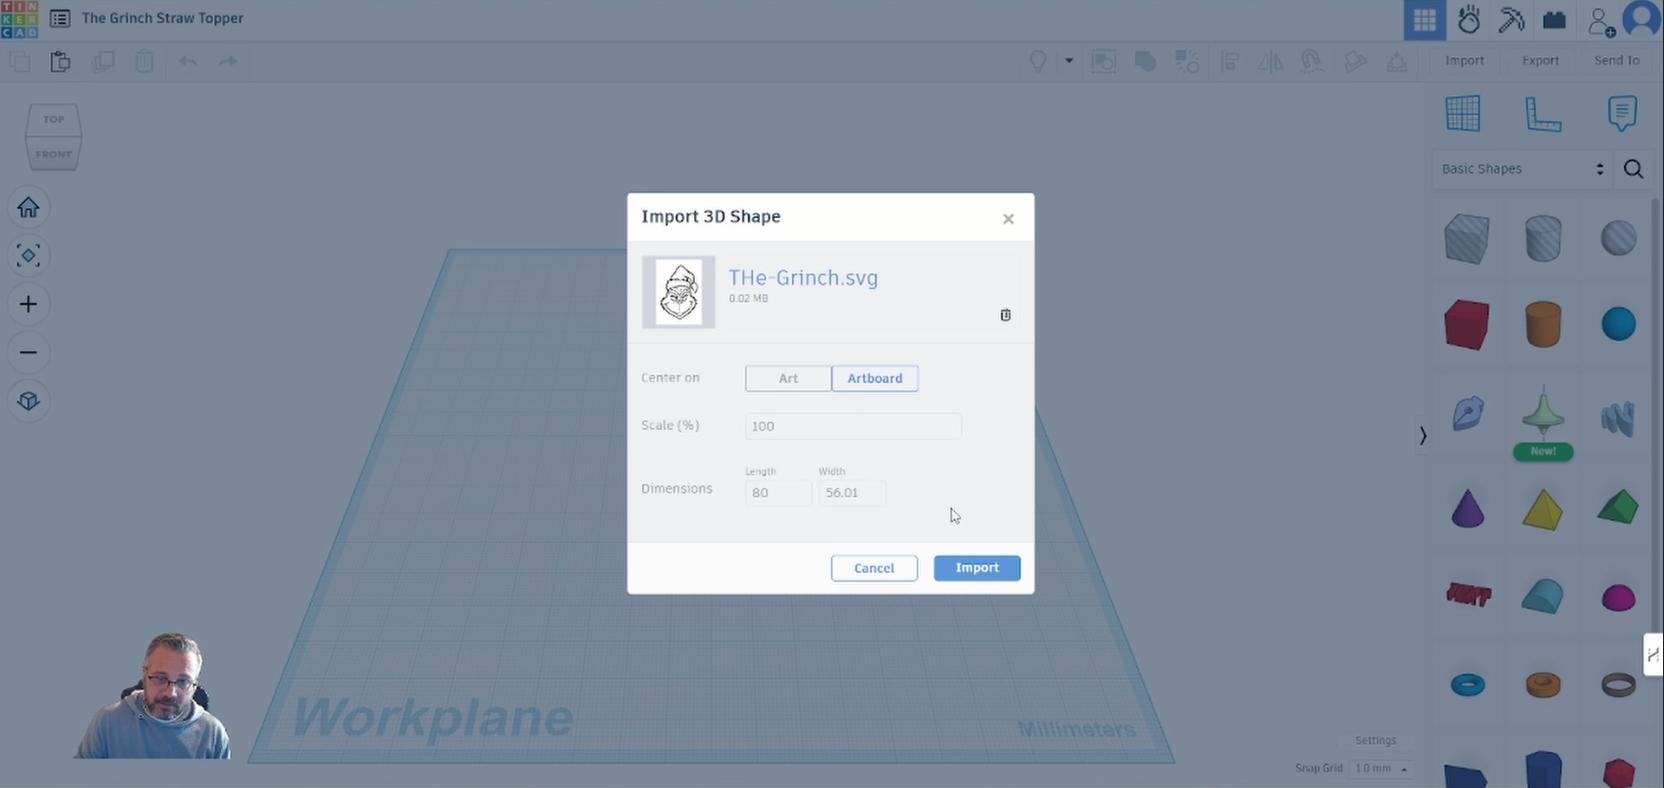
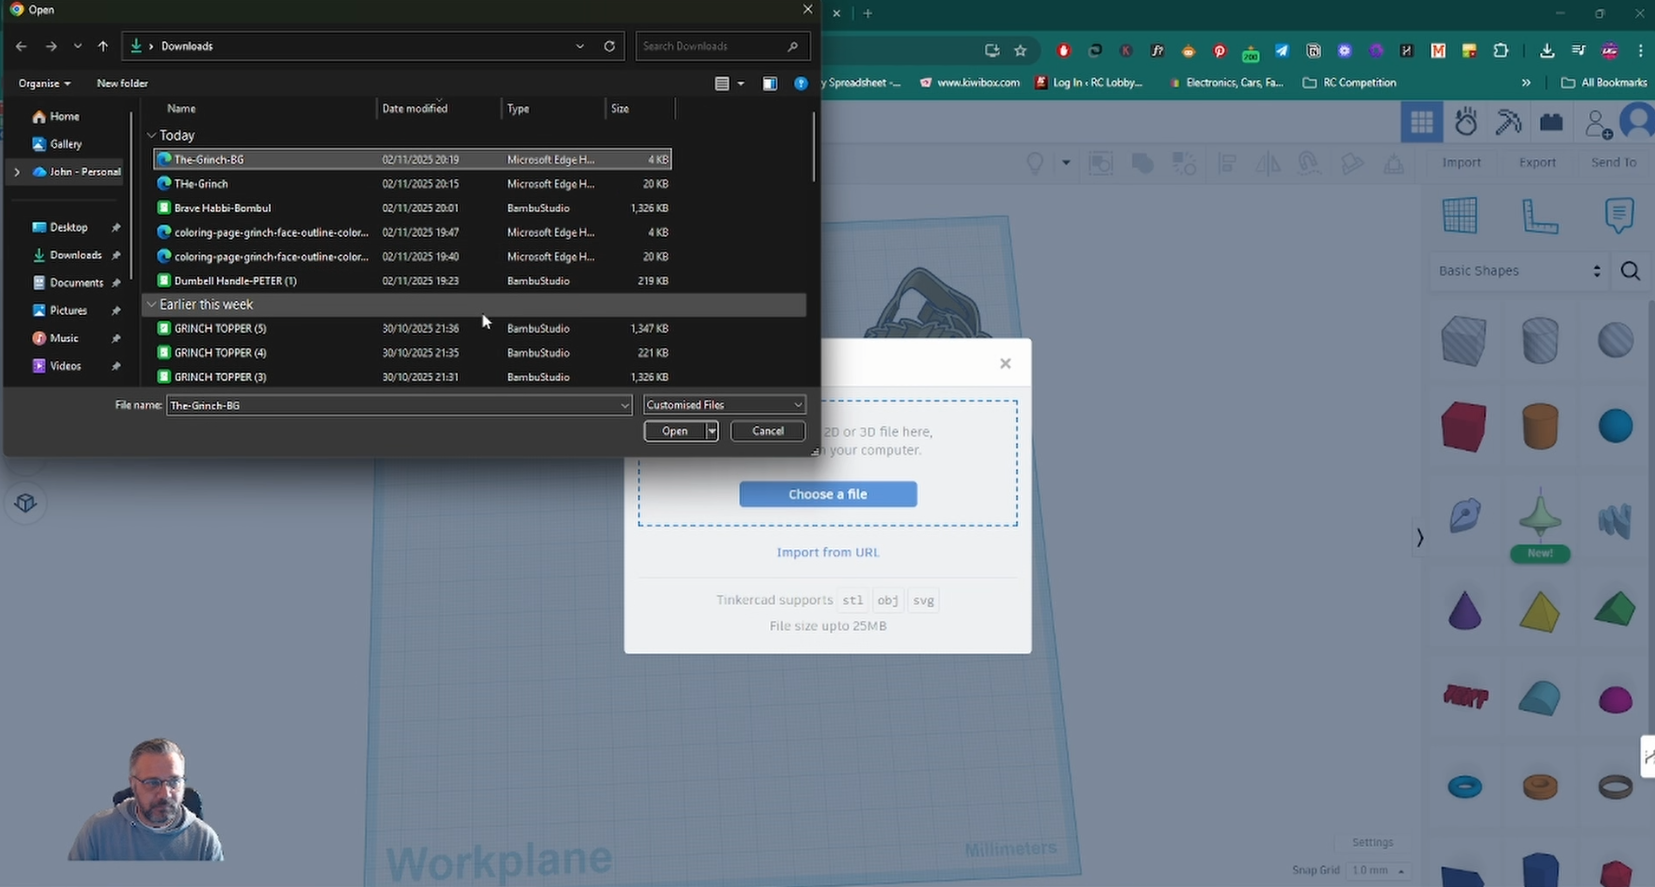
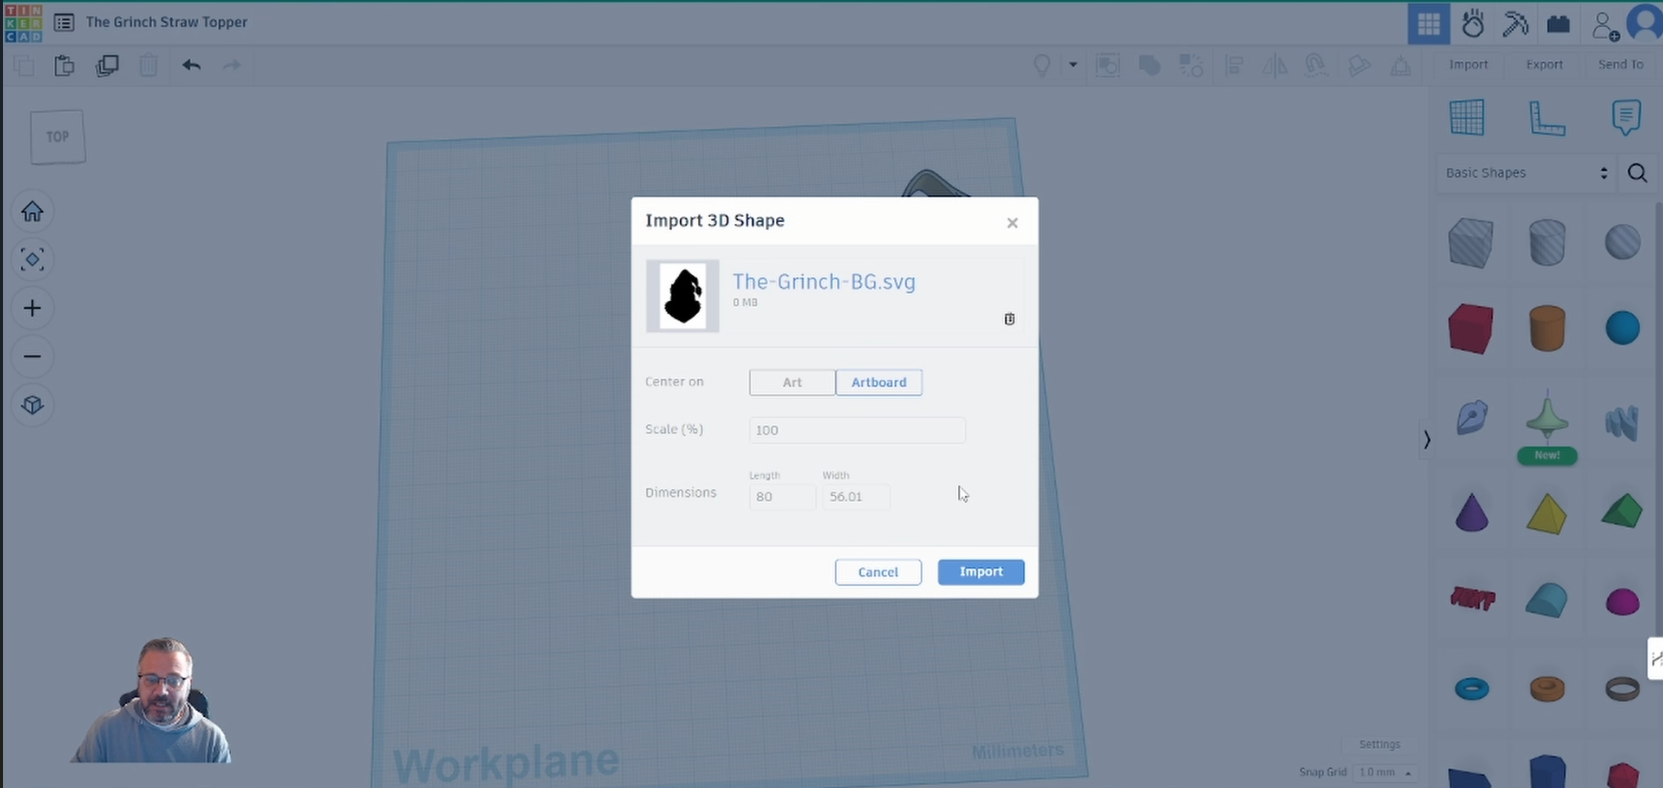
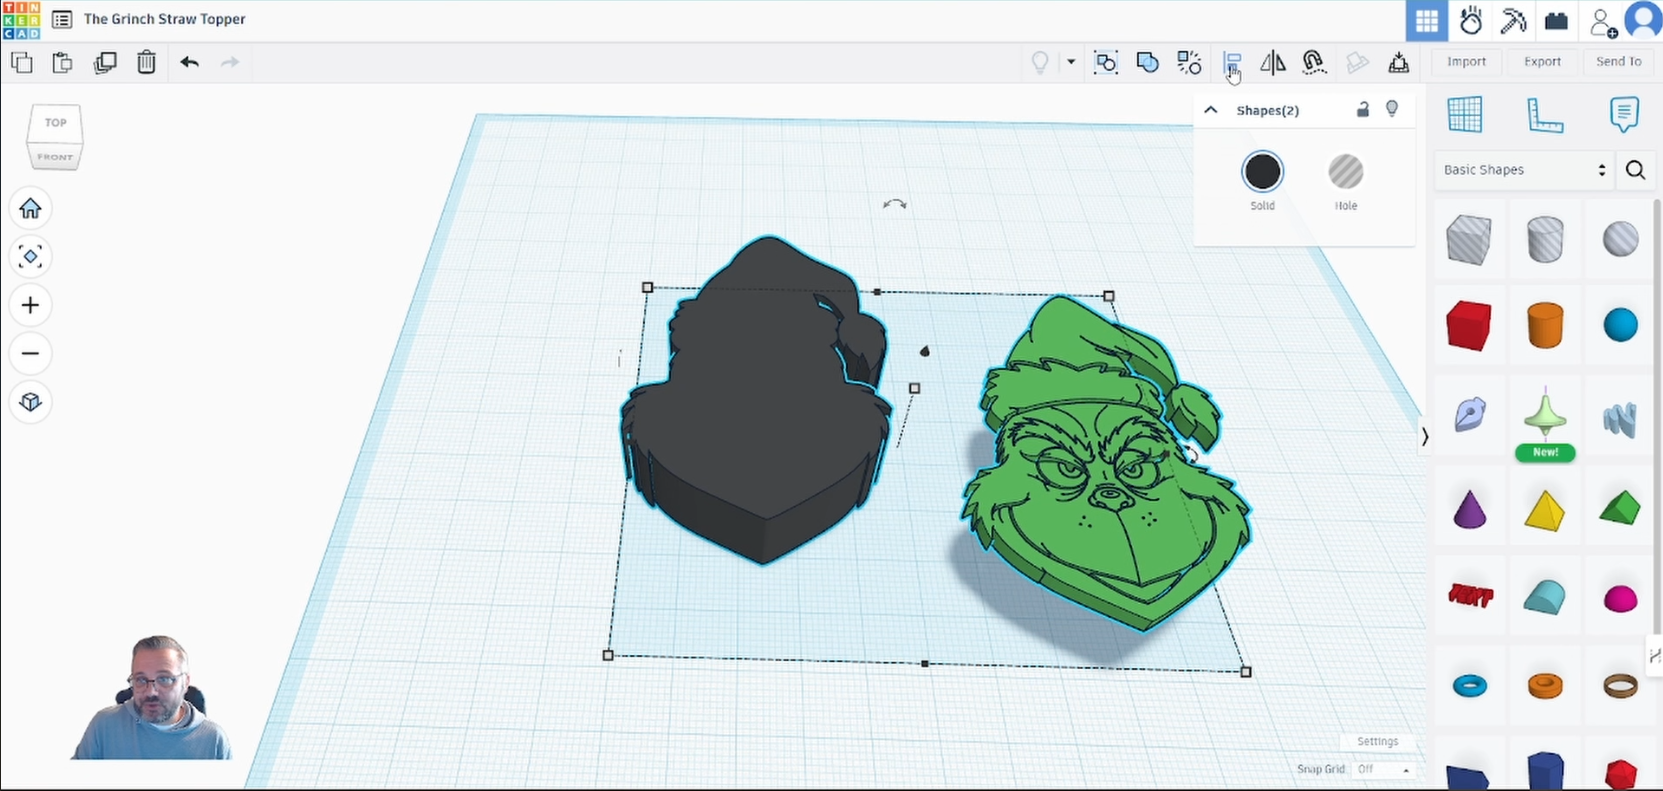
Click ‘Import’ and select both ‘svg’ files you created earlier.
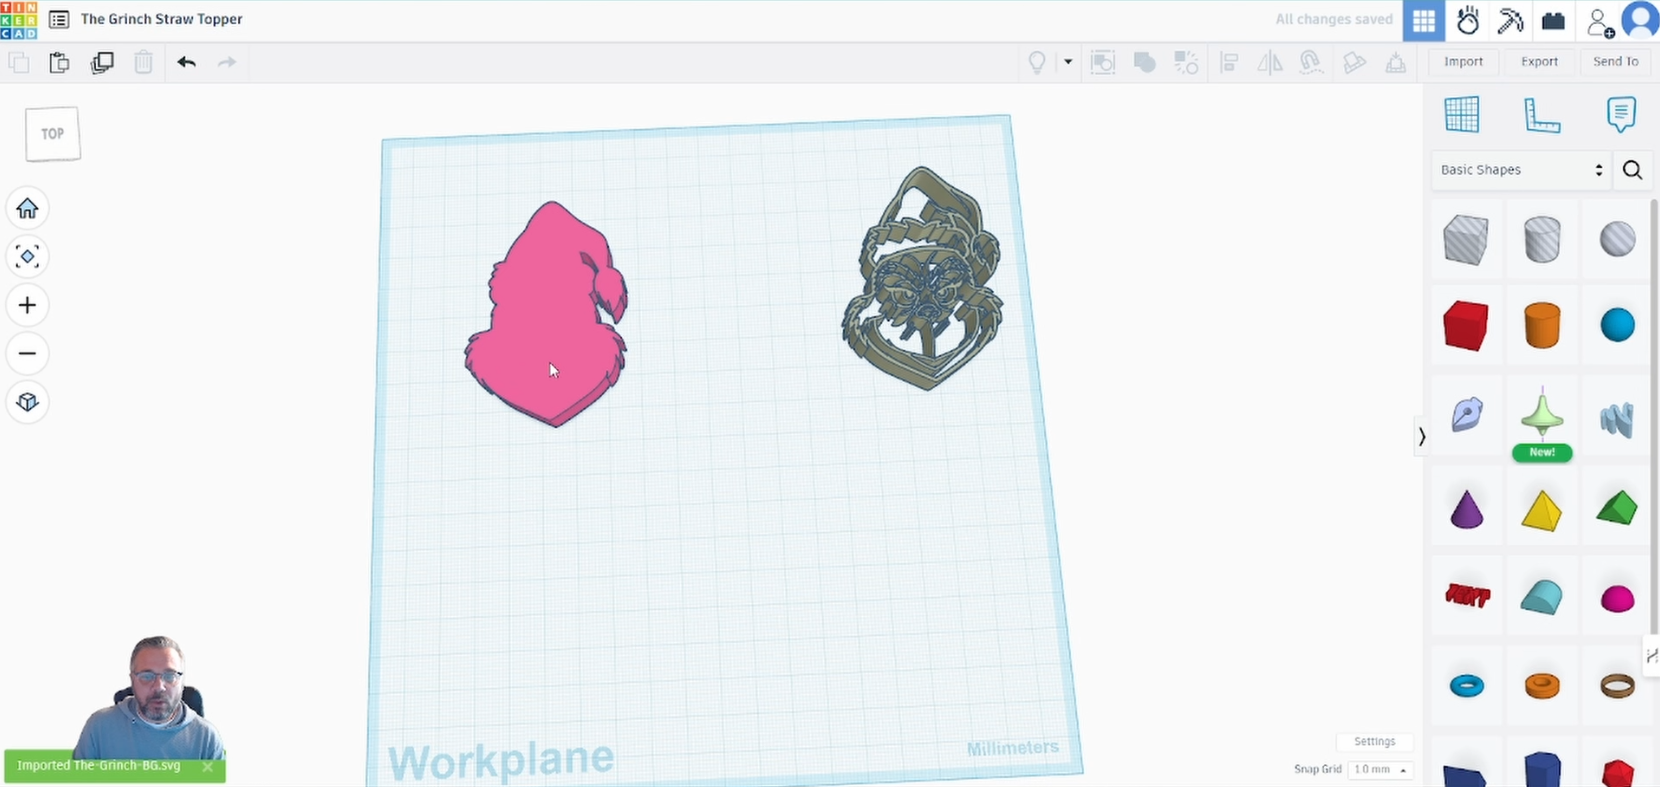
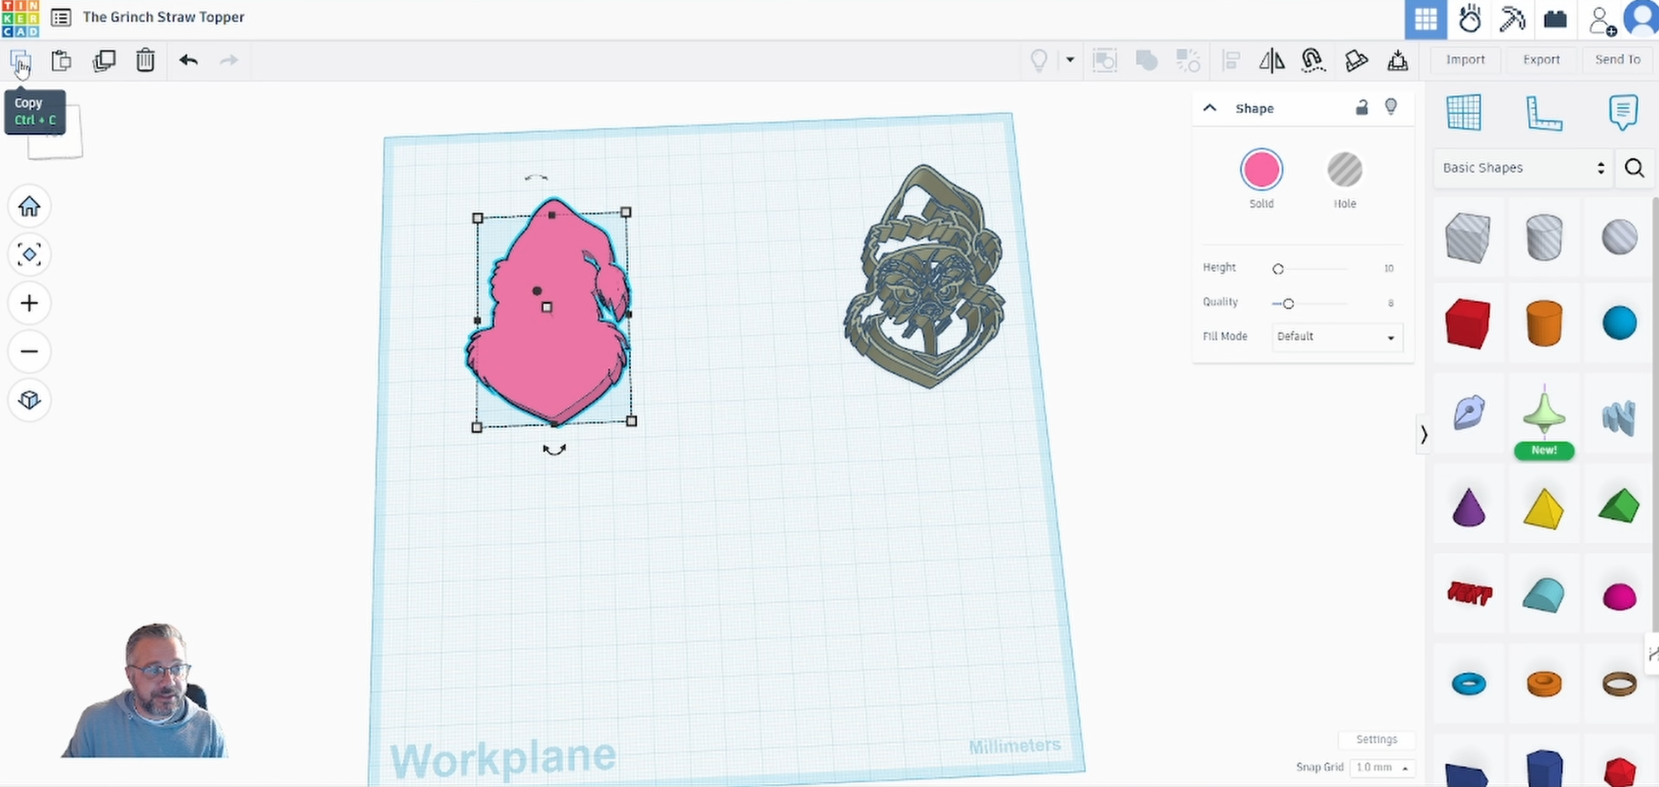
Select the background ‘svg’ and go to ‘copy’ then ‘paste’.
This copy will be the face of the design.
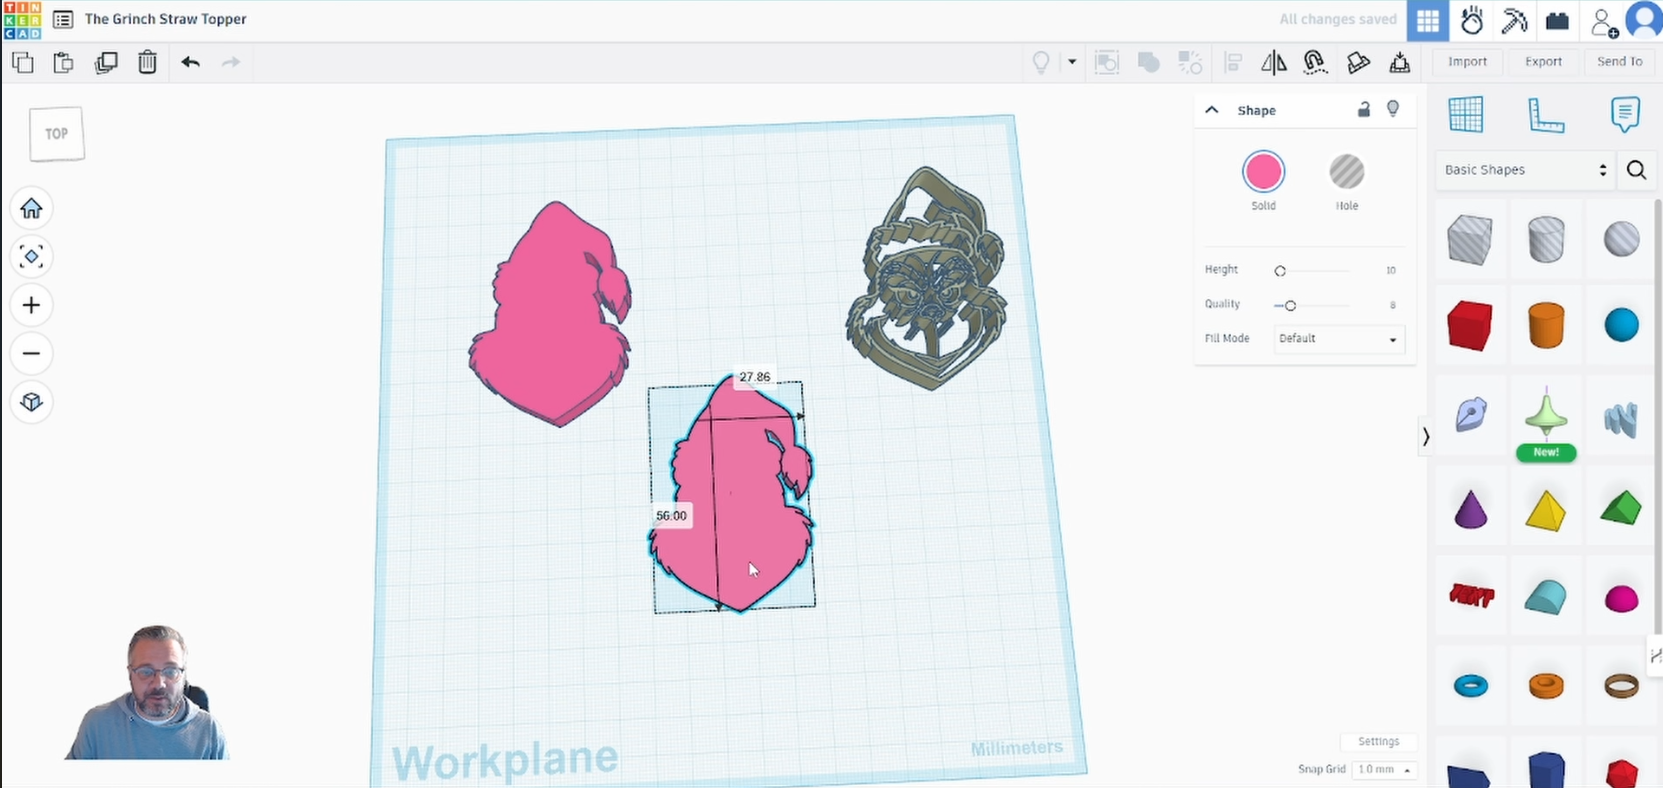
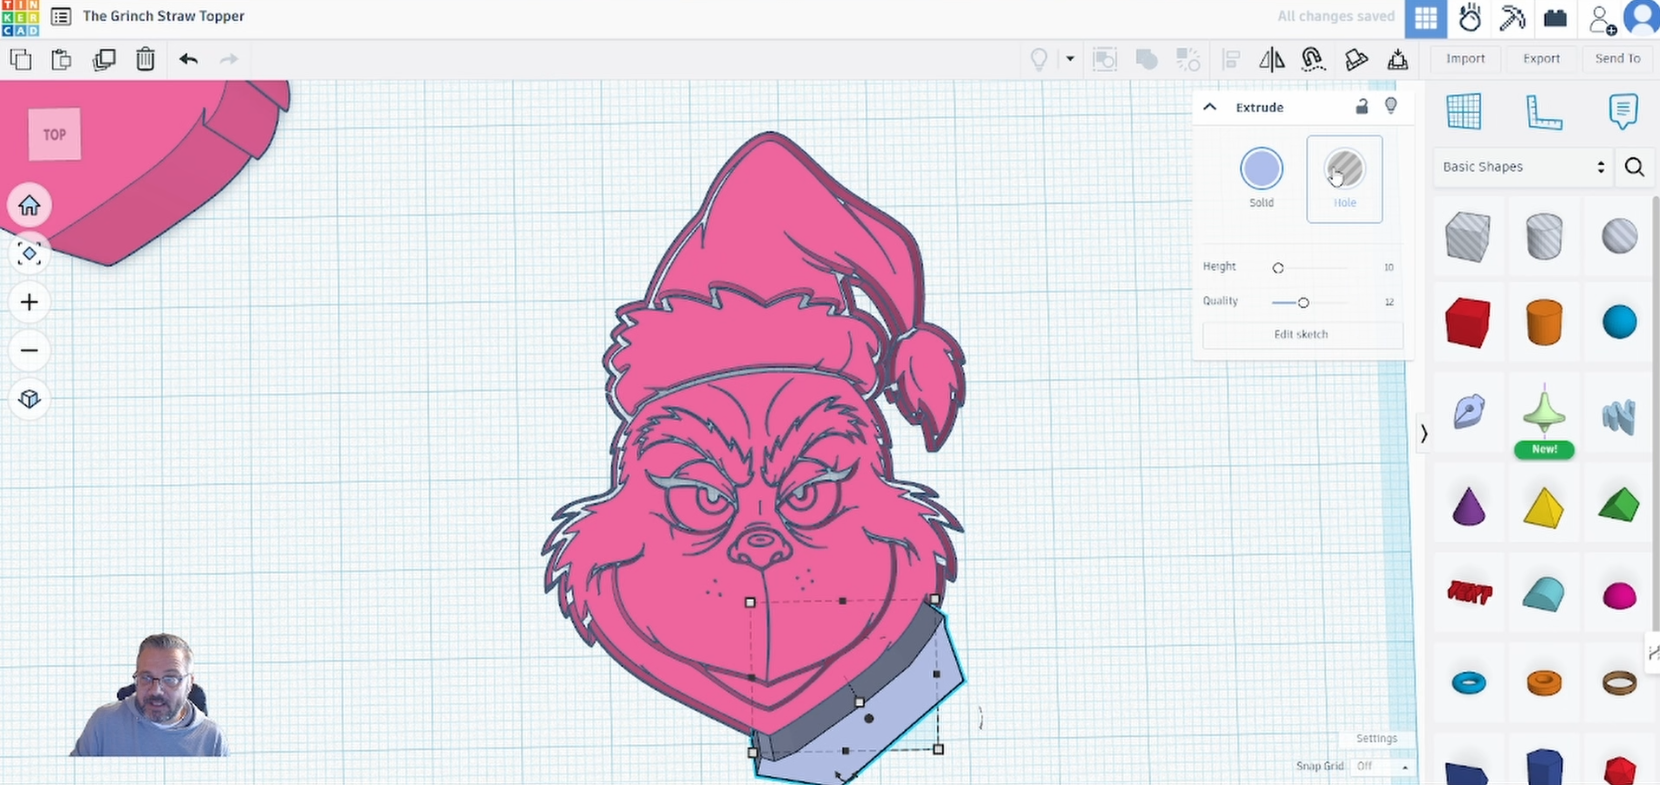
Change the height to ‘3’ this will make the design 3mm thick.
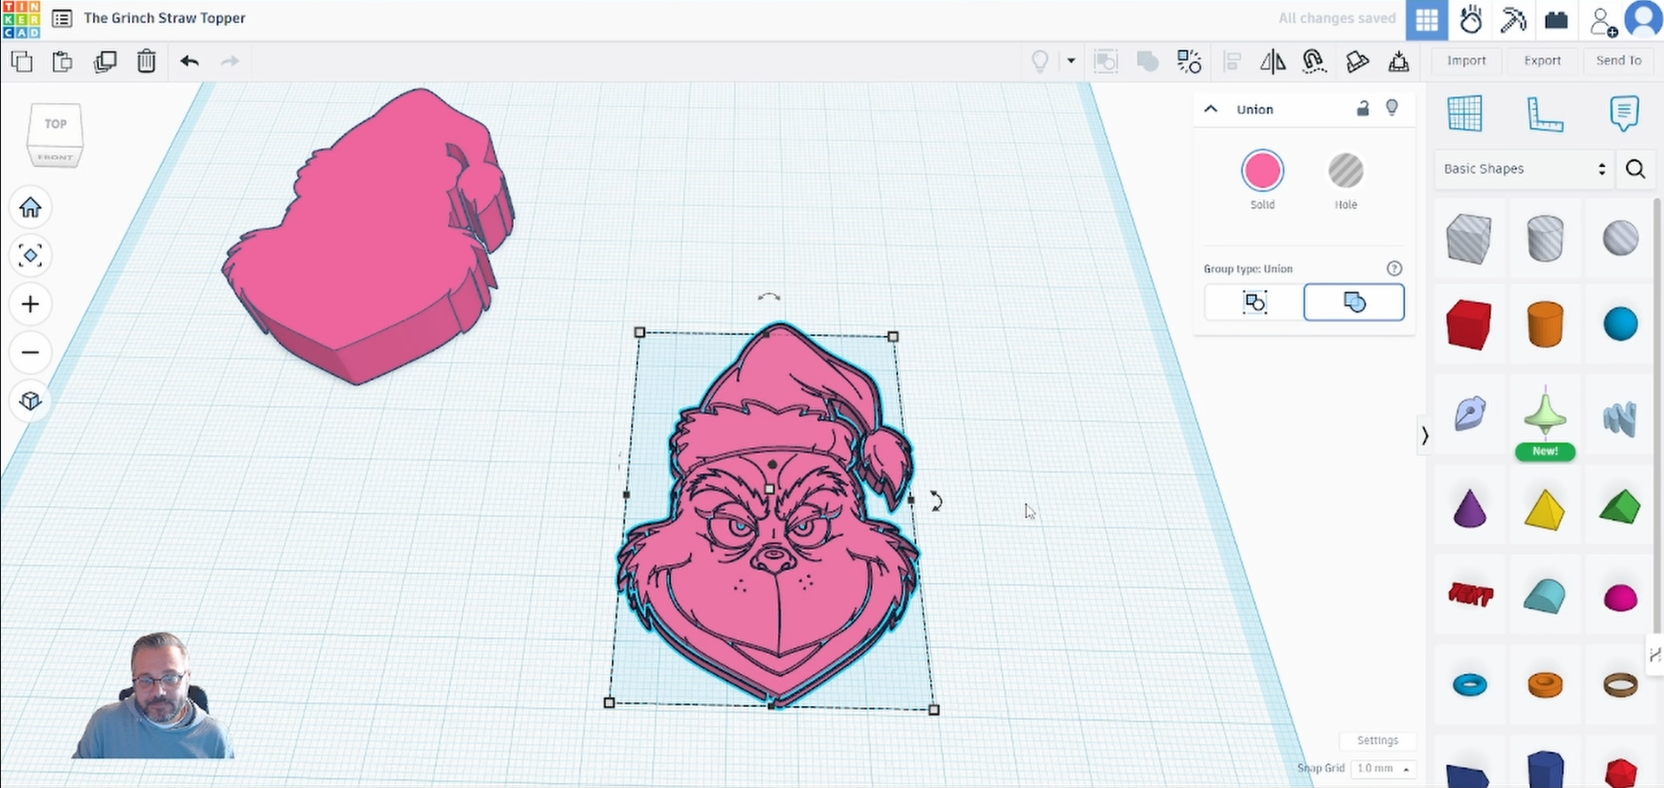
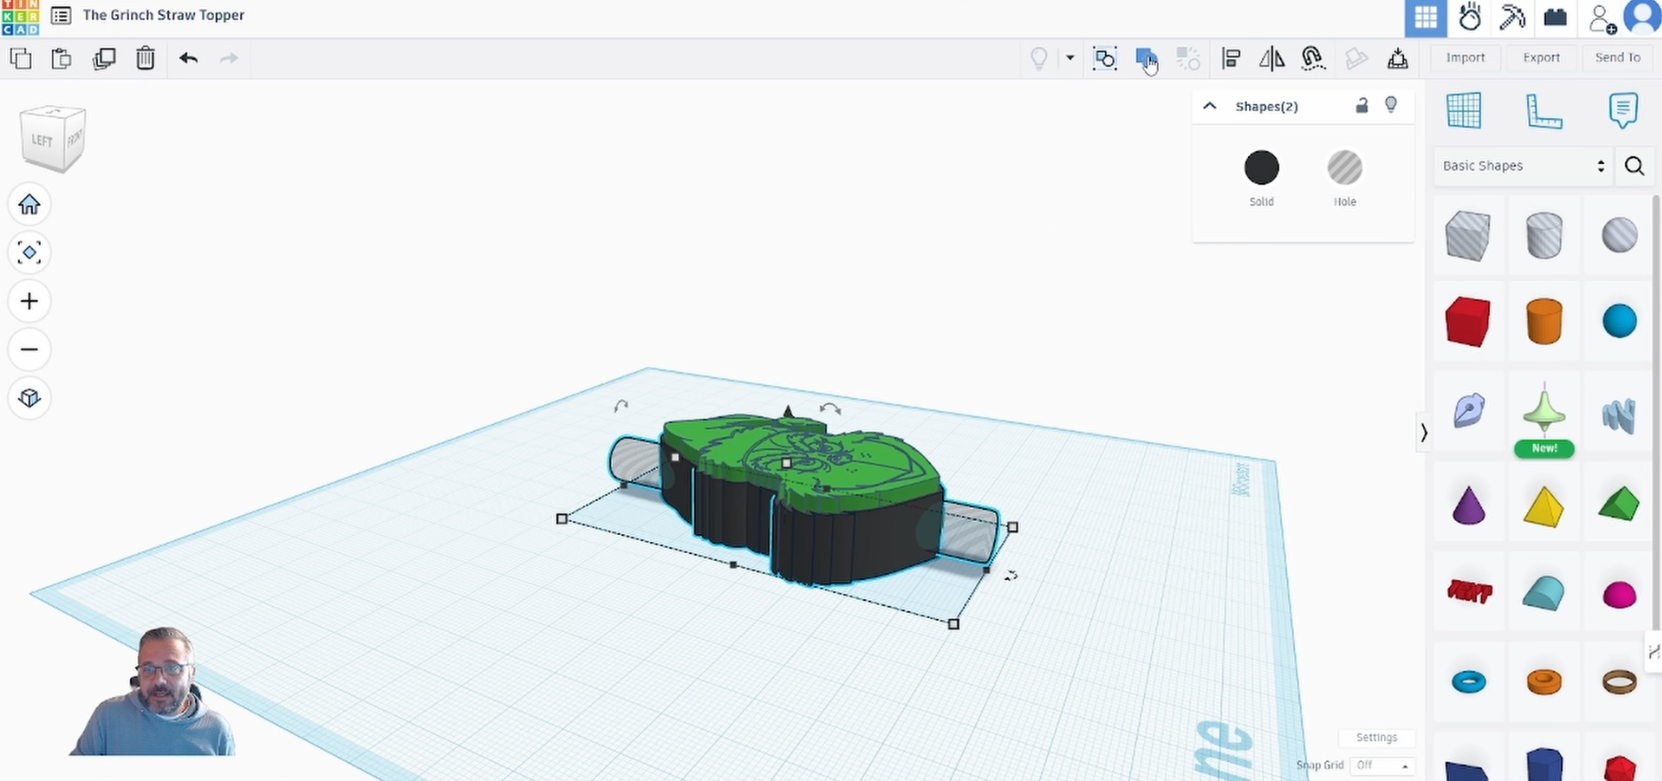
Drag or right click and select both the ‘face’ and the outline designs.
Select the ‘Align’ feature.
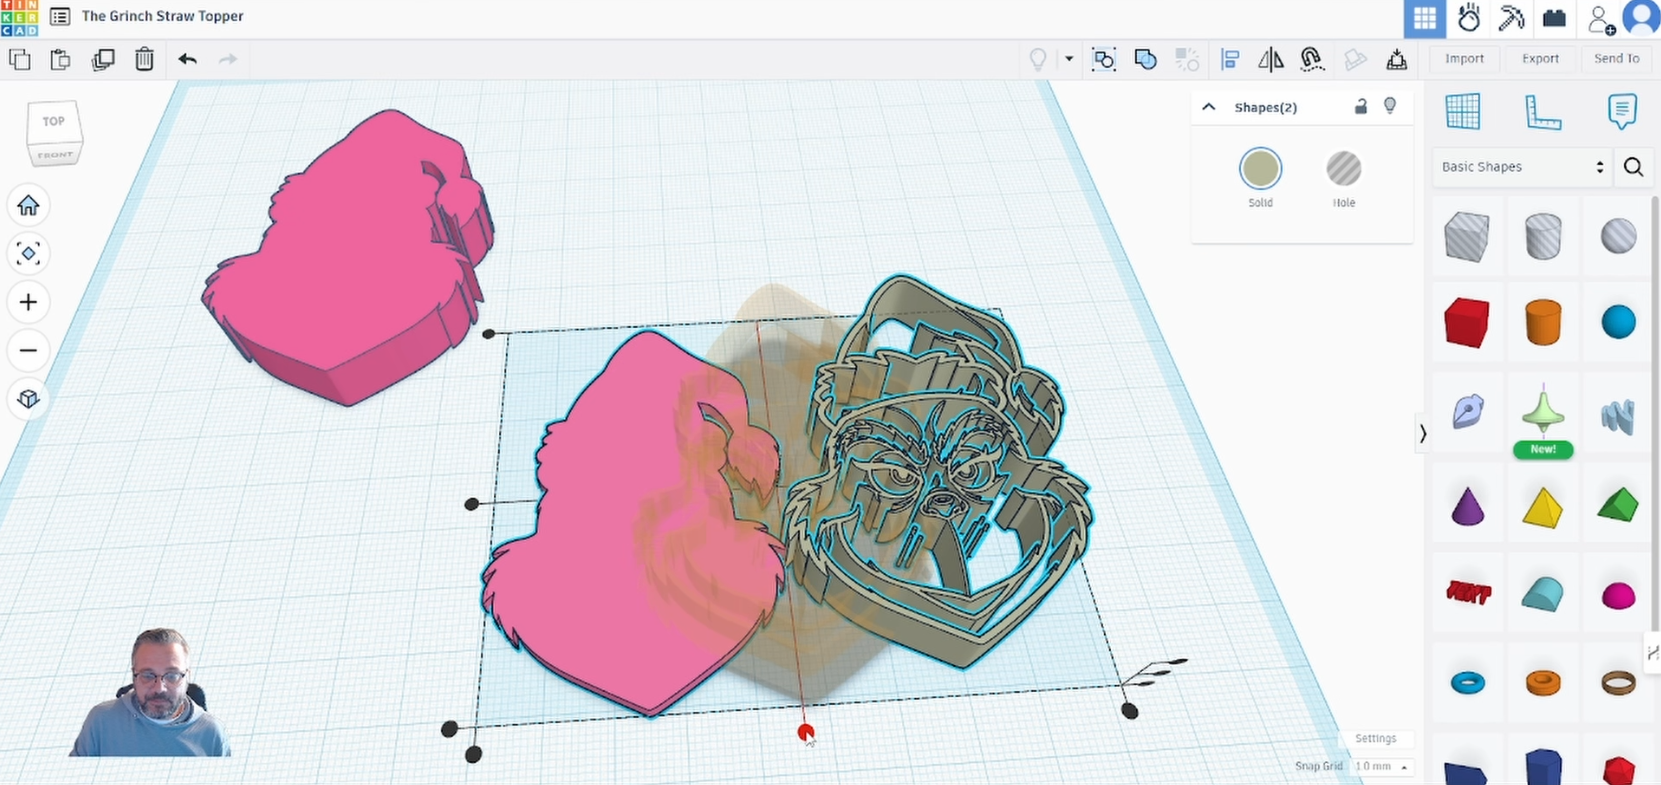
select the centre handles on both the bottom and side. This will perfectly align the two designs together.
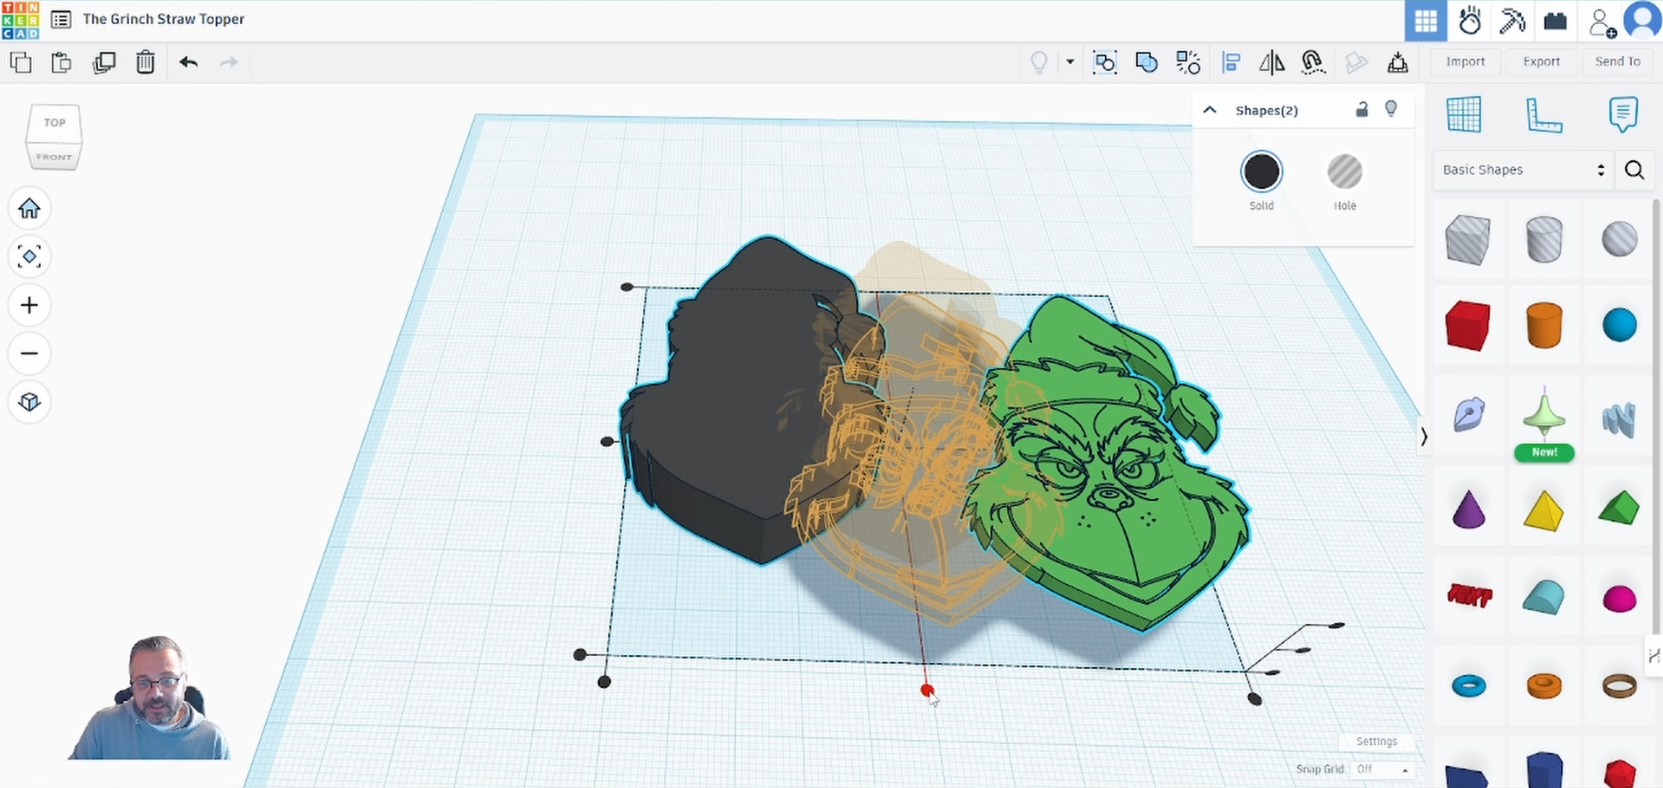
Turn the outline shape to a hole.
Note: Make sure to only select the outline shape.
Now select ‘Union Group’ and this will cut out the design in the ‘face’.
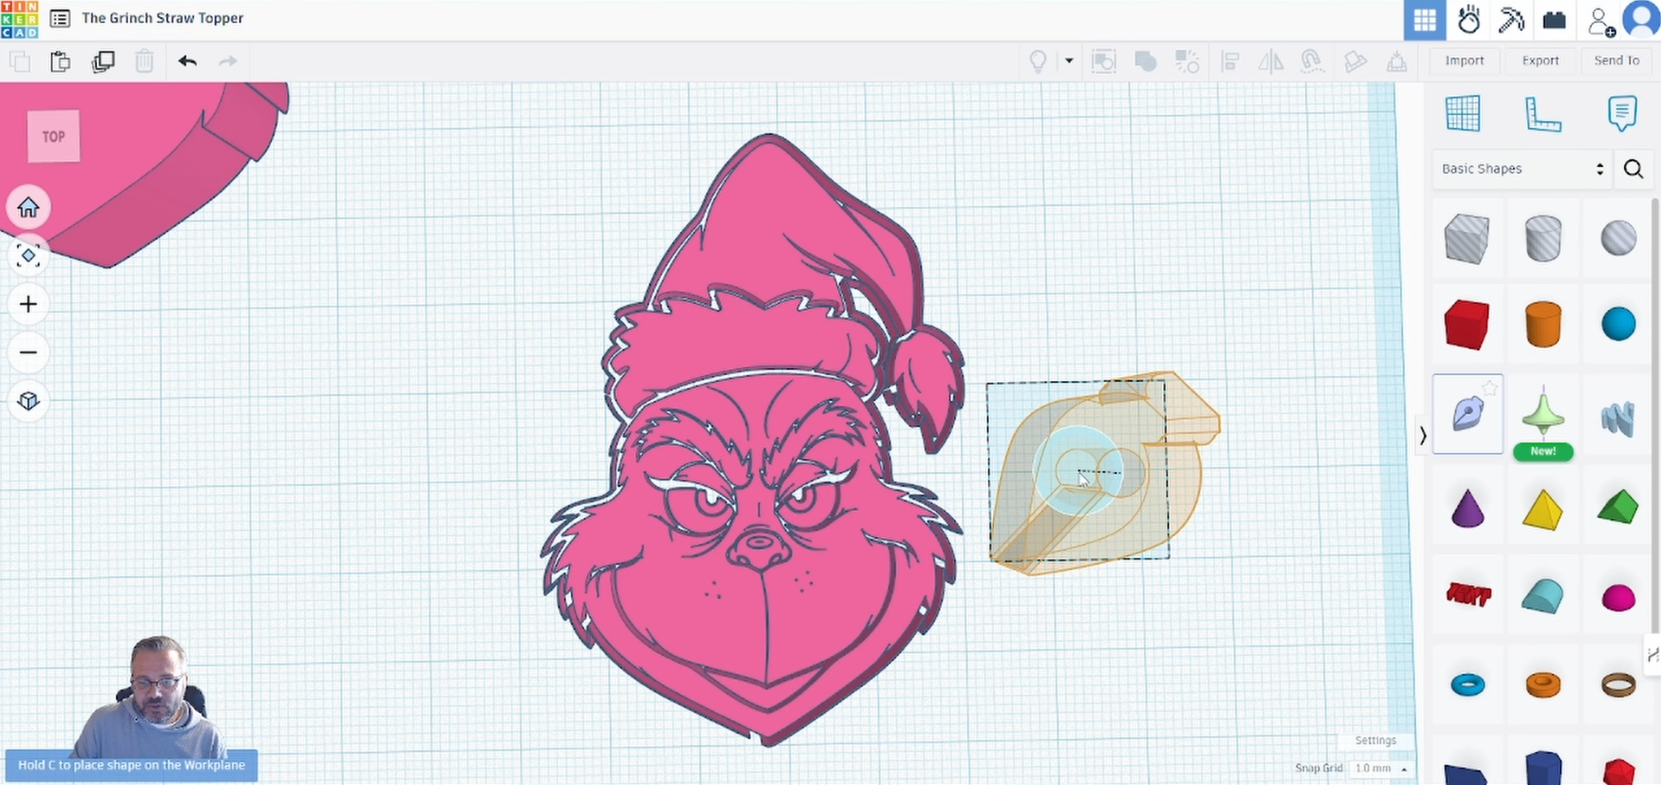
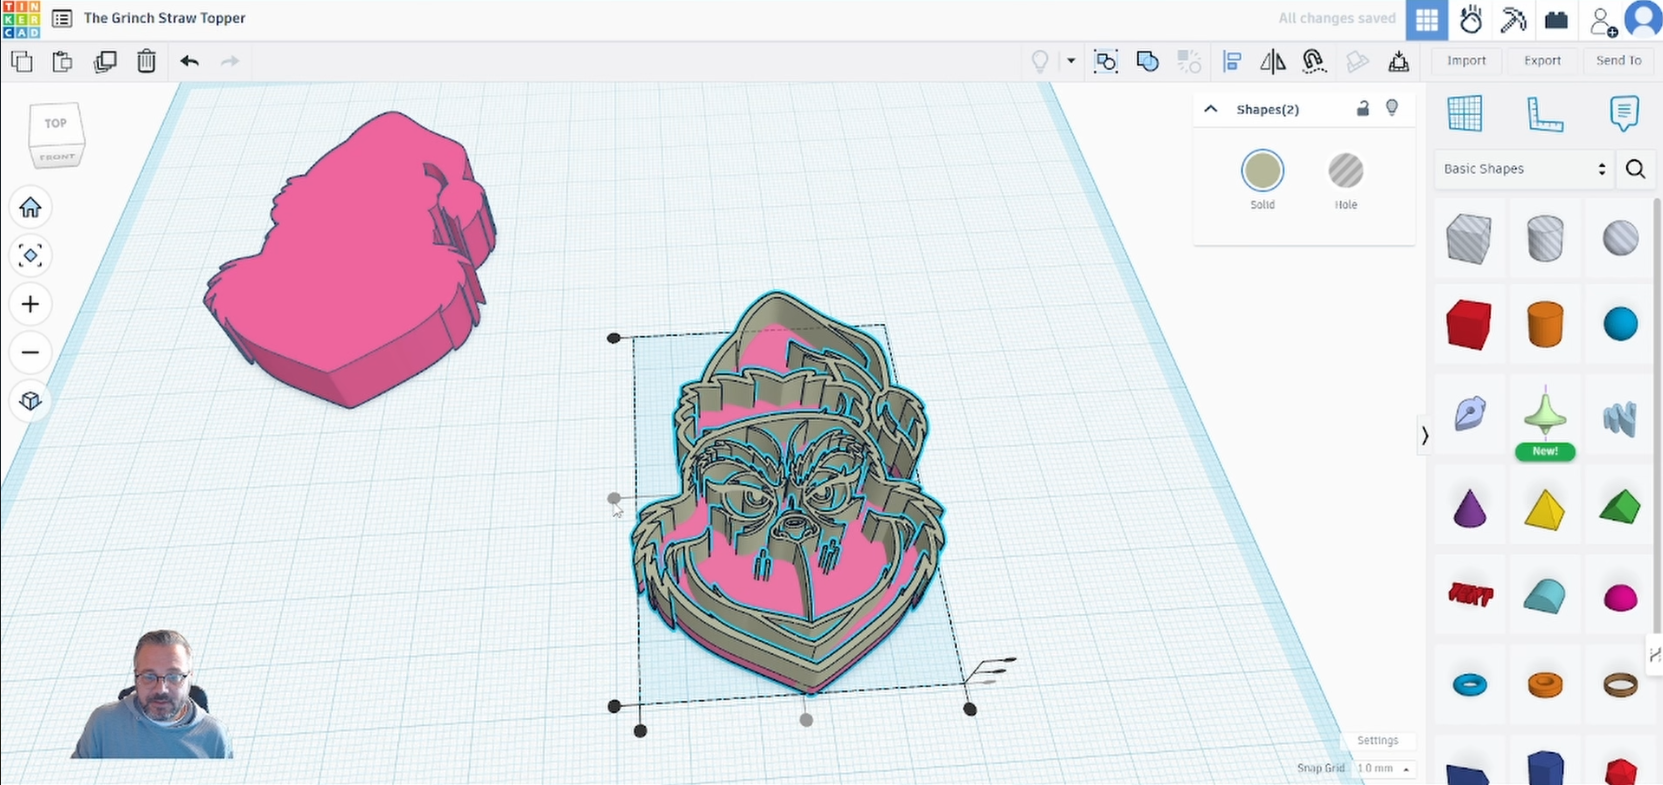
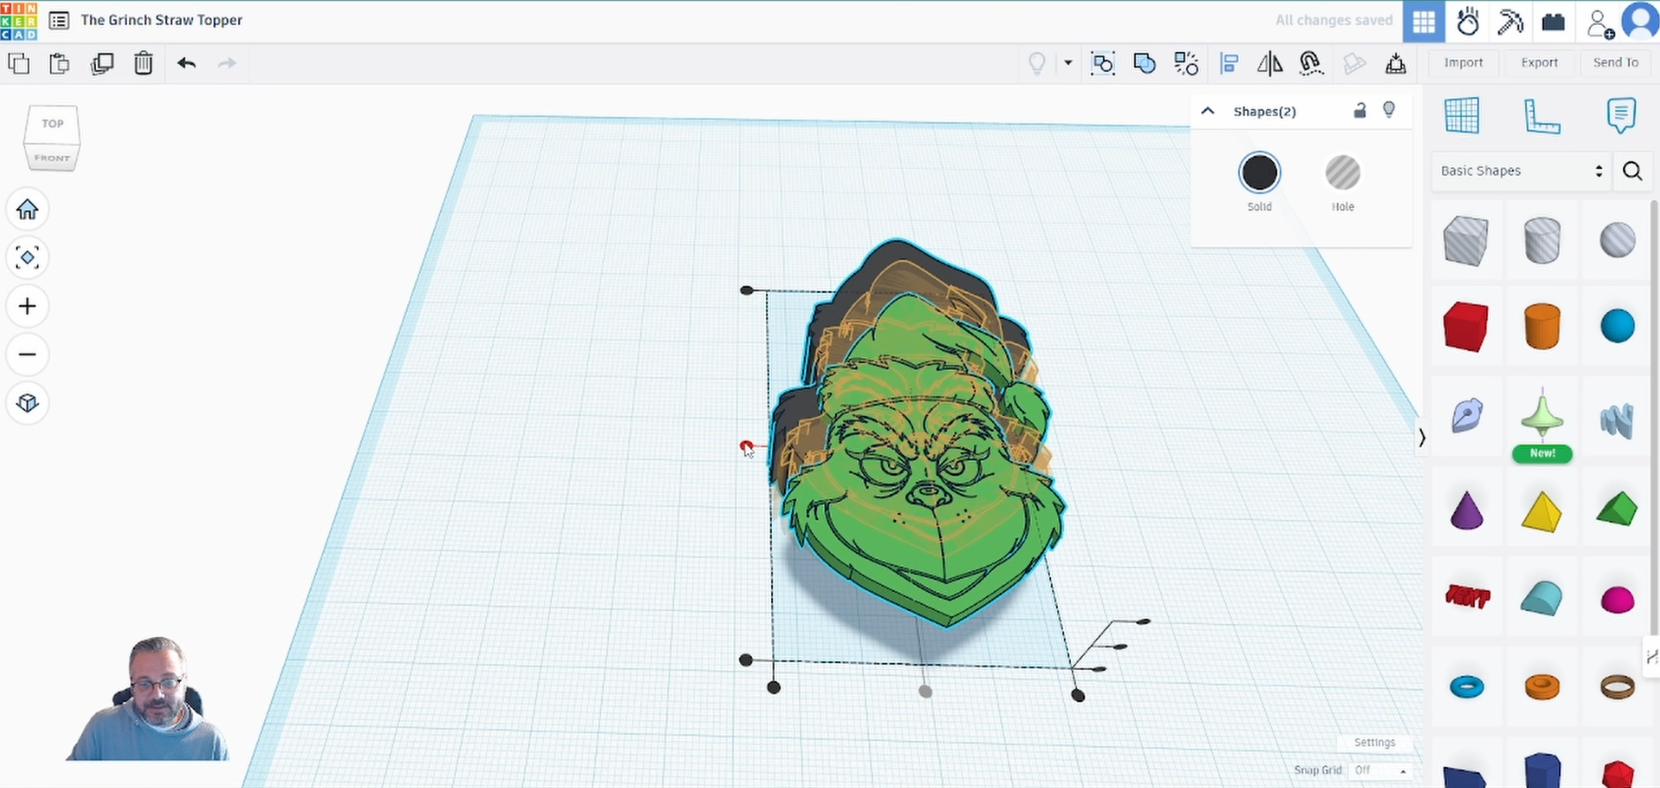
Select the ‘Sketch’ tool.
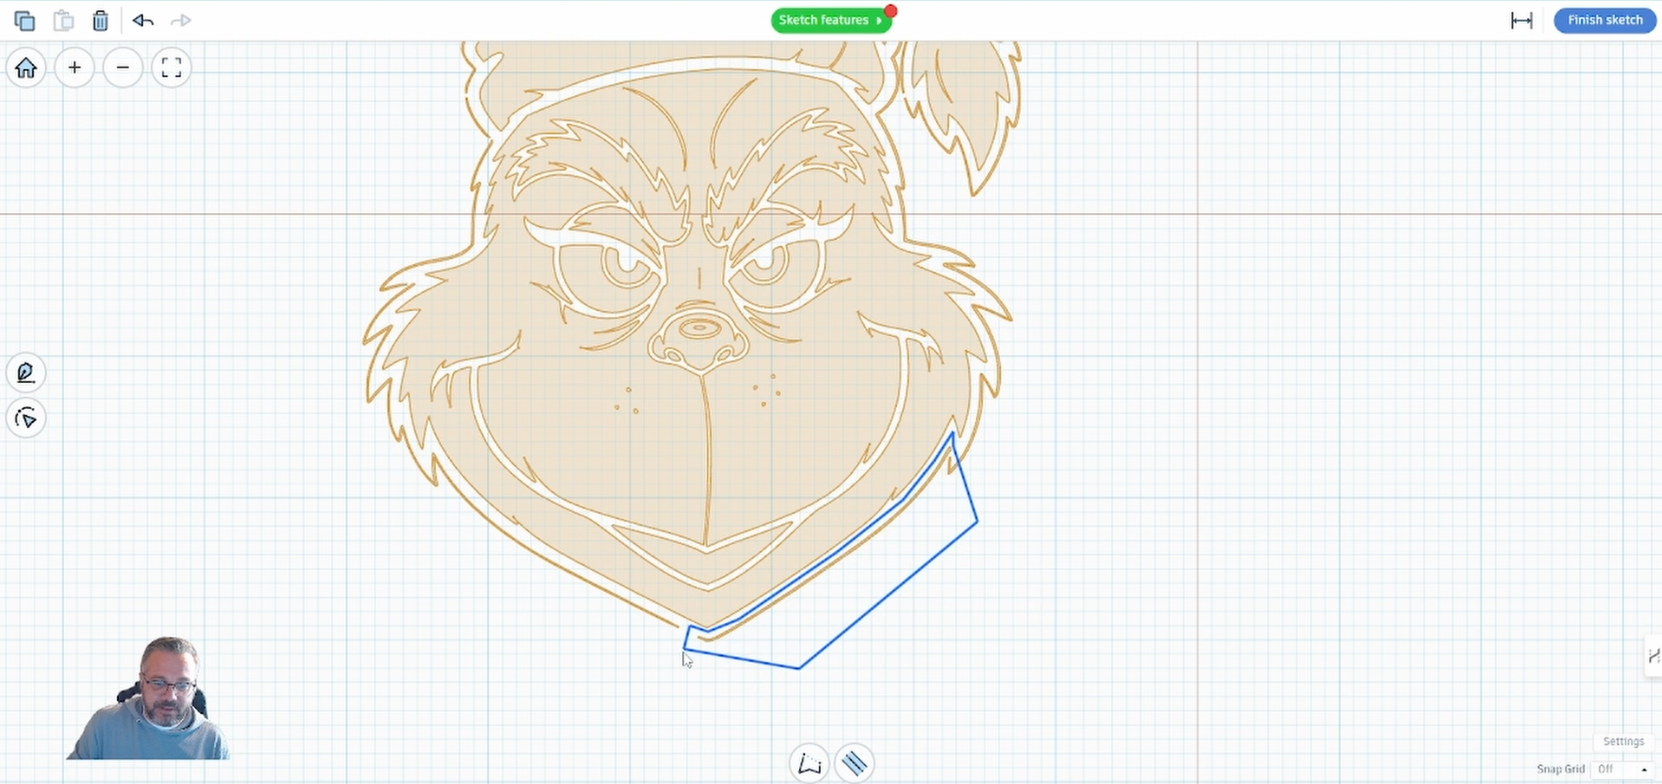
Click and around the areas you don’t want to include in your design.
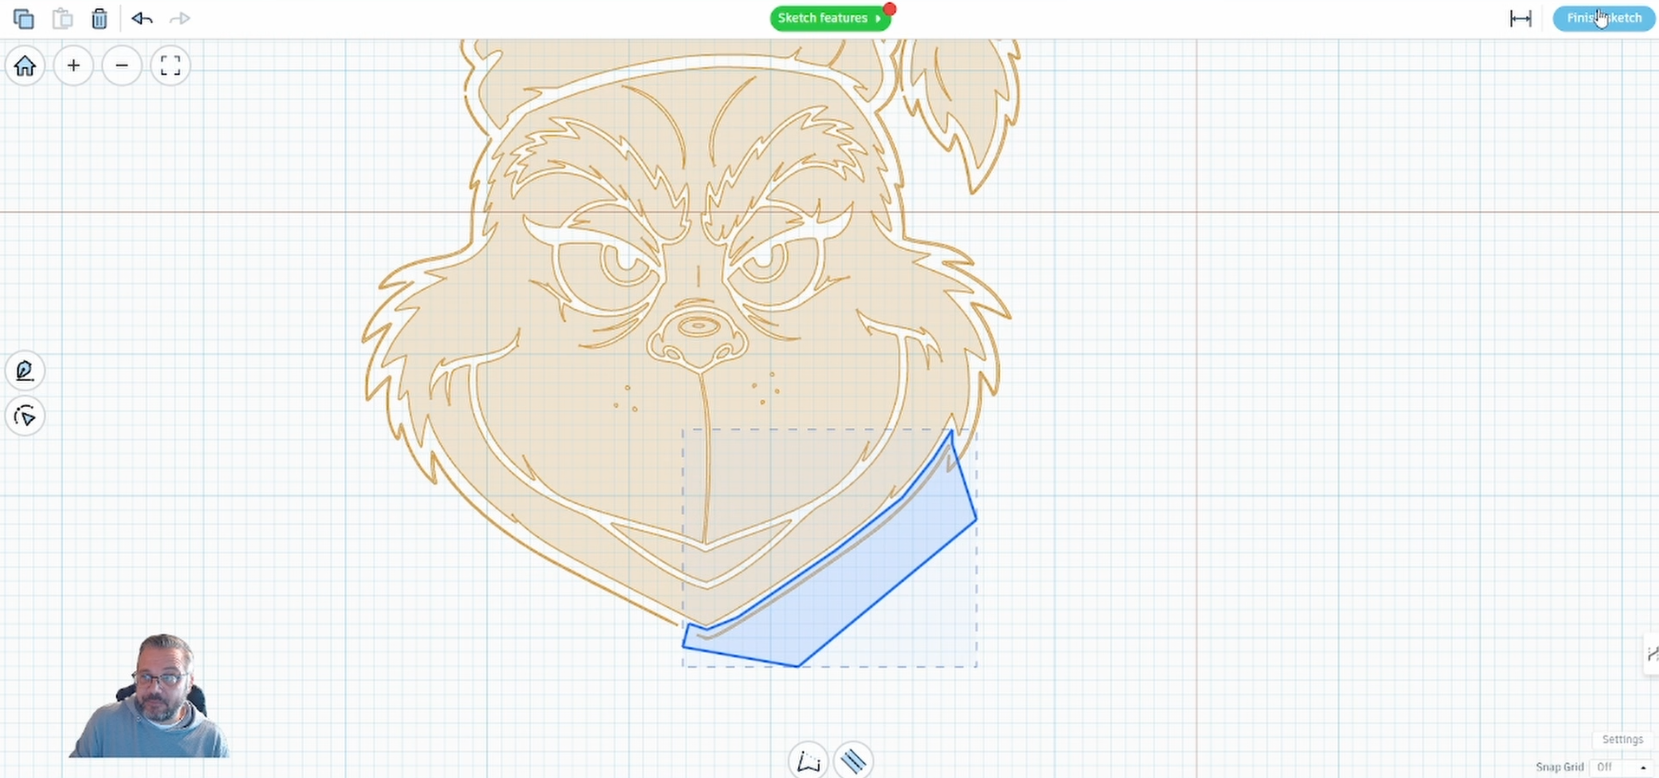
When you have selected the piece you want to remove select ‘Finish Sketch’.
The sketch will be a solid so convert it to a hole.
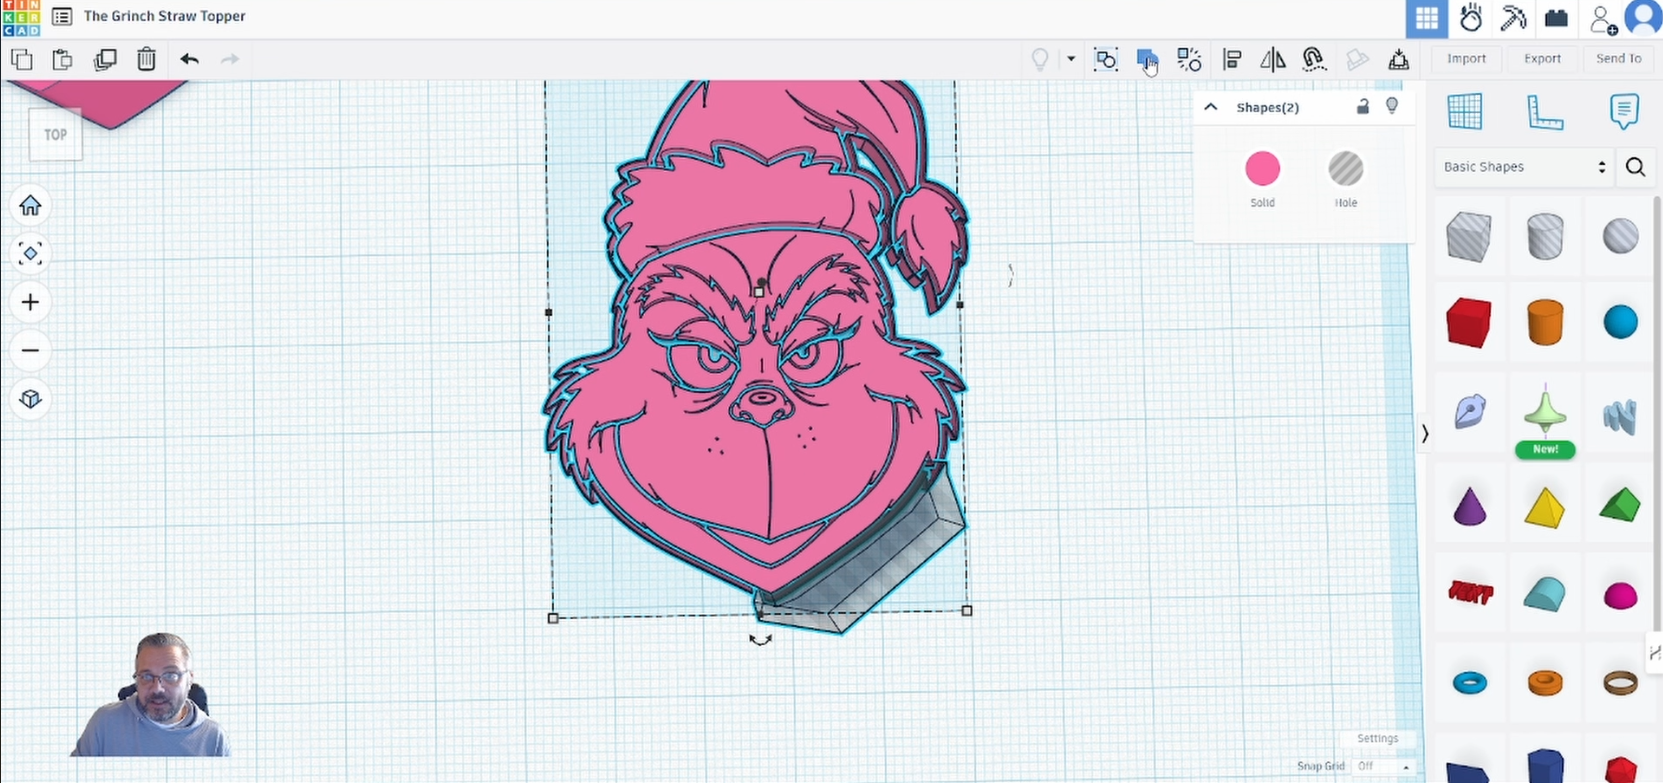
Select ‘Union Group’ this will remove the unwanted piece(s).
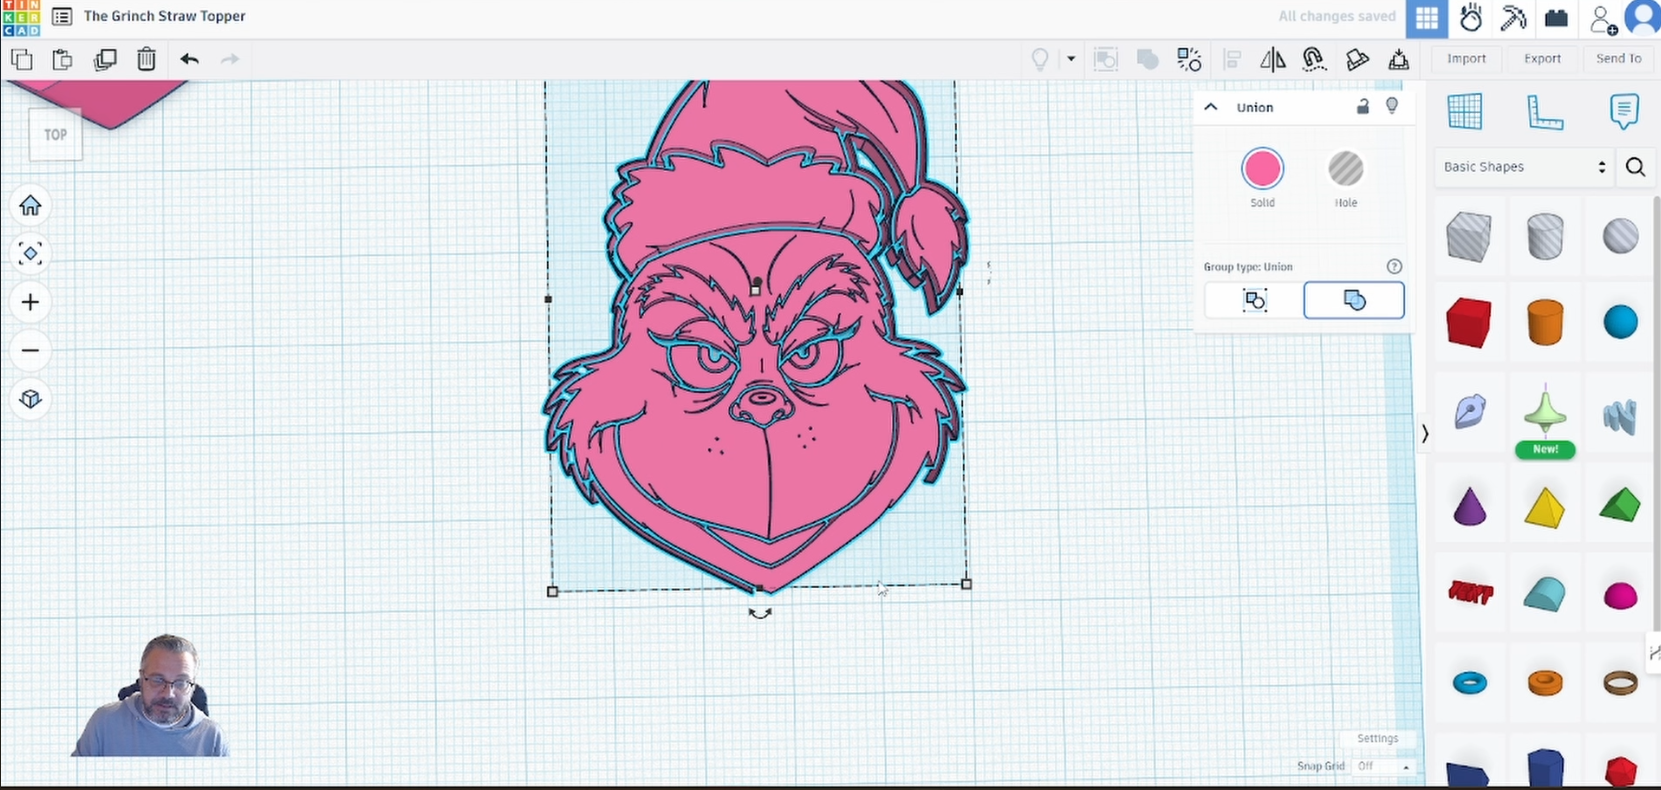
Continue doing this to get a ‘clean’ image ready for printing.
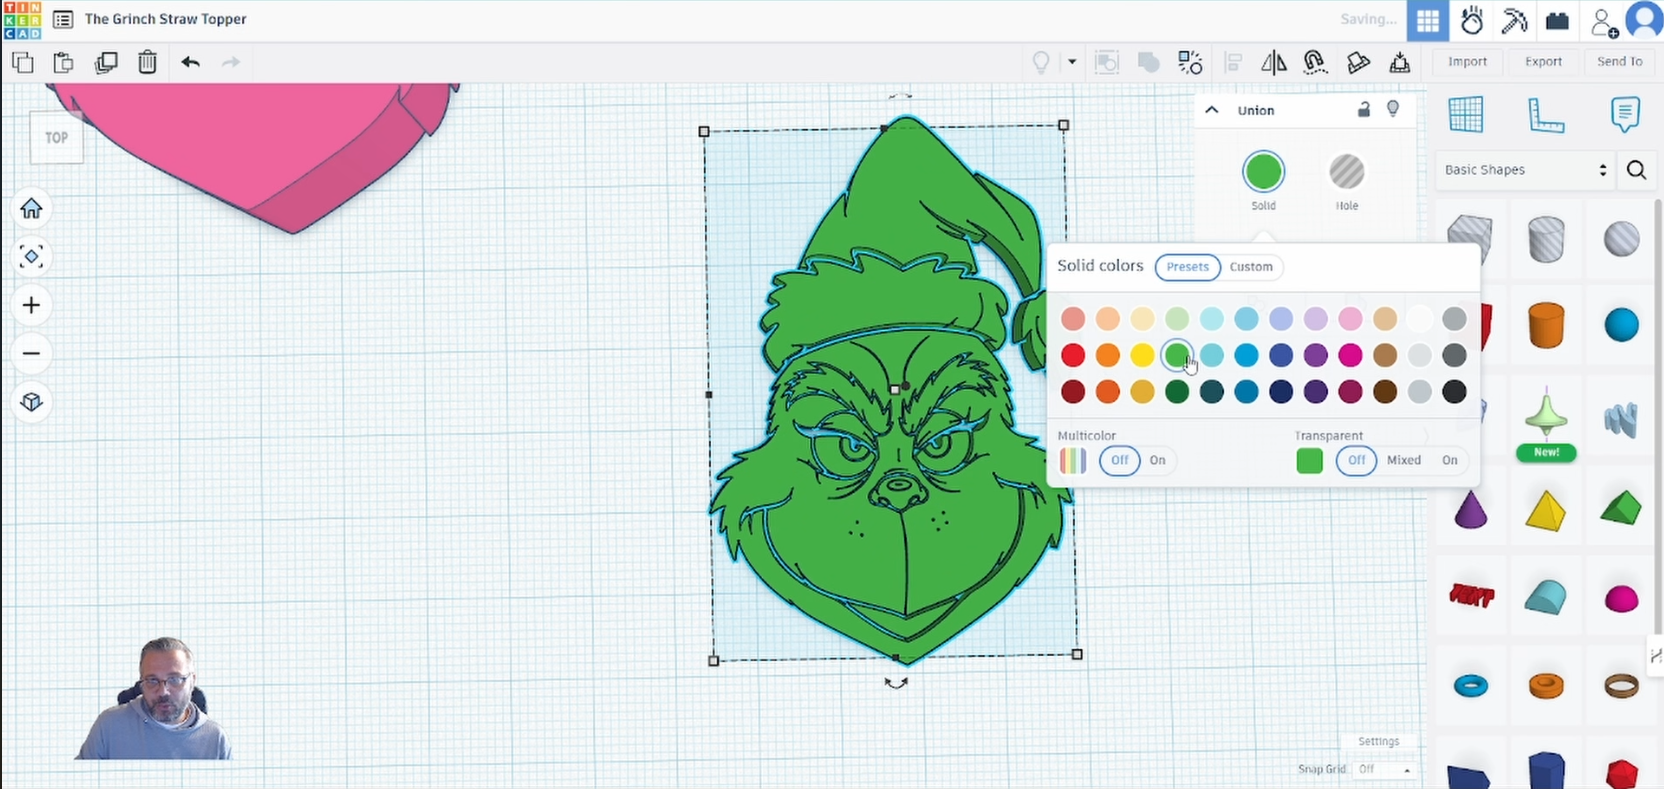
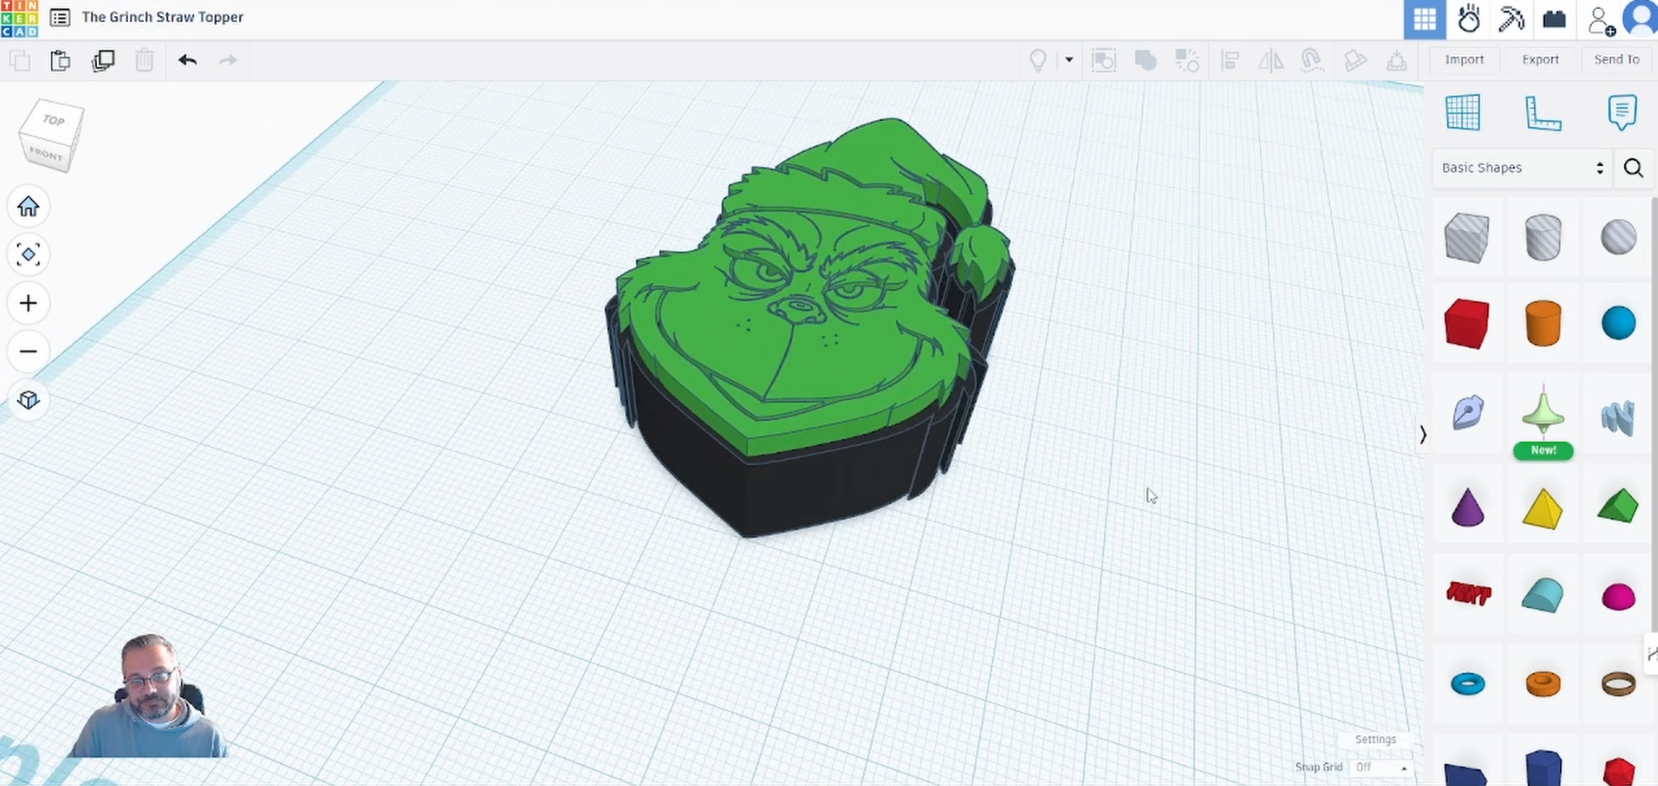
We can change the colour of the design by selecting the ‘Solid’ and changing to any colour you desire.
Note: this is just for design purpose and will not be carried over to the 3d printing software.
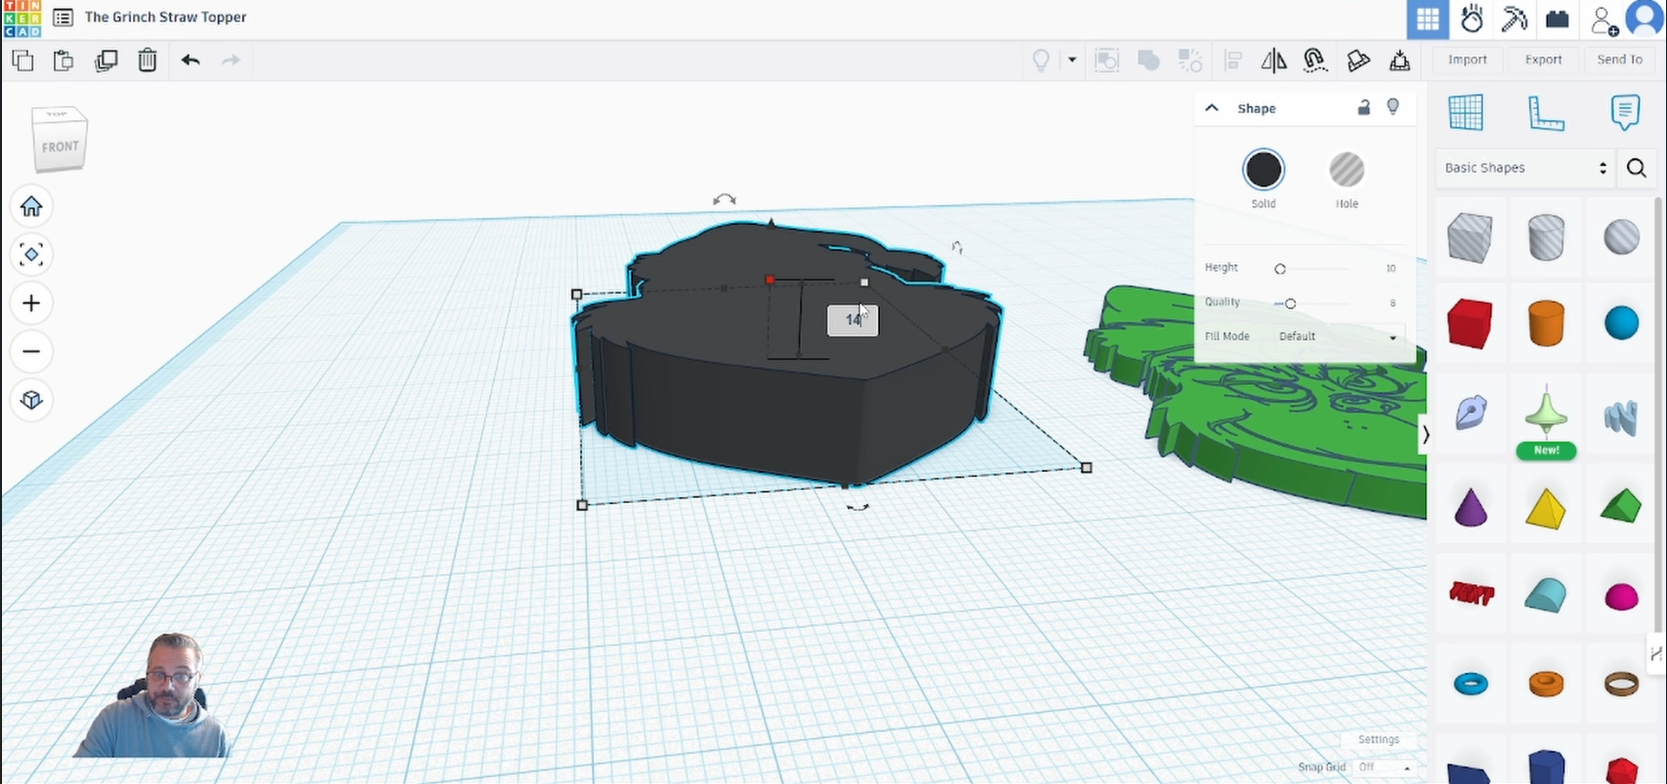
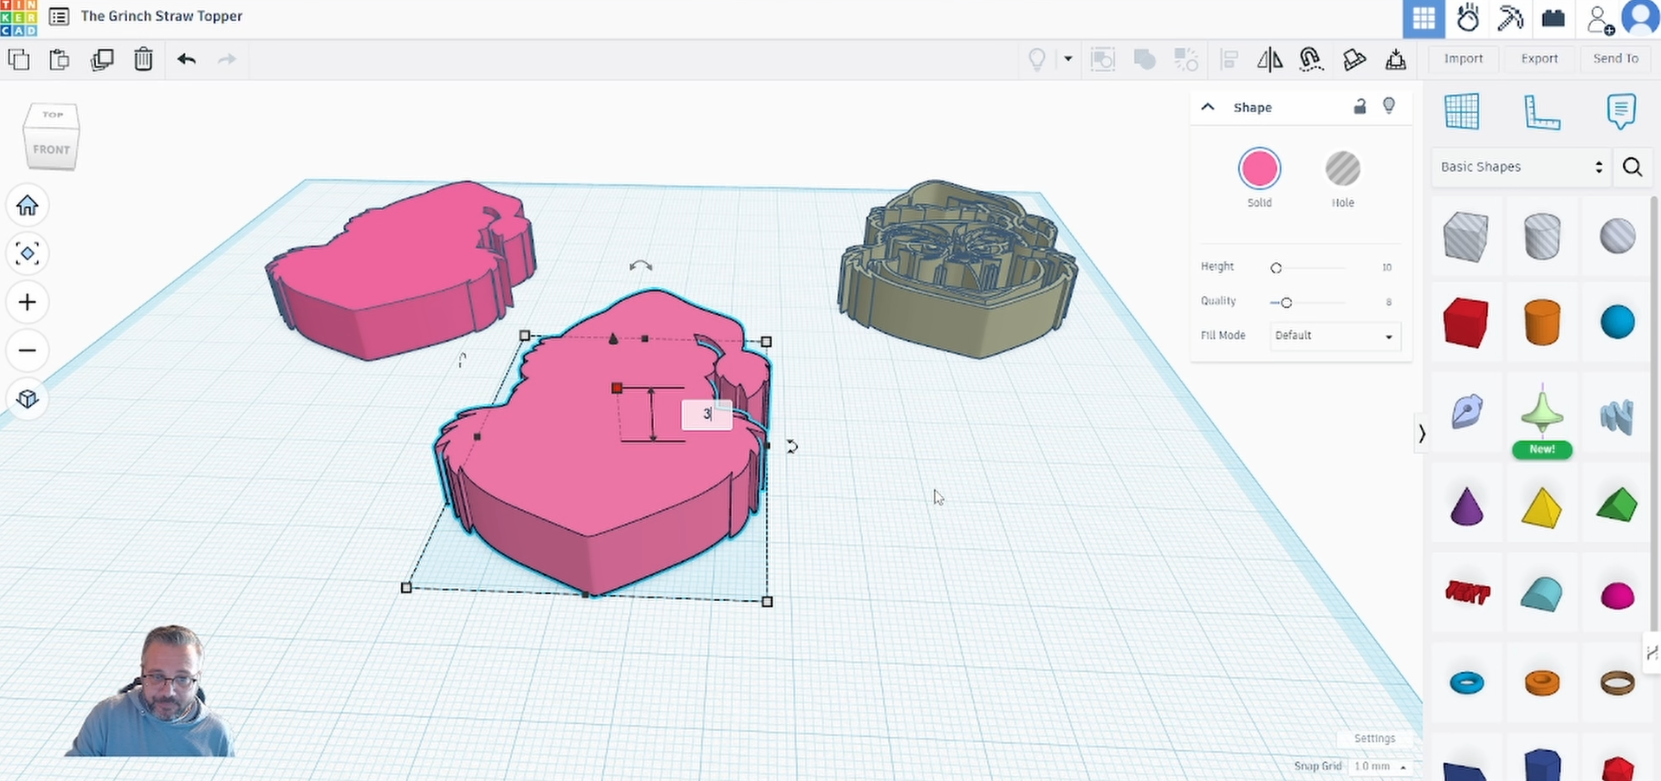
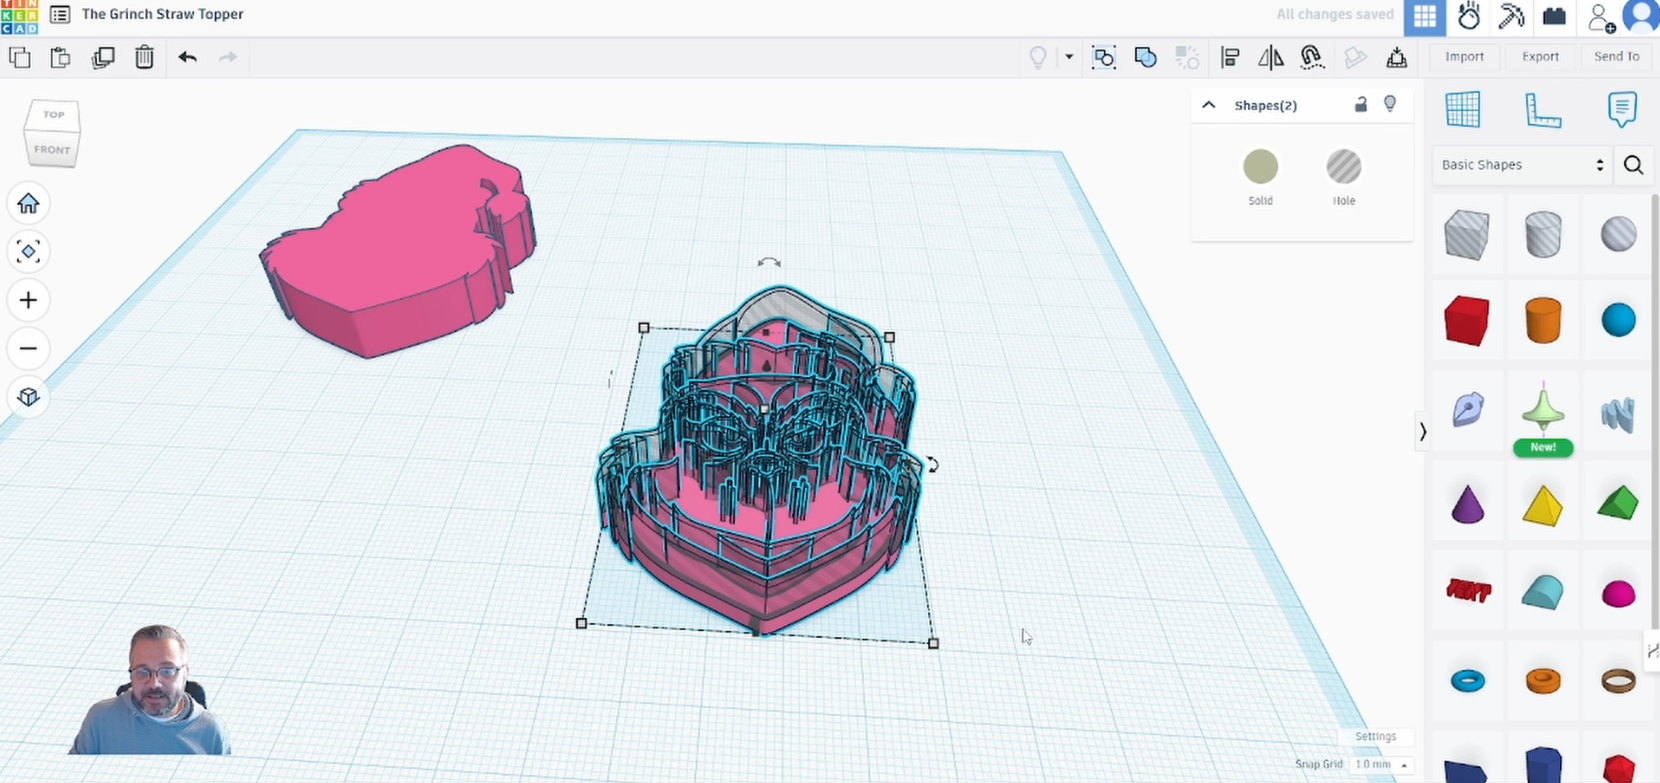
Select the background design and change the height to ’14’. This should be the perfect depth for a Stanley straw topper.
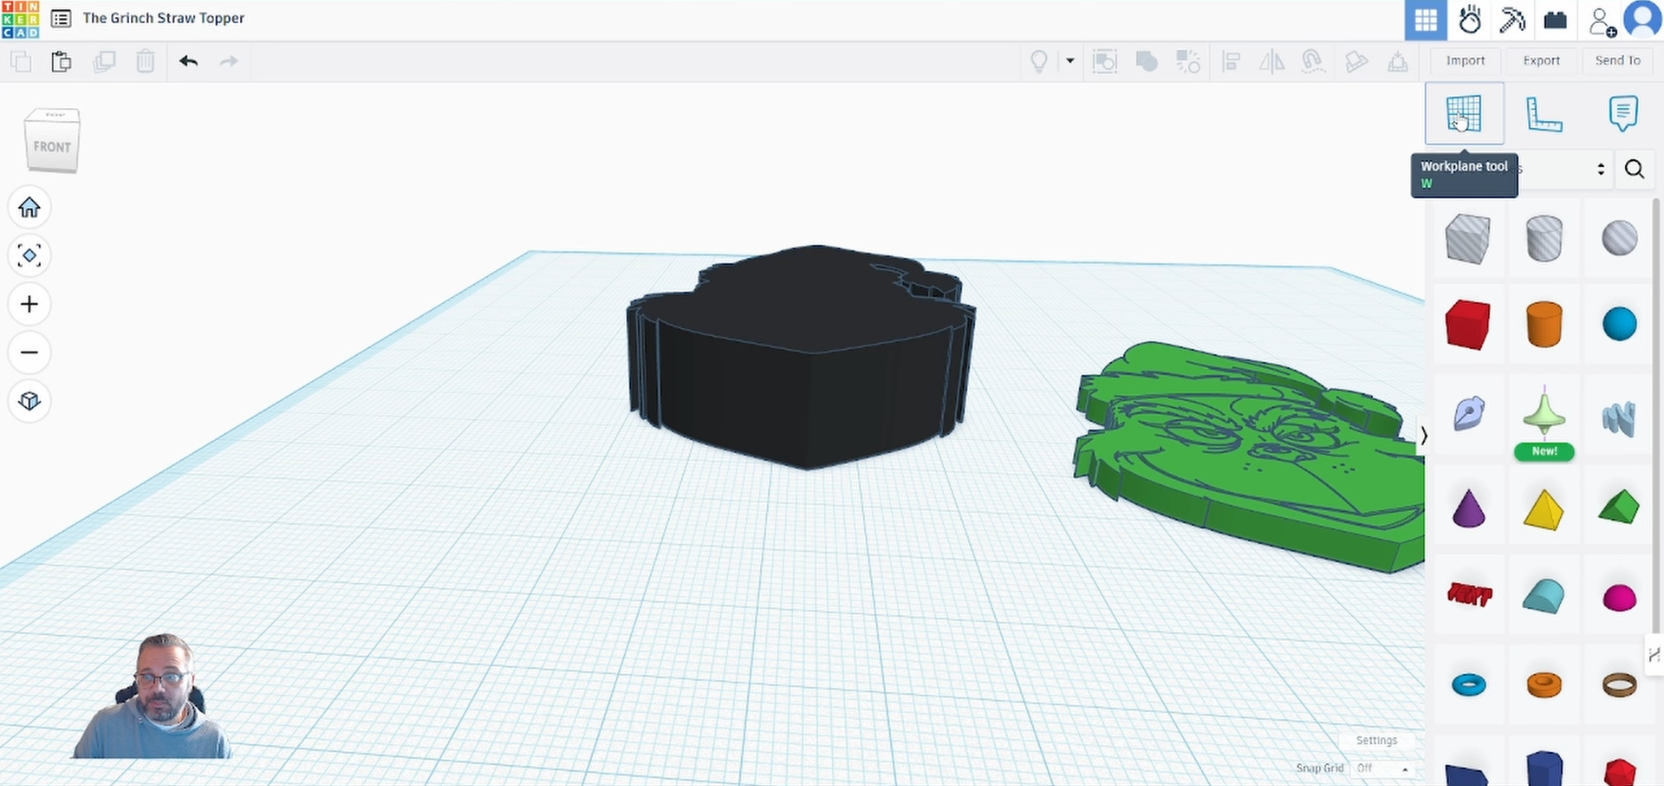
Select ‘Workplane Tool’ and click on the background uppermost face.
This will change the floor from the default to on top of the background design.
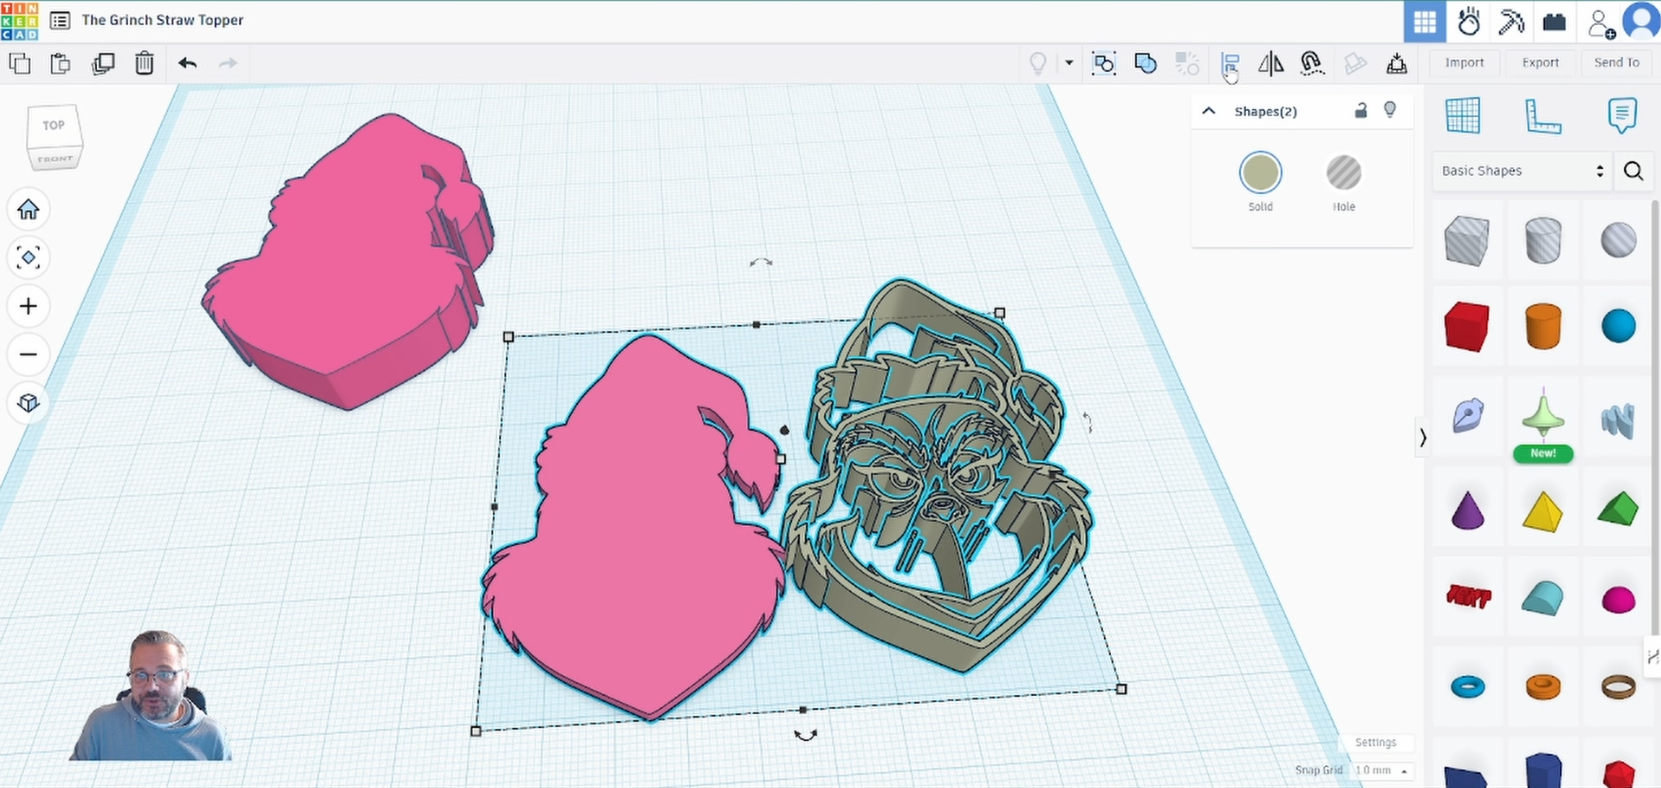
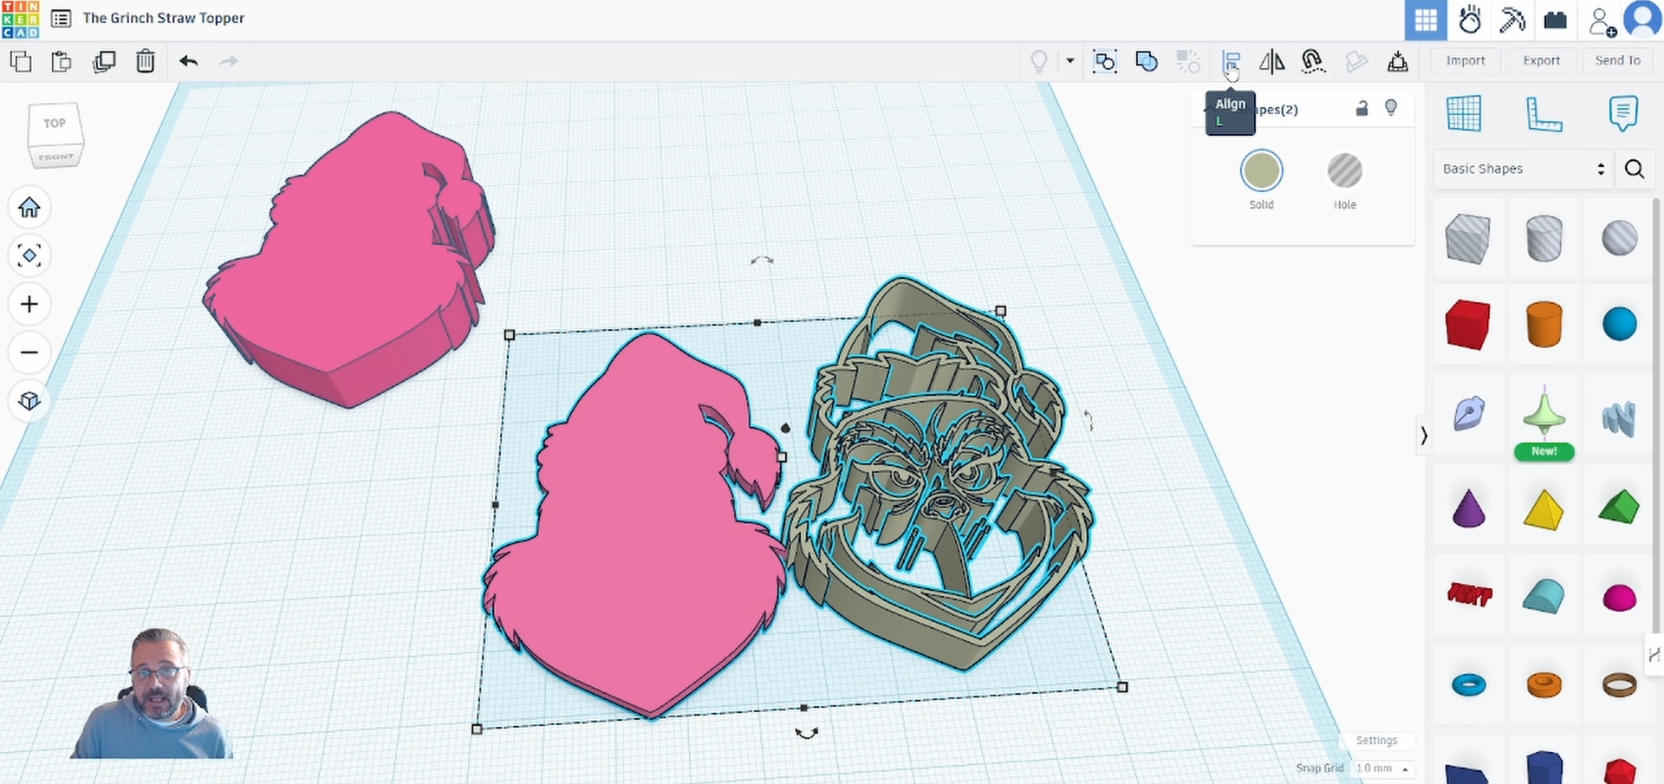
Select the ‘face’ design and press ‘d’ this will move the design to the new plane.
Drag select or shift select both designs and select the ‘Align’ tool.
Select the centre handle on the bottom and side to align the two pieces together.
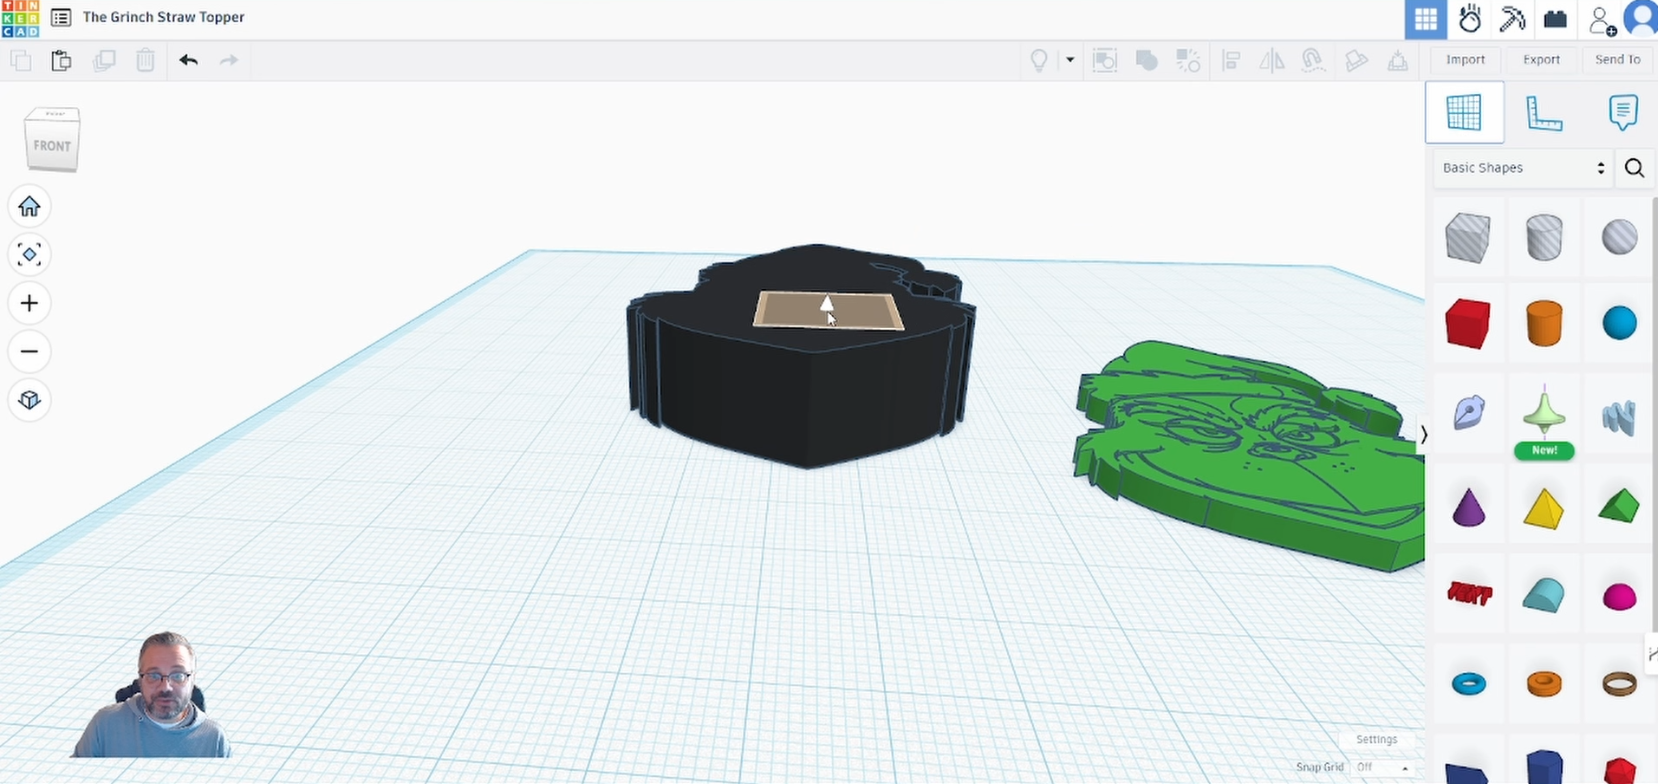
Select the ‘cylinder’ and click on the workplace.
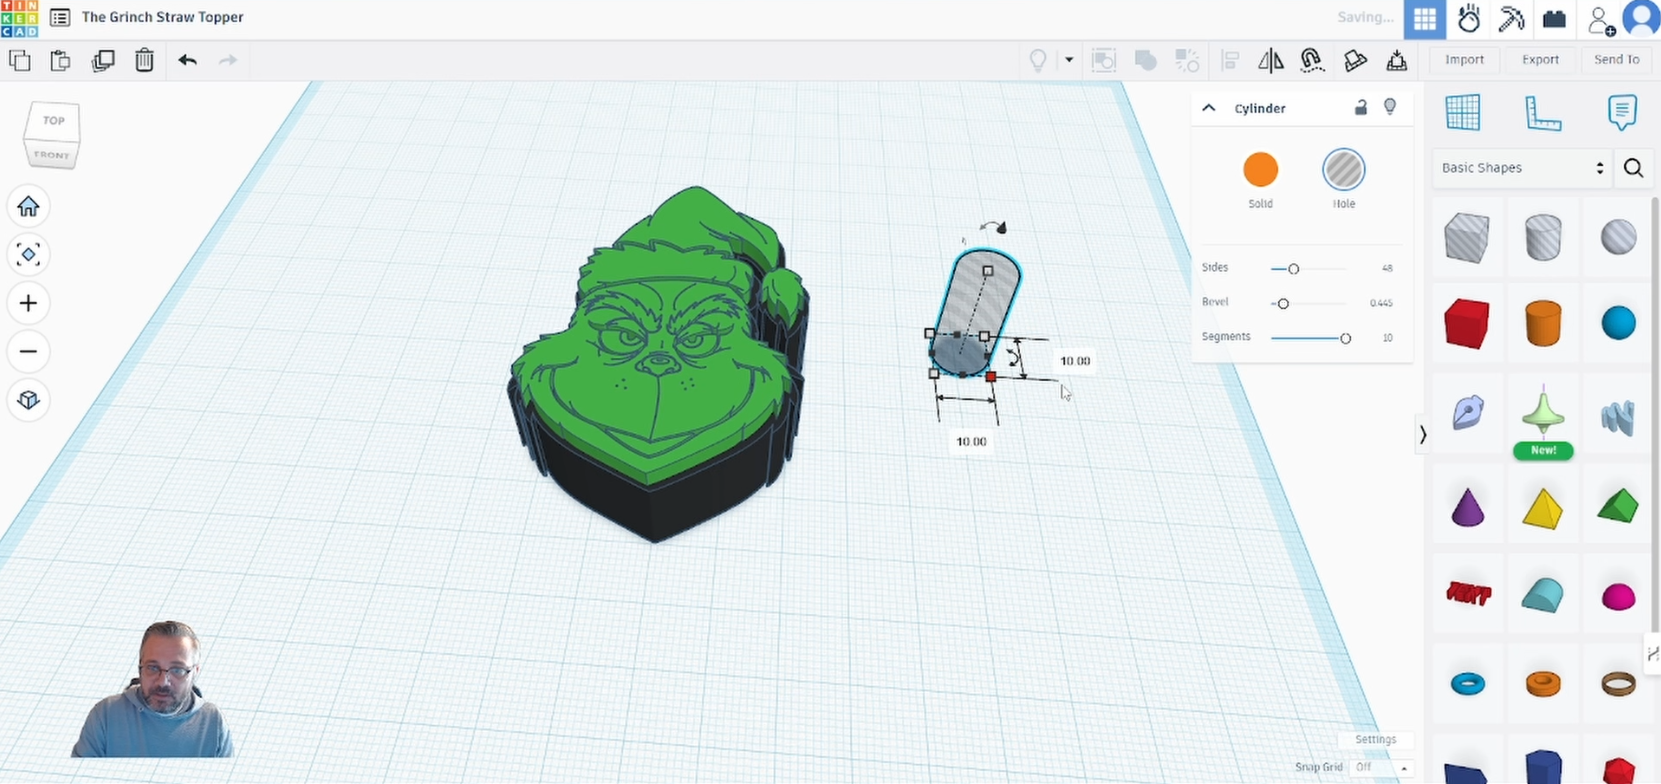
Change the size to ’10mm’.
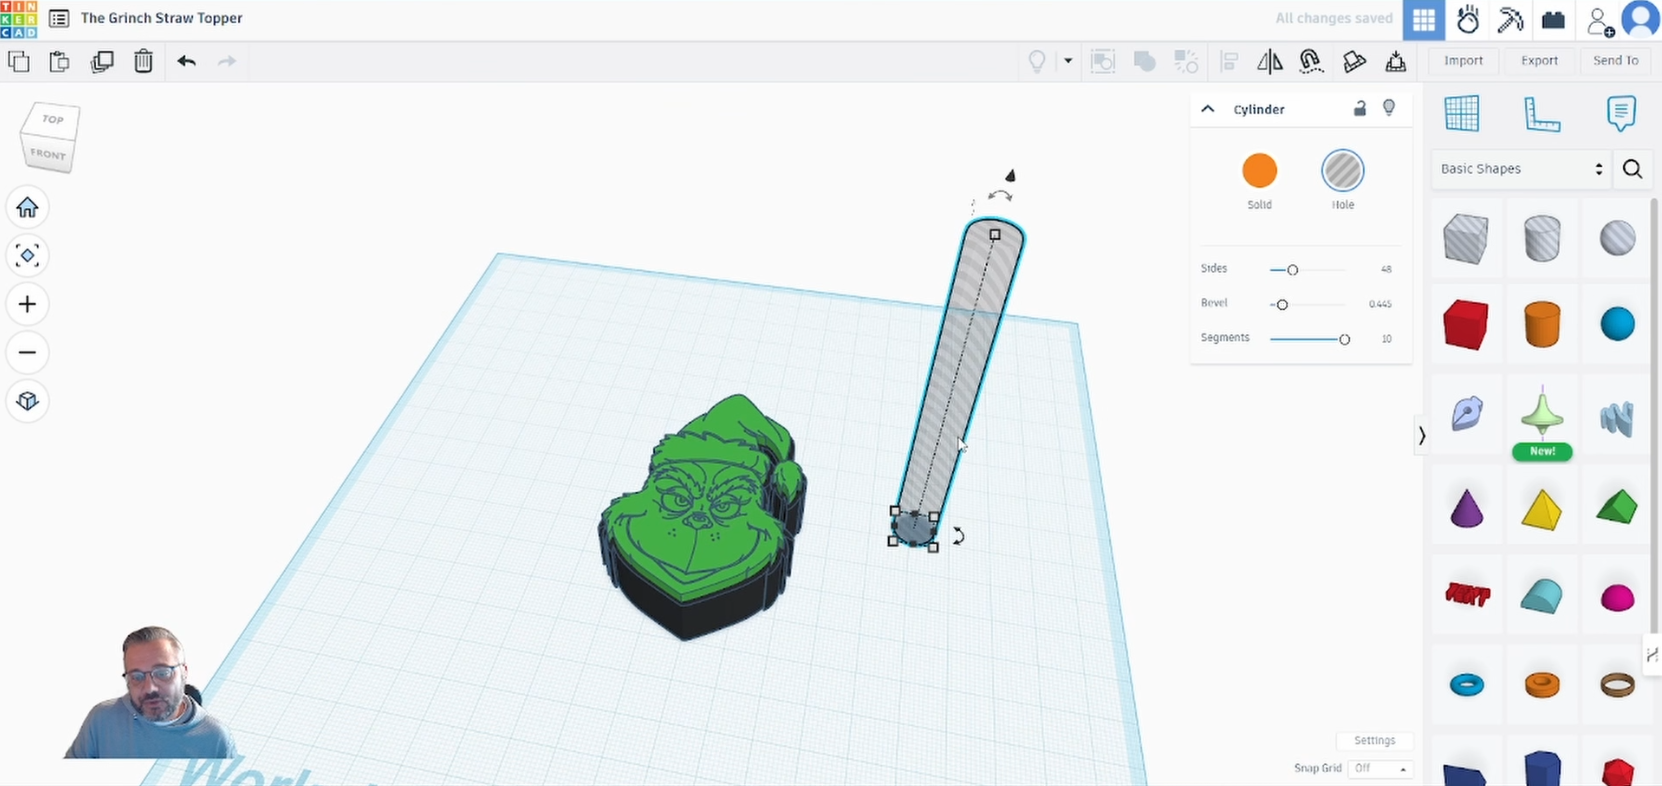
Adjust the height so the cylinder is larger than the ‘background’ design.
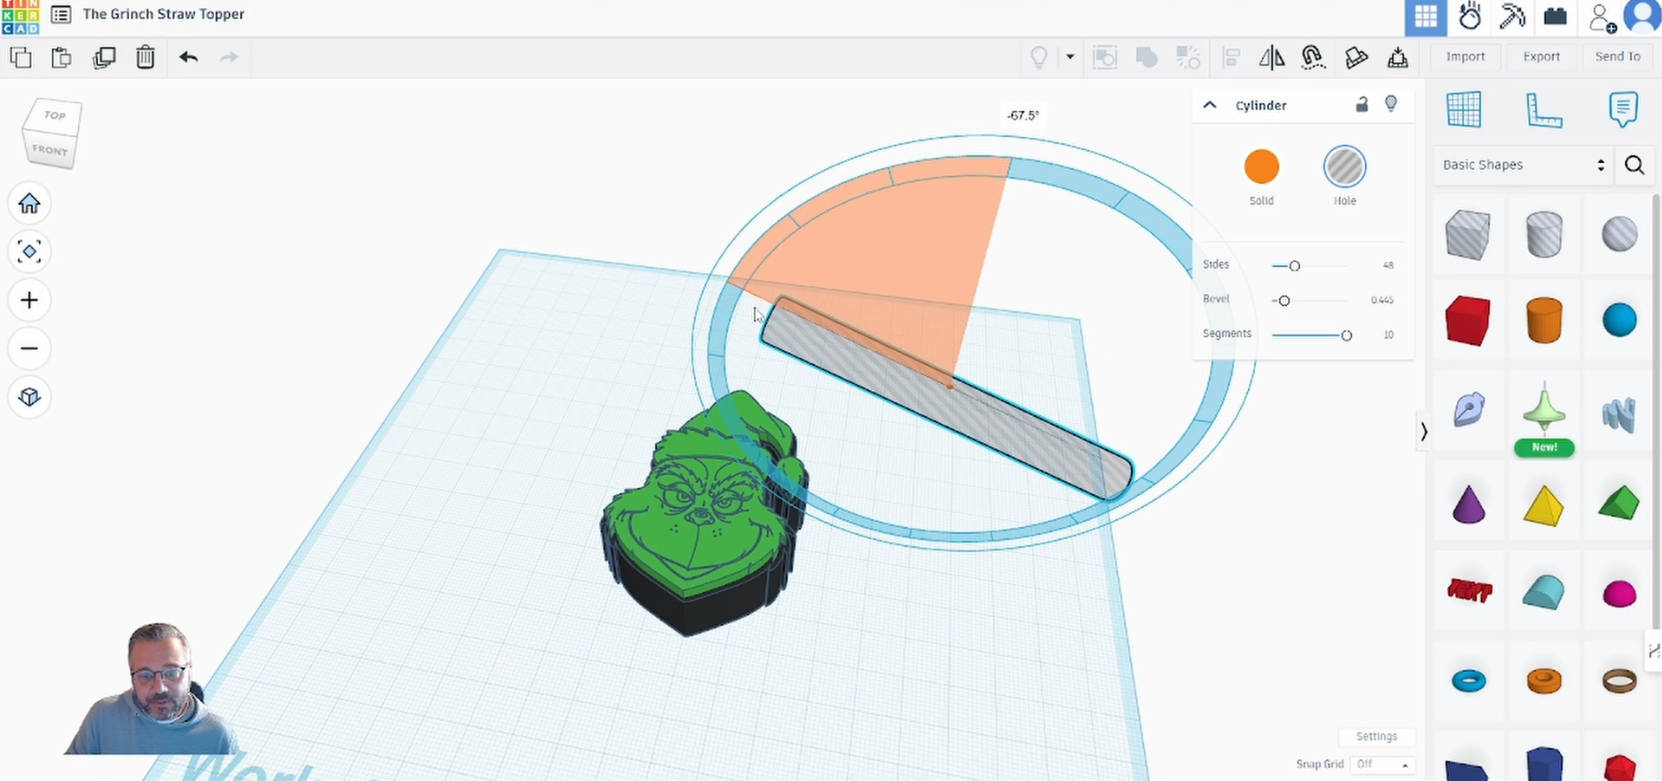
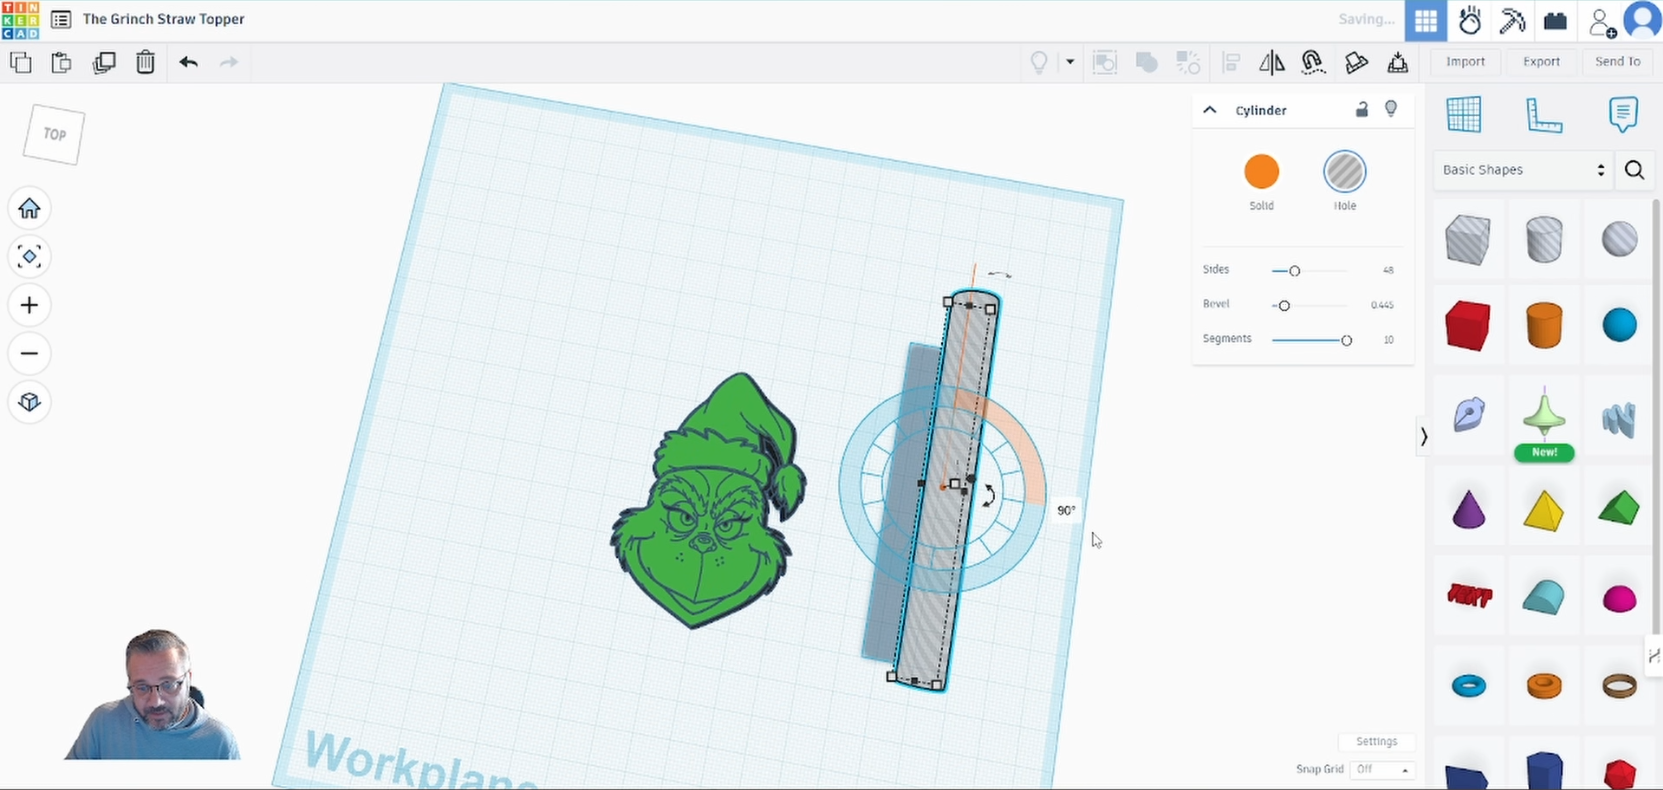
Rotate the straw so it runs parallel to the straw topper.
Move the straw to the ground plane by pressing ‘d’.
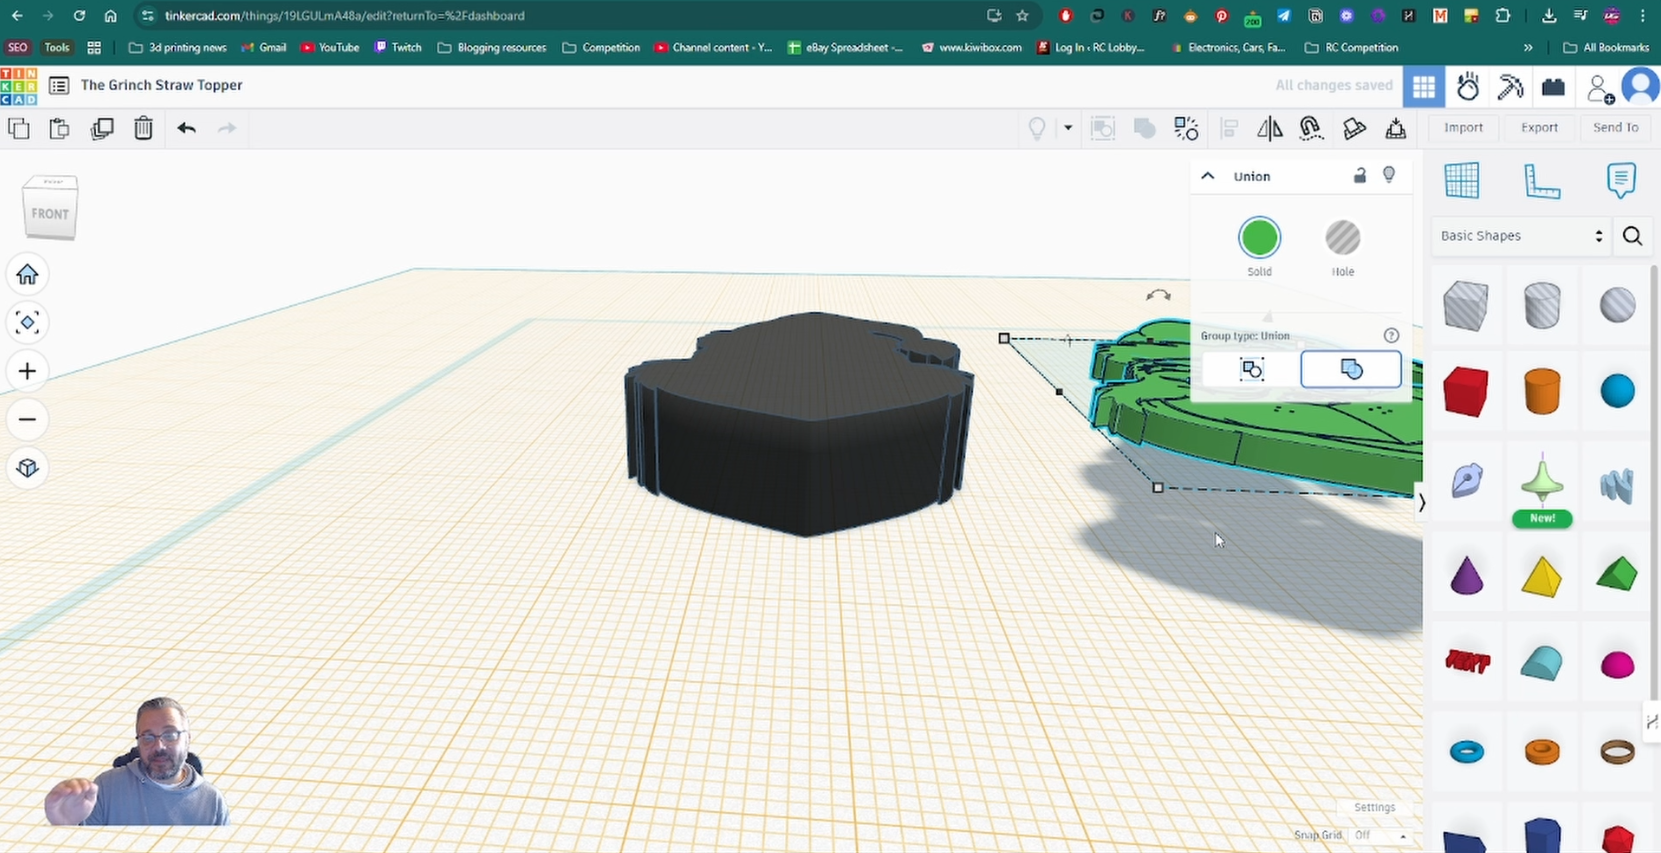
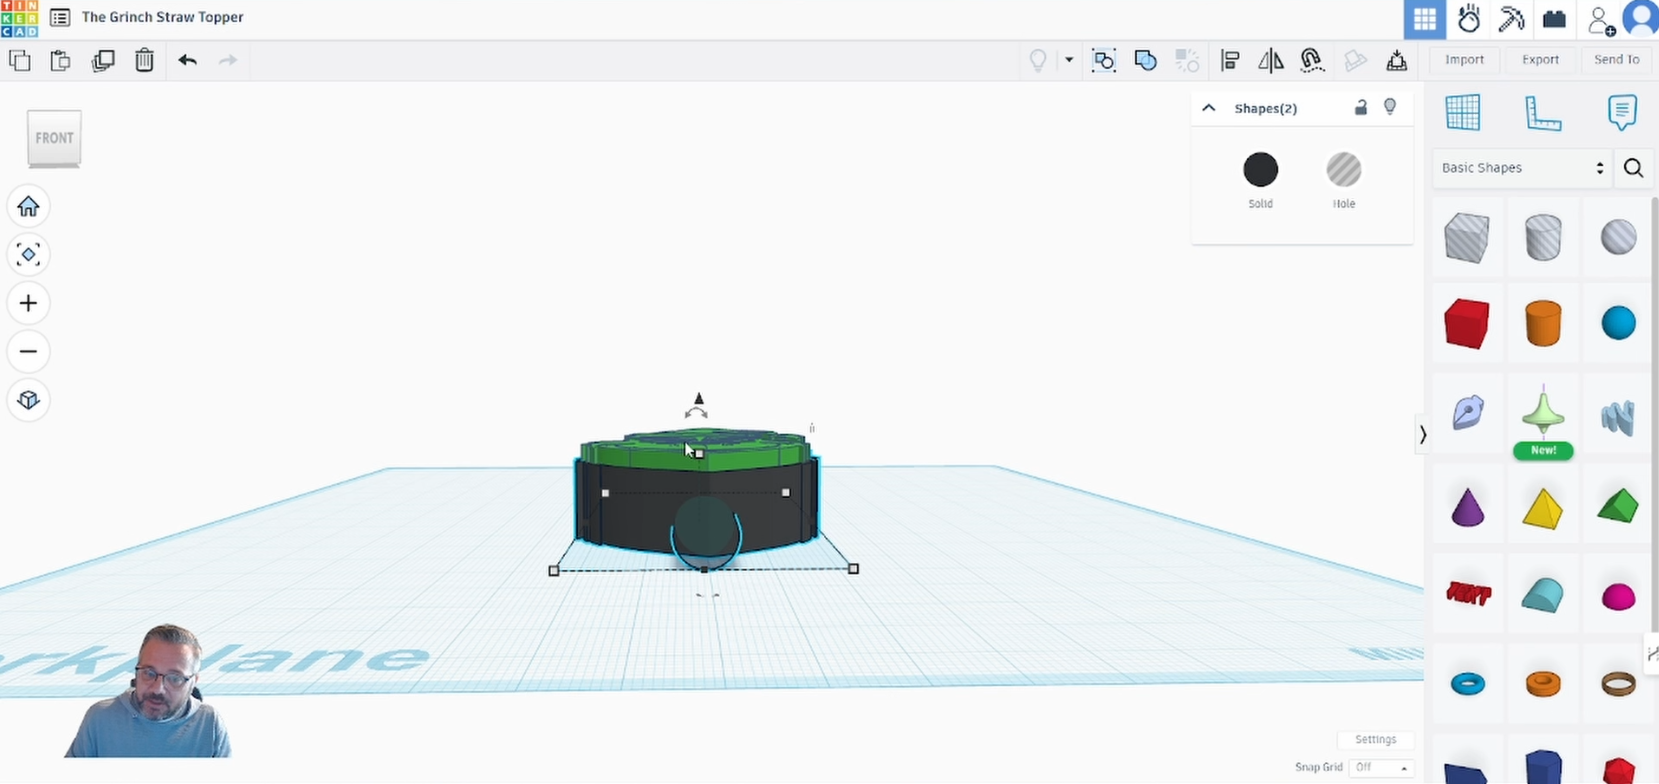
Select the ‘background’ design and the ‘straw’ design and the select the ‘Align’ tool.
Make sure to click the middle align handle so that the straw runs through the centre of the ‘background’ design.
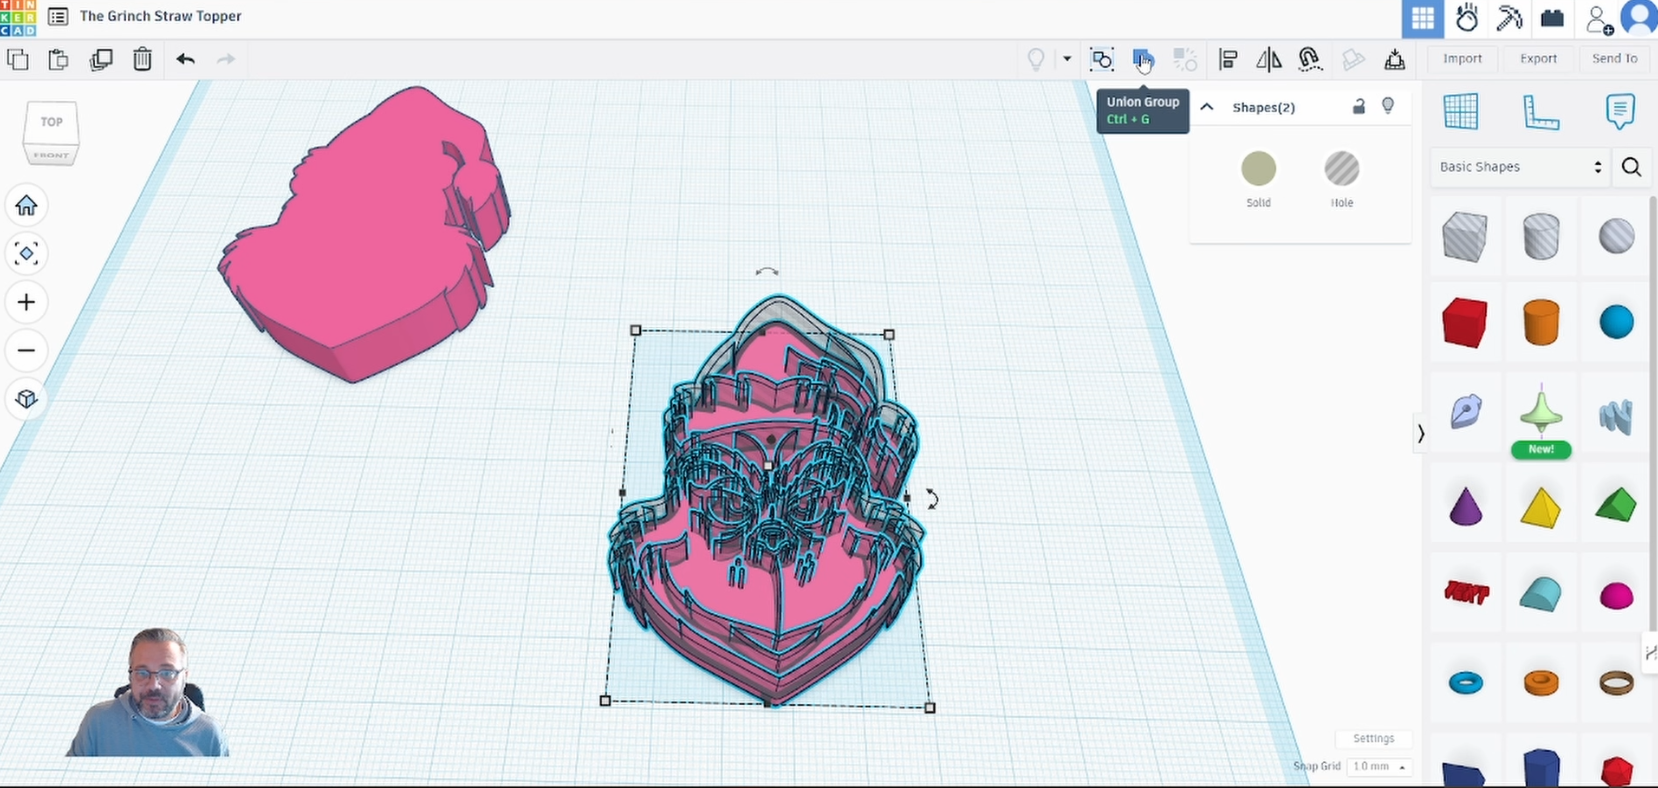
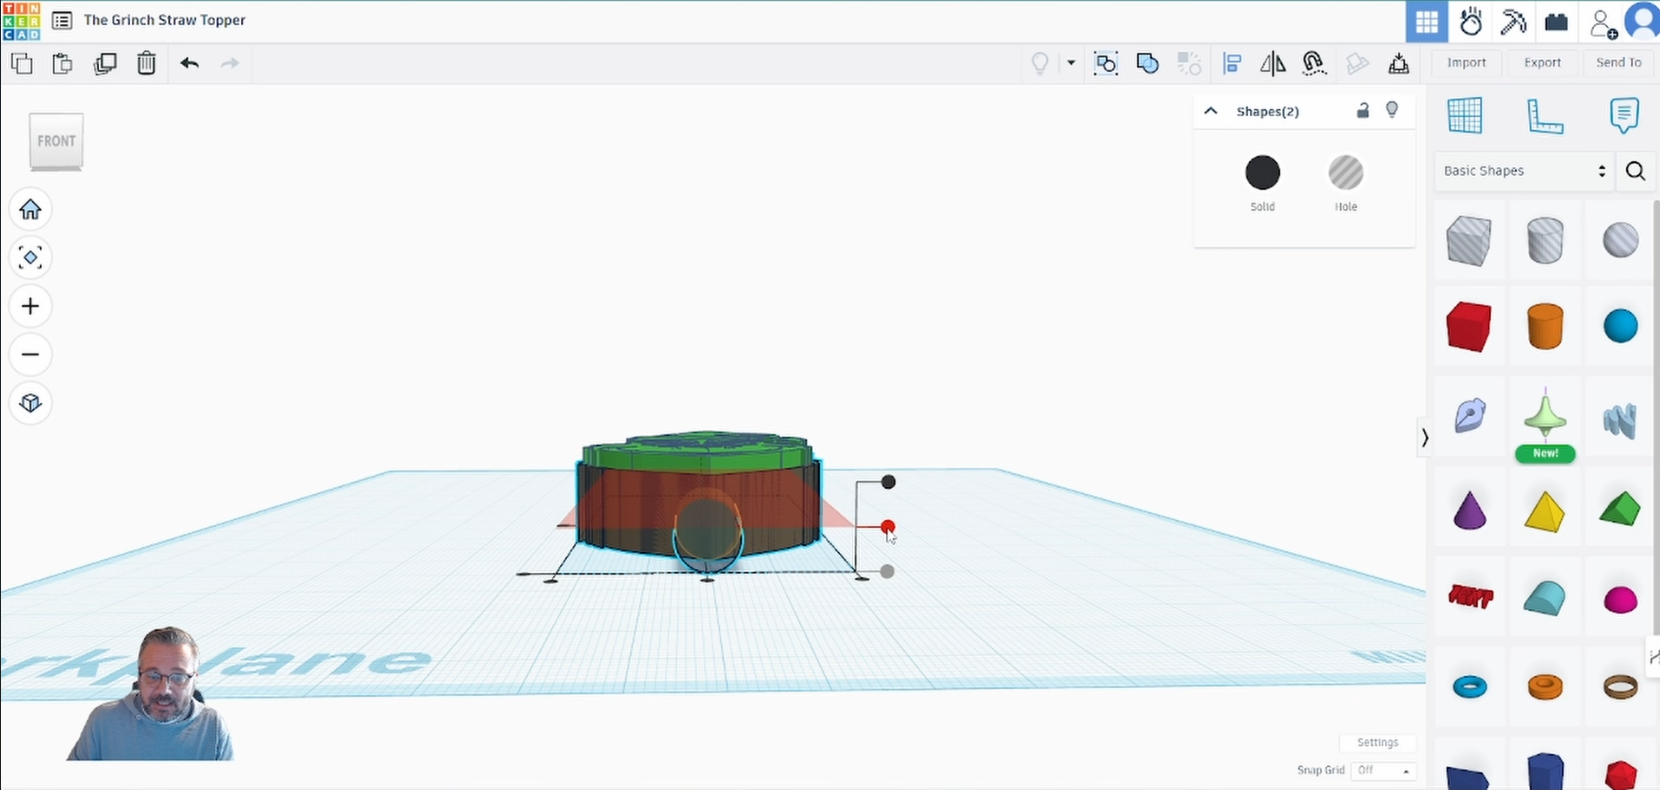
Select the ‘background’ and ‘straw’ design.
Select ‘Union Group’ to cut a hole through the design.
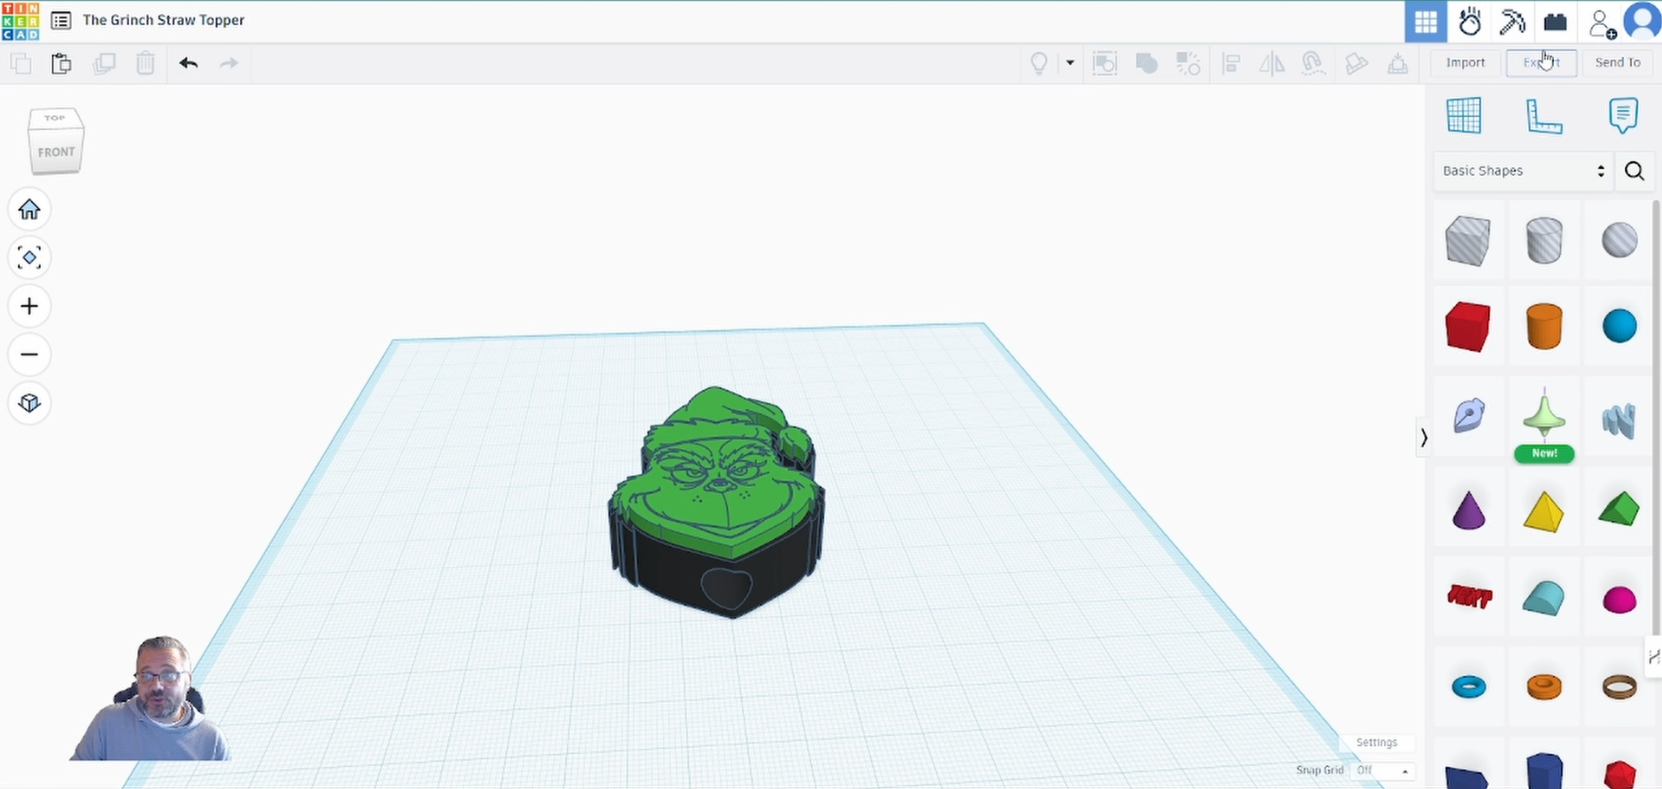
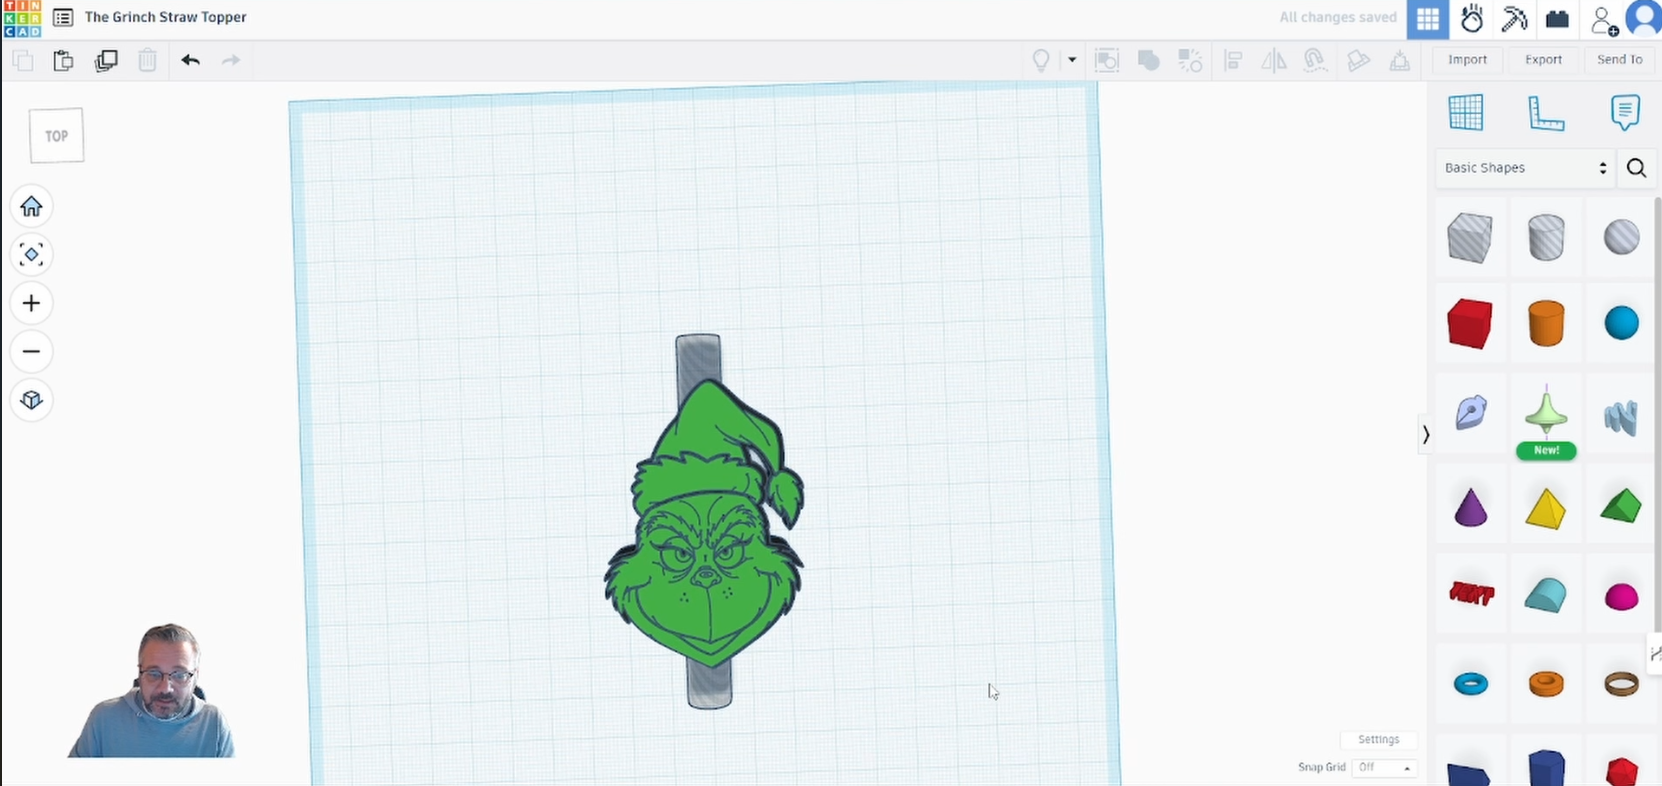
Export the finished straw topper as an ‘stl’.
Step 4: COLOUR AND PRINT
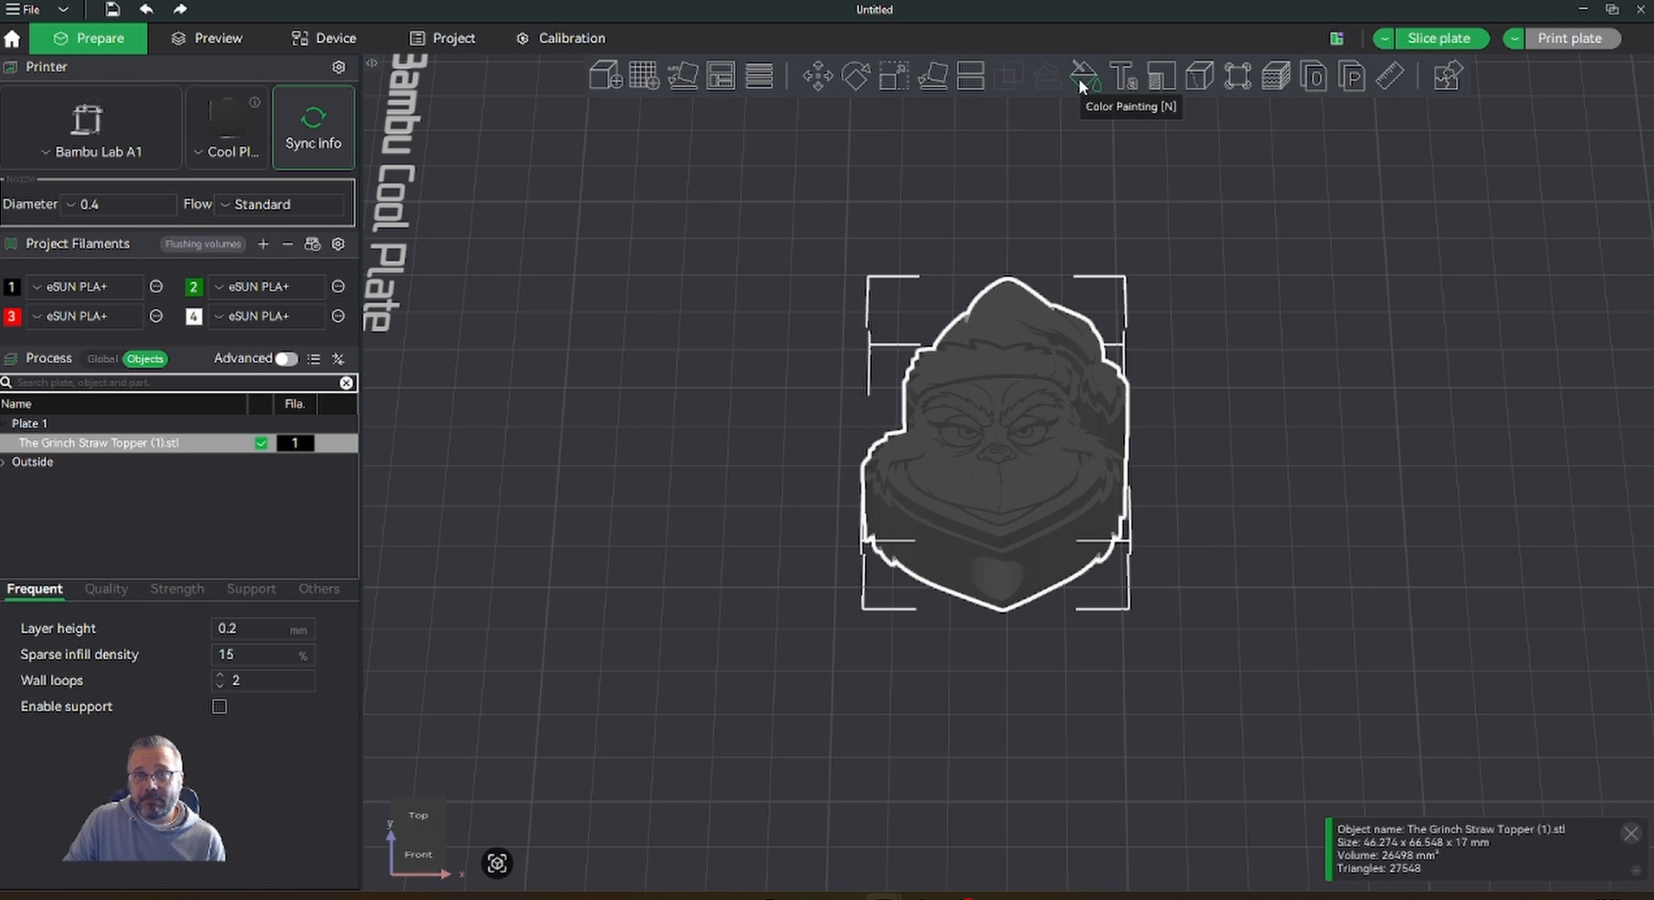
Open your ‘stl’ in your favourite 3d printing slicer software.
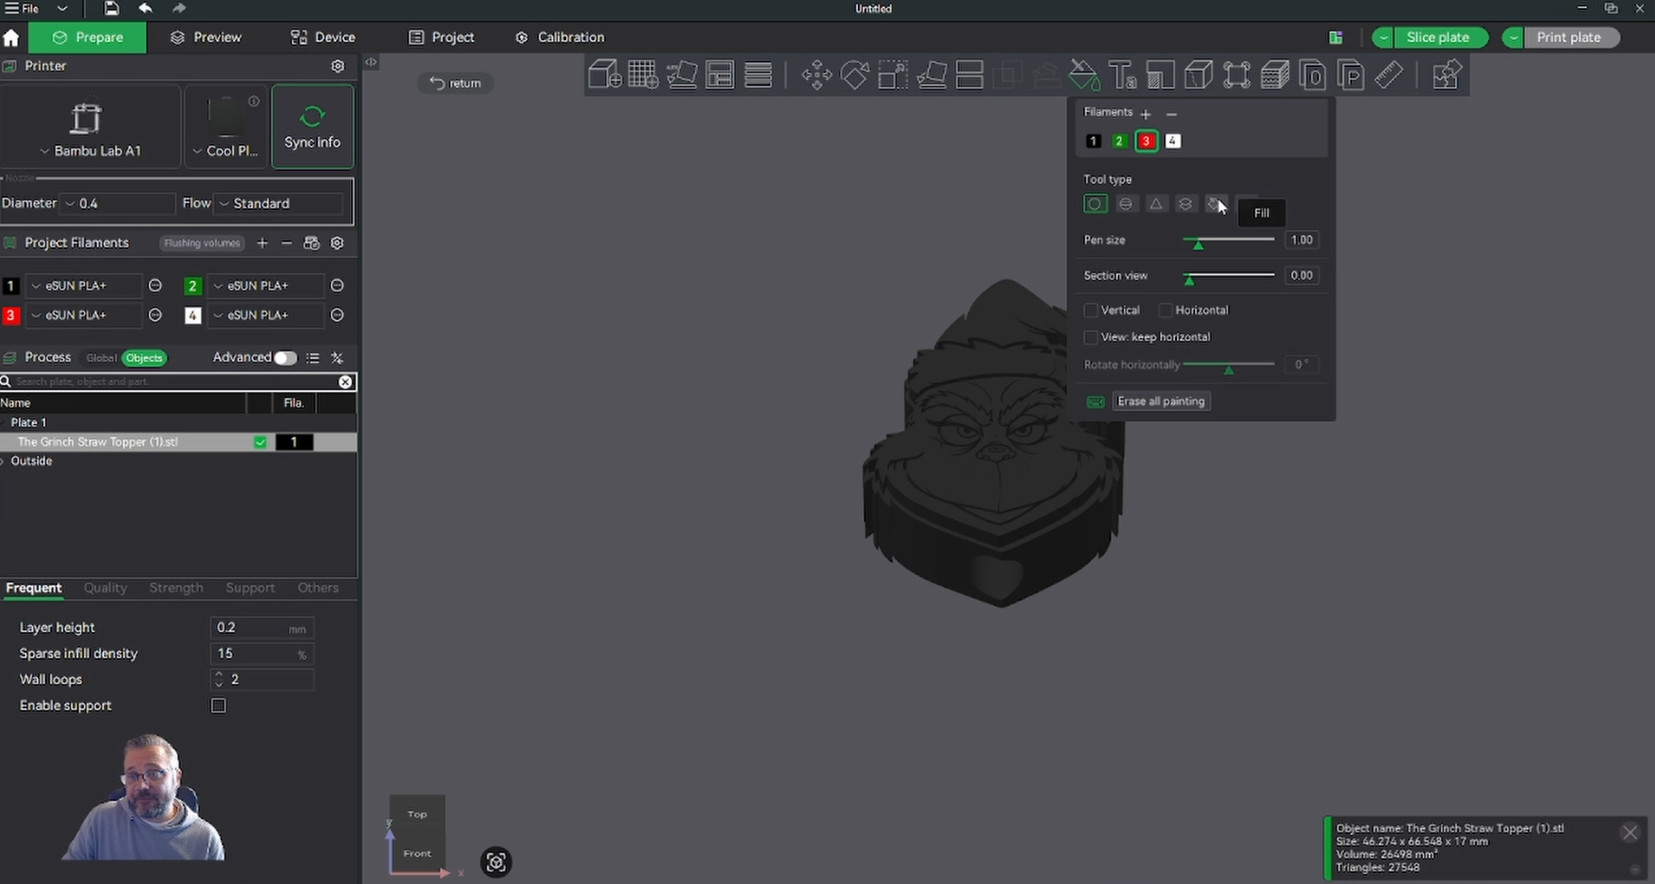
Select the ‘paint tool’
Select ‘Fill’
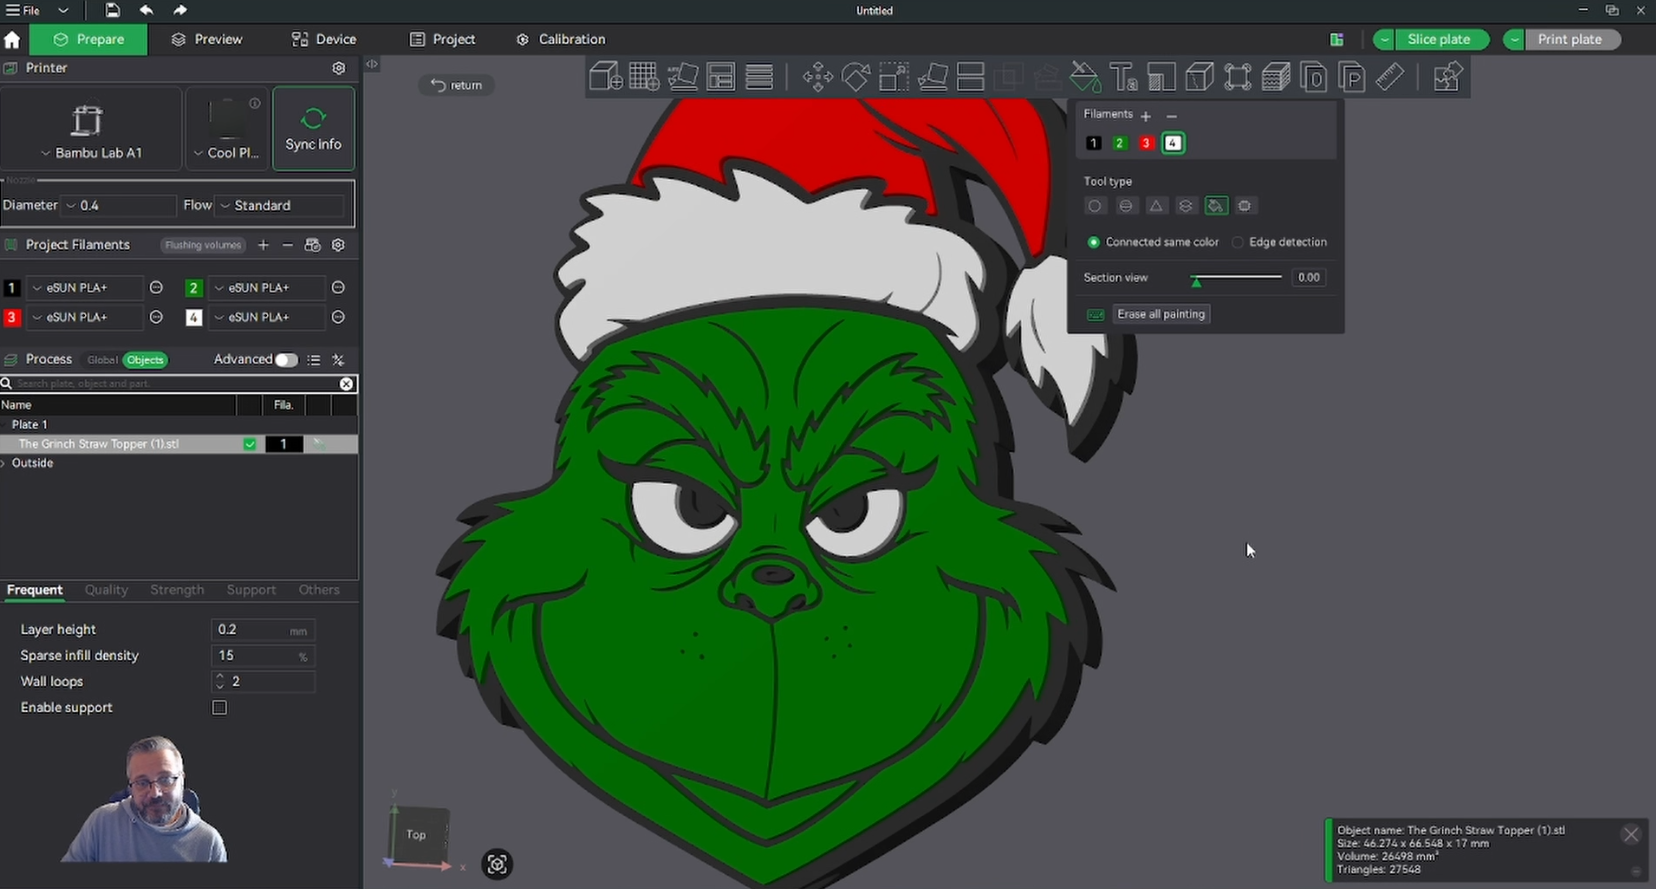
Use your pre-loaded colours to fill different parts of the design.
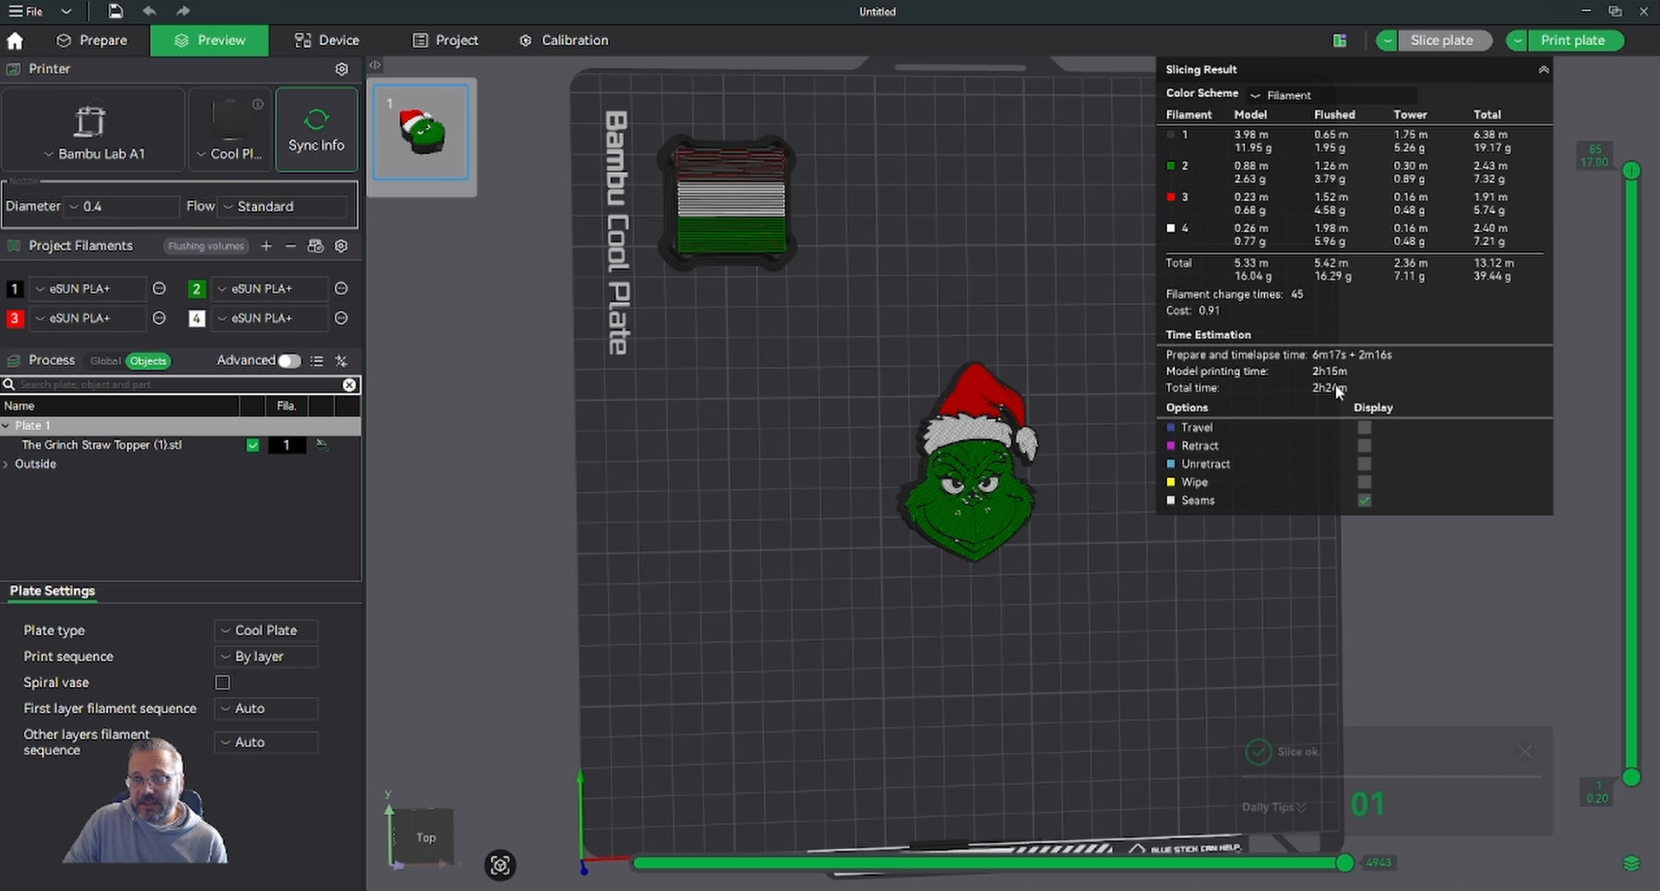
When you are finished click ‘Slice Plate’ and you file is ready to be sent to the printer!

I hope this 3D Printed Stanley Straw Topper has been useful. Let me know if you managed to create your own.
For those who just want the file simply go to my free 3d printing files repository.
Q. Will this fit the smaller Stanley mugs?
Yes this should fit, but you could change the diameter by a couple of mm to create a tighter fit.
Q. Can I use a different image?
Yes, just make sure it has a prominent outline and is in ‘svg’ file format.
Q. How long will the print take?
That depends entirely on your printer, how big the file is and other factors. To find out simply slice your file and it will give you an estimate.
This page contains affiliate links and I earn a commission if you make a purchase through one of the links, at no cost to you. As an Amazon Associate I earn from qualifying purchases.