Review: First Print on the ELEGOO Saturn 4 Ultra – Lessons Learnt!
I finally got around to printing something on my new ELEGOO Saturn 4 Ultra resin printer. ELEGOO had sent me this printer to do a review on, and being a complete beginner in resin printing I was really looking forward to it.
The print was the famous ELEGOO chess piece, and what should have been a simple 3d resin printing experience, soon turned into a nightmare!

The ELEGOO Saturn 4 Ultra is a beginner’s dream when it comes to getting into resin printing and has a very simple and intuitive process to get started.
The S4U is self-leveling and runs a diagnostic check every time you switch the power on. You can also run a diagnostic whenever you like from the touch screen on the front of the resin printer.
I started off by placing the “bib” around the resin vat because I just cannot trust myself when it comes to pouring 3d resin into the printer.

I broke it!
The bib isn’t made of the hardiest plastic, and when trying to maneuver it around the printer vat it cracked.
Not off to a great start.
I then managed to actually get the resin into the vat without spilling anything. “Go me!”
But then proceeded to create even more problems for myself and the printer.
Resin Printing Optimal Temperature
To get a great print you have to keep the temperature of the resin within the 24 – 30 Celsius range (74-86 Fahrenheit) that’s where the Home Brew heating belt comes in handy.

You wrap the belt around the vat and this radiates heat very effectively and doesn’t cost a lot of money to use.
The issue we have is that the Saturn 4 Ultra has a moving vat that rocks back and forth while printing. This is a fantastic feature; it helps prevent suction and pooling.
I initially fitted the belt without taking this into account, and after leaving the S4U to do the print for 2 and a half hours I returned to find that there was nothing on the build plate.
Very frustrating!
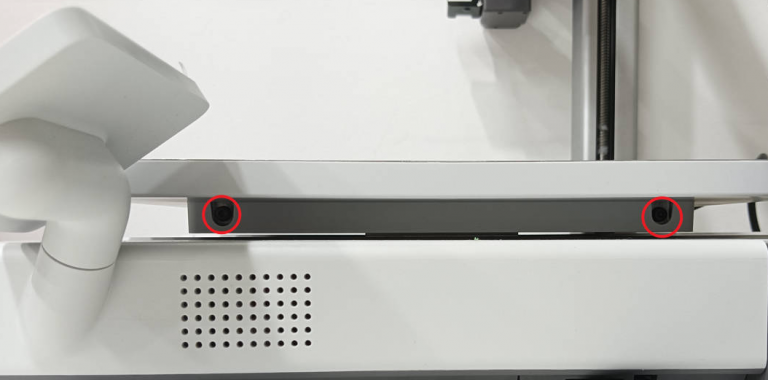
After doing a little investigating, the only thing I could find wrong was the belt’s power cord being too tight and getting trapped under the hood. I adjusted and left plenty of slack in and set the Saturn 4 Ultra to restart the print.

I wasn’t able to get back to the printer until the next morning so it had been left for about 9 hours.
The Next Morning
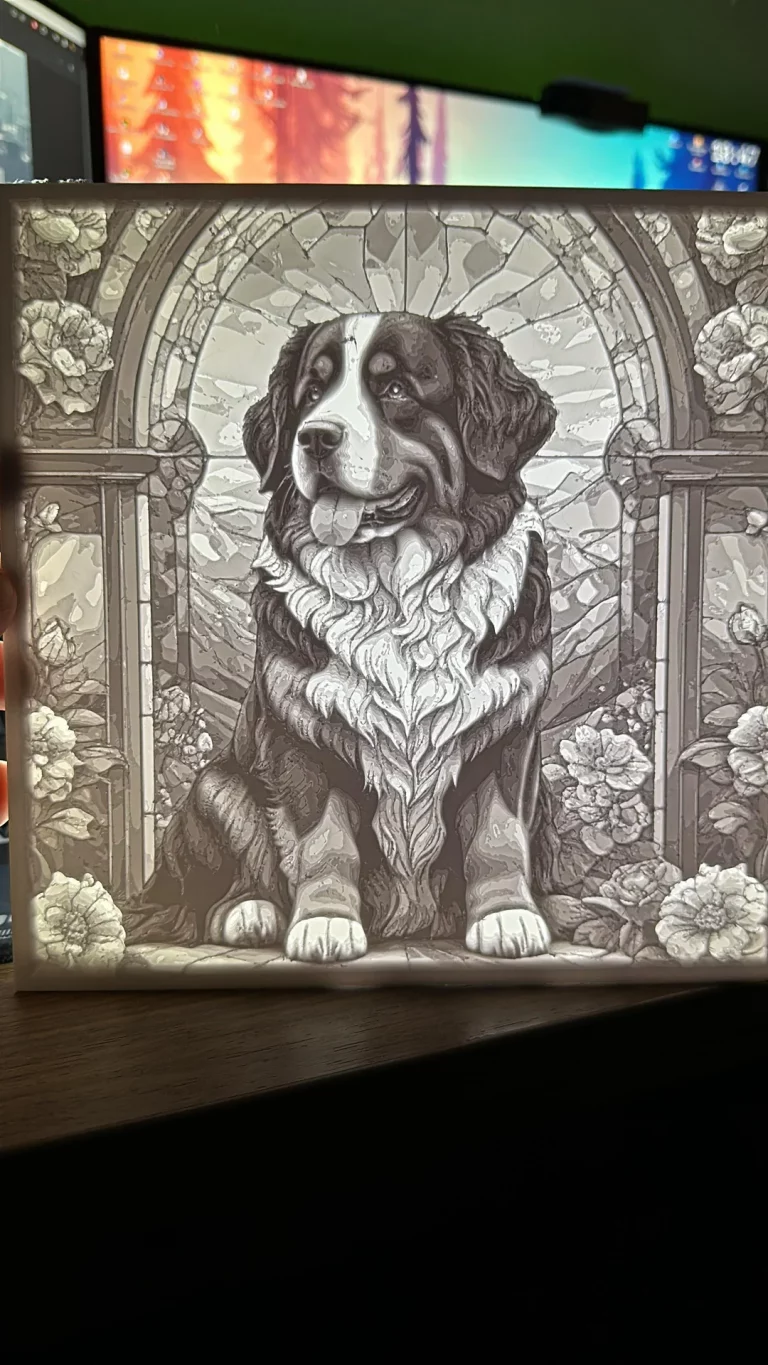
I returned to the 3d printer the next morning and was pleased to see that the chess piece had printed perfectly.

Now came the task of removing the print from the build plate, should be simple, right?
Wrong! This thing was stuck.
How NOT to Remove a Resin Print From The Build Plate
At this point, I should remind you that this is the first time I have EVER done a resin 3d print and I was not prepared.
I tried to scrape the piece of the plate with my trusty metal scraper, but it wasn’t budging.
That’s when I decided to try and pull the chess piece from the plate with my gloved hands.
Stupid idea.
I grabbed the resin Chess piece and applied some gentle persuasion to it.
I CRUSHED it with my grip.

This stuff is really brittle before it is cured huh? I had gone through to much to do another print so I decided to carry on with what I had.
Anyway, at least I had something to wash and cure, and that is what I did.
Put the broken piece into the IPA and let the ELEGOO Mercury wash station do its thing. I then transferred the piece(s) to the cure station (something even I couldn’t mess up).

Luckily the Mercury Wash & Cure station is really simple to use. Hold the dial in until the machine turns on, turn to set your time, and press the dial again to get the machine going.
The print came out fantastic even though it was broken, but that was my fault.
Overall the experience was a learning curve and the mistakes I made have certainly taught me a few things.
I went into this process blind, and I did that for a reason. I am the type of person who would normally do research prior to doing anything but I wanted to see just how intuitive ELEGOO made resin printing with the Saturn 4 Ultra.
All in all, they have done a good job. Pretty simple setup with the bib and the auto calibration this is as easy as it gets.

The moving vat is a great addition and solves any leveling problems.
In future, I will make sure to have plenty of flex on the heater belt and try to not be so heavy-handed when it comes to removing my prints from the bed.
If you have enjoyed this article, please share it with your friends.
And don’t forget to come and join us on YouTube, in our Facebook community and our Discord server.
Happy printing and thank you for reading!
This page contains affiliate links and I earn a commission if you make a purchase through one of the links, at no cost to you. As an Amazon Associate I earn from qualifying purchases.