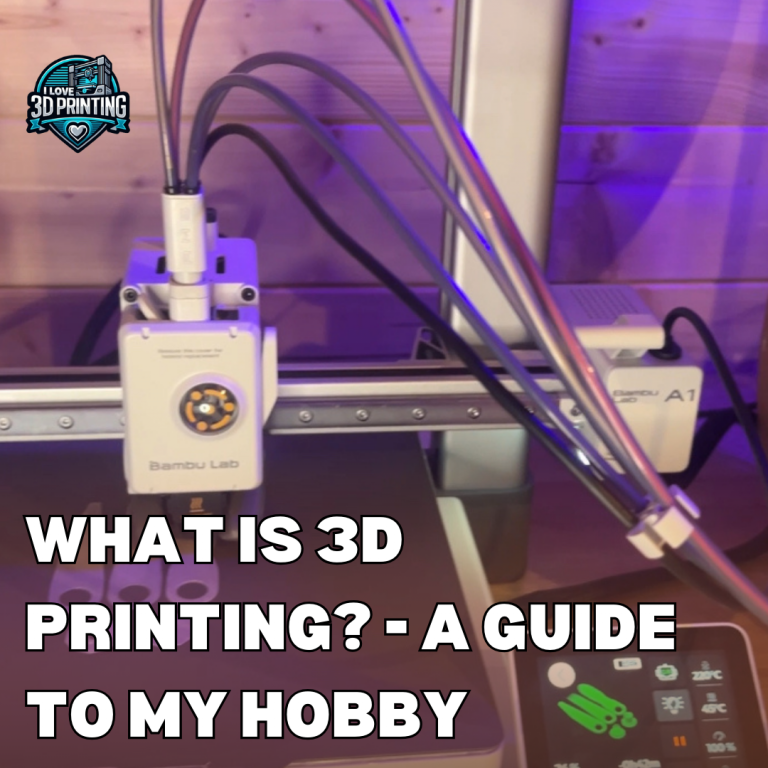
The Best Ways To Reduce Layer Lines in 3D Prints
Layer lines are an inherent aspect of many 3D printing technologies—especially Fused Deposition Modeling (FDM)—where each pass of extruded filament creates visible “steps” on the surface.
While these lines can detract from the visual appeal of a finished model, there are several strategies you can use to reduce or even eliminate them. Below is a comprehensive guide, taking into account various printer settings, material choices, and post-processing methods.

1. Decrease Layer Height
One of the most direct approaches to minimizing layer lines is to reduce the Layer Height. A smaller layer height results in thinner “steps,” so the transitions between layers become less obvious. However, it’s important to note that decreasing layer height (e.g., going from 0.2 mm to 0.1 mm) increases print time and demands tighter calibration of the printer’s Temperature, Speed, and Flow Rate.
- Resolution Benefit: A smaller layer height effectively boosts the printer’s resolution, producing smoother finishes.
- Trade-Off: Printing takes significantly longer, and slight errors in settings can become more apparent.
2. Adjust Print Orientation
How you position the model on the build plate can directly affect the visibility of Layer Lines. Orienting large flat surfaces parallel to the build plate can help minimize step lines on the most visible faces.
Conversely, if a critical surface must remain smooth, consider orienting the model so that surface is printed in a way that reduces stepping.
- Support Considerations: Some orientations may require additional supports, adding complexity to removal and cleanup.
- Strategic Angling: Tilting a part at a slight angle can sometimes disperse lines more evenly, making them harder to see.
3. Fine-Tune Printer Settings
Your 3D printer’s performance hinges on Printer Settings such as Temperature, Speed, and Flow Rate. Calibrating these parameters can help achieve smoother layers:
- Temperature: Ensure it’s hot enough for proper layer adhesion but not so high that filament oozes or warps.
- Speed: Slower printing typically means more precise layer deposition. High speed often leads to vibrations or slight misalignments between layers.
- Flow Rate: Over-extrusion can cause uneven ridges, while under-extrusion can leave gaps. Aim for a finely tuned balance.
These elements all work in tandem with Nozzle Size, which also affects surface finish. A smaller nozzle (e.g., 0.2 mm) can produce finer details but takes longer to print.
4. Select the Right Nozzle Size
Using a Nozzle Size that matches your print’s resolution needs is crucial. Smaller nozzles lay down thinner extrusion lines, minimizing the “step” between them.
While this produces a smoother surface, it’s more prone to clogging when using certain filled filaments, and it will inevitably add time to the print. Conversely, larger nozzles (0.6–0.8 mm) allow for faster printing but make layer lines more apparent.
5. Post-Processing Techniques
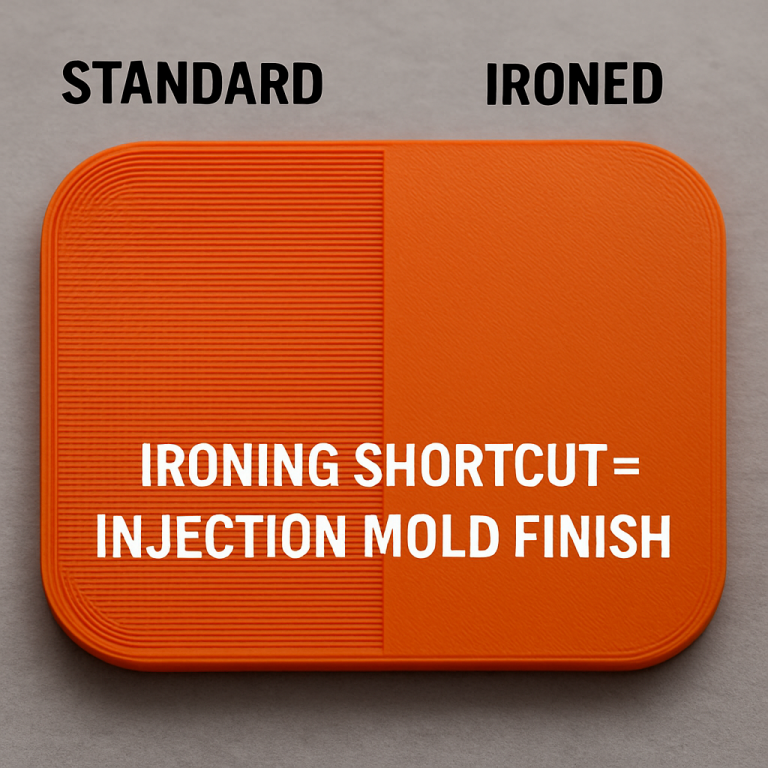
Once your model has been printed, there are numerous Post-Processing methods to further reduce the visibility of layer lines.
a) Sanding
Sanding is a straightforward, mechanical technique that involves using sandpaper (often starting with a coarse grit like 120 and working up to finer grits like 400 or 600). This helps smooth the outer layers of 3D Prints but can be time-consuming for larger parts.
- Tip: Wet sanding reduces dust and may produce a smoother finish.
b) Filling
Filling techniques involve covering or filling in surface imperfections before final painting or sealing. Common fillers include:
- Primer: A preparatory coating that evens out minor flaws, improving paint adhesion.
- Epoxy Resin: Often used to completely coat a model, offering a strong, smooth, and sometimes glossy finish after curing.
- Filler Spray: An aerosol-based application that can fill small gaps and layer lines. Multiple coats with light sanding between applications often yield the best results.
c) Chemical Smoothing
Certain filaments, notably ABS (Acrylonitrile Butadiene Styrene), respond well to Solvents (Acetone Vapor). In Chemical Smoothing, the part is exposed to acetone vapor, which slightly melts the plastic’s surface. This process effectively merges visible layer lines into a smoother finish.
- Safety: Always use acetone or similar solvents in a well-ventilated area, as they can be flammable and produce strong fumes.
- Material Compatibility: Not all filaments (e.g., PLA) react in the same way to acetone, so this approach might not be universal.
6. Consider Higher-Resolution or Alternate Printing Technologies
If top-tier surface quality is paramount, switching to a Resin-Based Printer such as an SLA Printer (Stereolithography) can yield far smoother surfaces with fewer visible lines. These technologies utilize liquid resins cured by lasers or LCD projectors, achieving high Resolution with minimal stepping effects.
However, resin 3D printing demands additional post-processing like resin cleanup and UV curing, and the materials can be more expensive than typical FDM filaments.

Conclusion
Reducing Layer Lines in 3D Prints involves a multifaceted strategy that begins with careful model orientation, fine-tuning key Printer Settings (such as Temperature, Speed, Flow Rate, and Nozzle Size), and may include a variety of Post-Processing steps like Sanding, Filling, or Chemical Smoothing.
In some cases, adopting a Higher-Resolution machine—like an SLA or Resin-Based Printer—provides a near-seamless finish right off the build plate. By combining these methods, enthusiasts and professionals alike can achieve smoother, more refined prints that meet their aesthetic and functional goals.
This page contains affiliate links and I earn a commission if you make a purchase through one of the links, at no cost to you. As an Amazon Associate I earn from qualifying purchases.


