Mastering 3D Printer Stringing: A Comprehensive Guide to Clean Prints
The frustrating issue of stringing in 3D printing can turn an otherwise perfect print into a cobweb-covered mess. In this comprehensive guide, I’ll walk you through everything you need to know about preventing and fixing 3D printer stringing, drawing from years of hands-on experience.
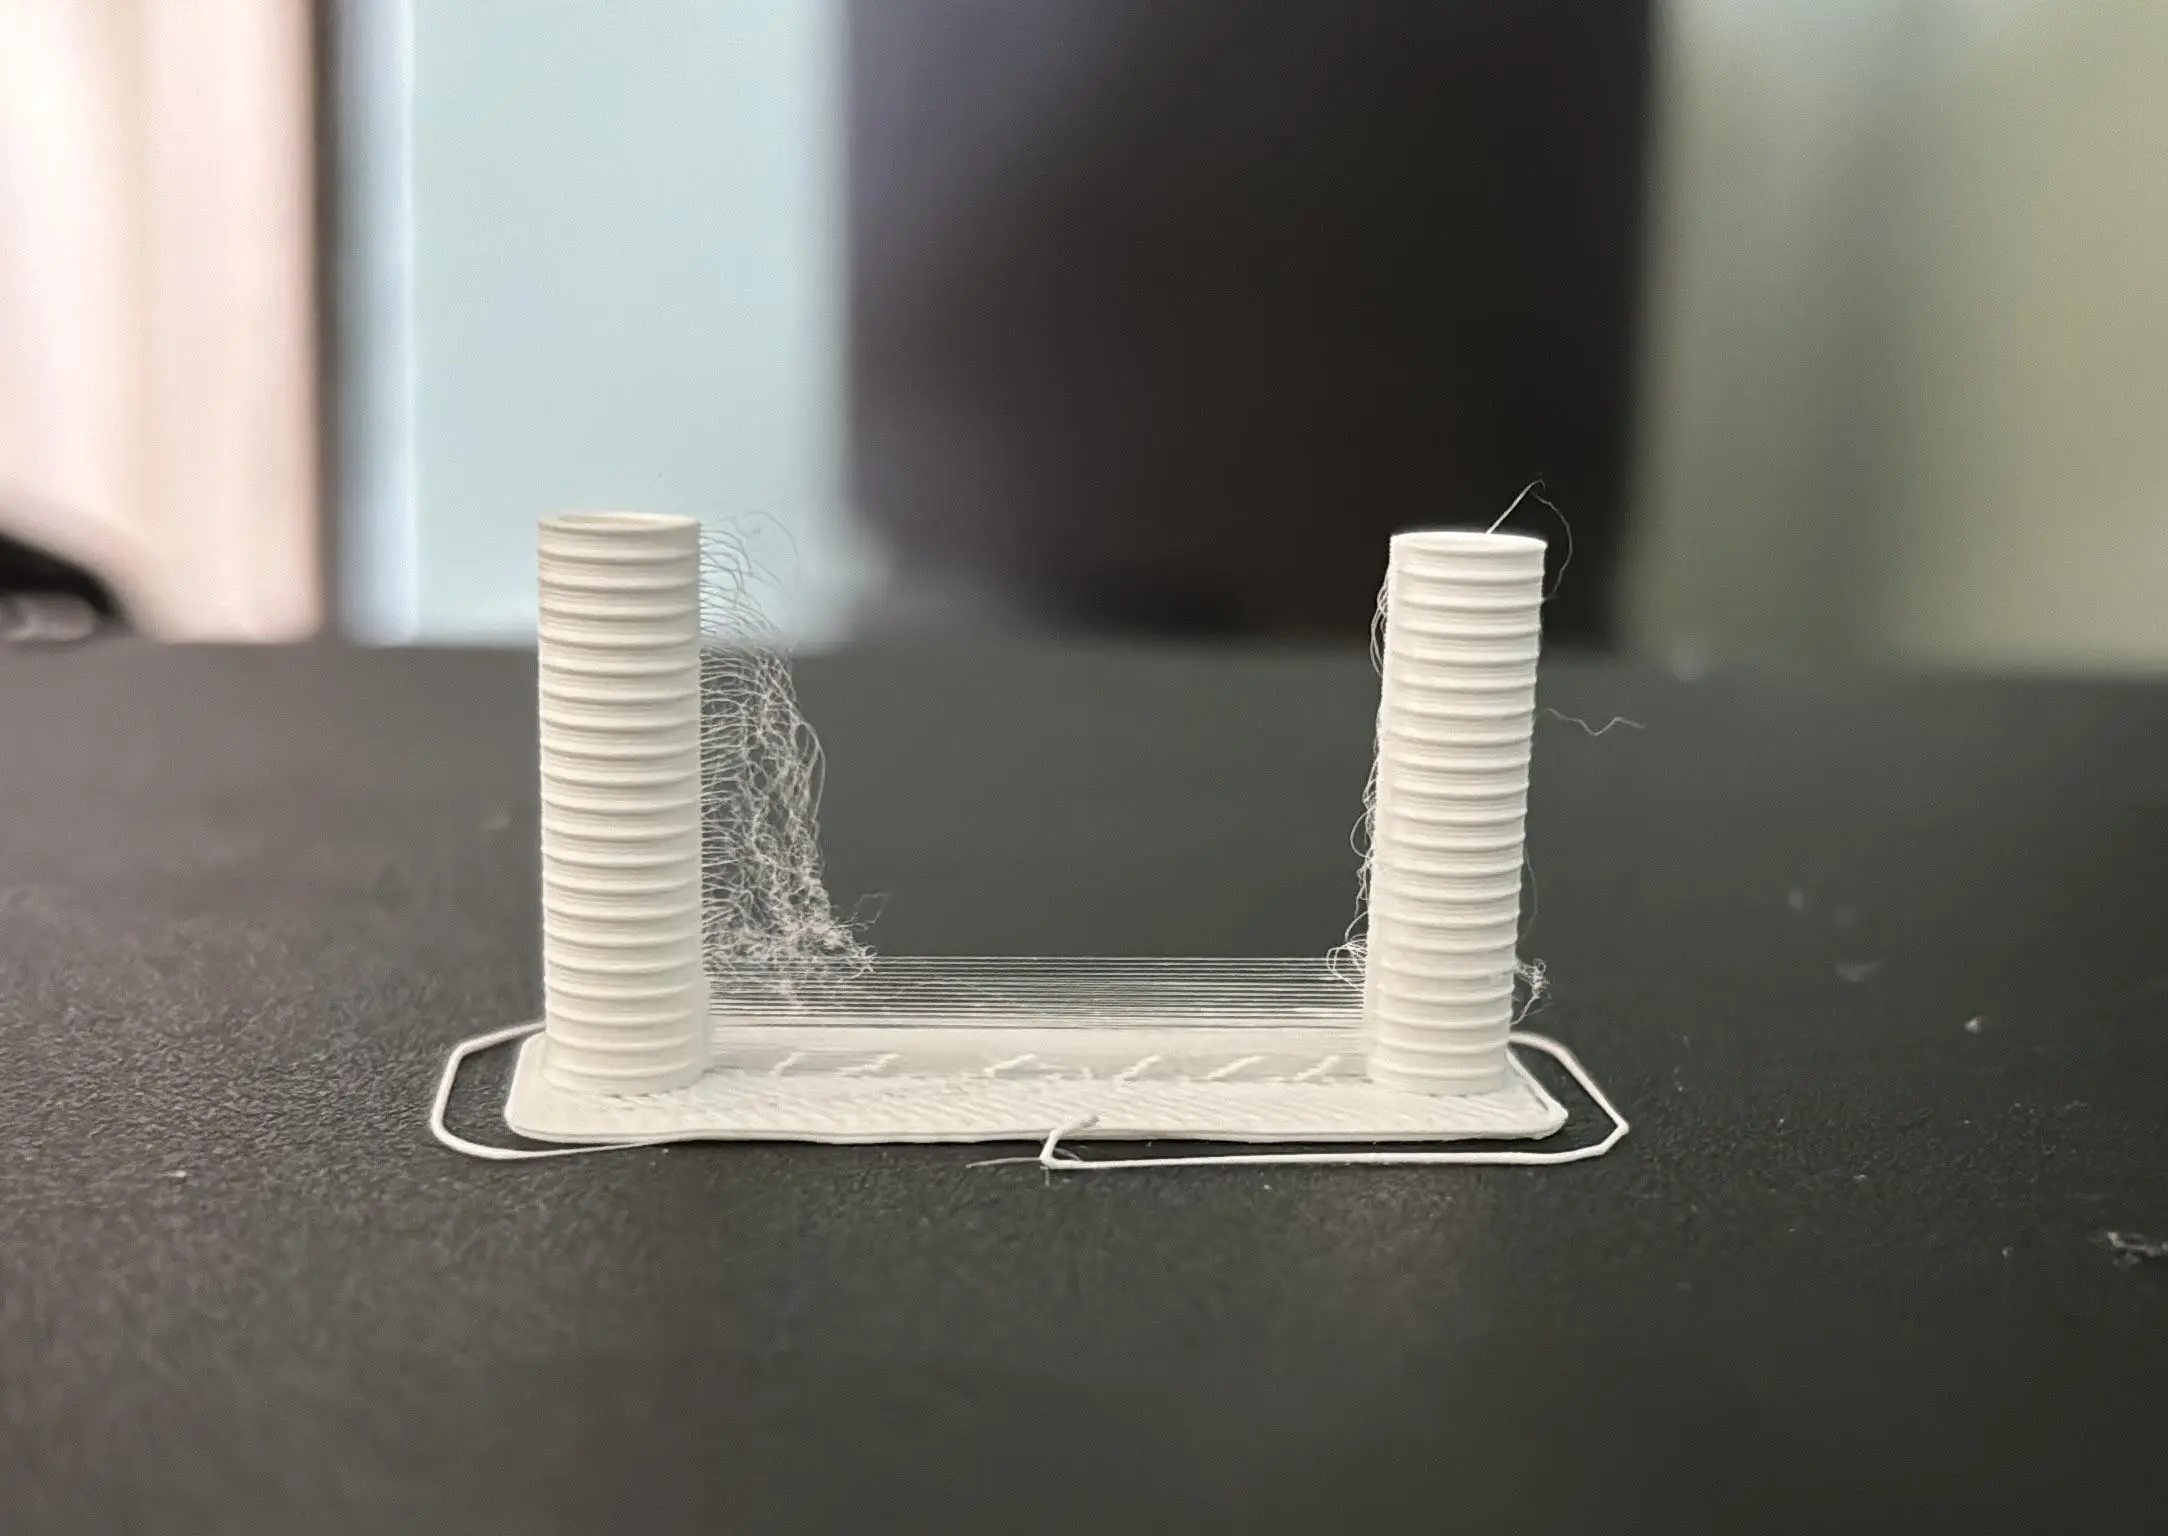
Understanding the Stringing Problem
Stringing occurs when melting filament leaks from the nozzle during non-printing travel moves, leaving behind thin plastic strands that resemble spider webs. This is particularly common with materials like PETG, though it can affect any filament type.
5 Key Solutions to Prevent Stringing
1. Perfect Your Retraction Settings
Enabling your 3D printer to retract filament whilst making travel moves allows your printer to pull the active filament back a little. This helps to stop stringing.
Retraction is your first line of defense against stringing. Here’s how to optimize it:
- Retraction Distance:
- Direct Drive: 0.5-1.0mm
- Bowden Setup: 2.0mm or higher
- Retraction Speed: Aim for 40-60 mm/s
- **Enable “Combing Mode” in slicers like Cura for optimized travel paths

2. Temperature Management
When we melt filament we reduce a solid to a liquid. The higher the temperature the more ‘liquid’ the filament becomes, this allows drips and these drips can create stringing.
Getting the temperature right is crucial:
- PLA: 180-220°C
- PETG: 220-250°C
- ABS: 210-250°C
- TPU: 210-230°C
Pro Tip: Use temperature towers to find the sweet spot for your specific filament.

3. Speed Optimization
Having a correct speed can help to eradicate stringing, if the nozzle moves too slow you can create a drag.
- Increase travel speed to 150-200 mm/s
- Balance print speed with temperature
- Consider implementing “wipe” and “coast” settings

4. Nozzle Maintenance
Nozzles can and will wear down over time, they can also develop anomalies which can create bad prints and you guessed it, stringing.
Regular nozzle cleaning is essential:
- Perform cold pulls
- Clean exterior with brass brush
- Replace worn nozzles
- Regular maintenance schedule

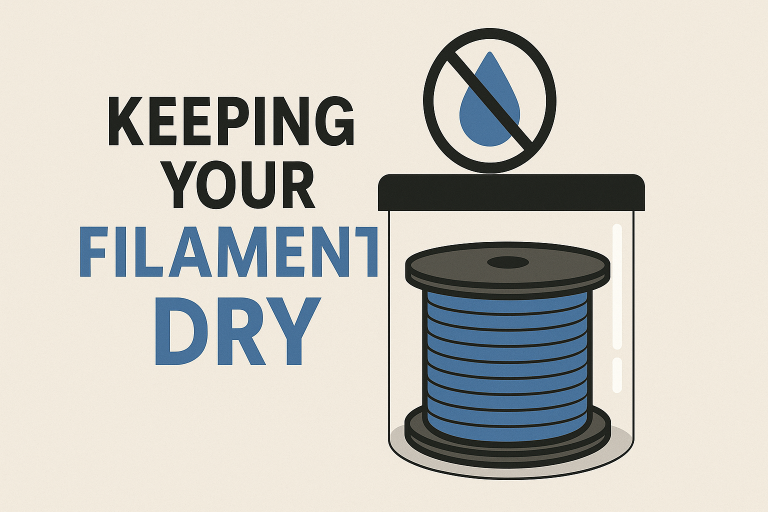
5. Filament Care
Often overlooked is the actual filament and the quality. The filament is naturally porous and will string when wet, so keep your filament dry.
- Store in airtight containers
- Use desiccant packets
- Consider a filament dryer
- Monitor humidity levels

Post-Processing Solutions
If you still end up with stringing, here are effective removal methods:
- Heat-Based Methods
- Heat gun technique
- Hair dryer for PLA
- Careful flame treatment
- Mechanical Removal
- Deburring tools
- Fine-grit sandpaper
- Precision tools
Final Words
Whether you’re thinking about getting into 3D printing as a hobby or looking to start a profitable side hustle, it never hurts to dial in your printer for the best possible results.
The journey to the perfect 3D print is ongoing, but hopefully, this article will help you get one step closer.
This page contains affiliate links and I earn a commission if you make a purchase through one of the links, at no cost to you. As an Amazon Associate I earn from qualifying purchases.