How to Use a 3D Printer to Repair Broken Items
The rise of advanced manufacturing methods has revolutionized how we approach repair and reuse. Among these methods, home 3D printing stands out as a cost-effective, practical solution for restoring damaged objects.
Whether it’s fixing a favorite toy, replacing a kitchen appliance part, or creating missing hardware for furniture, this technology provides unprecedented opportunities for at-home restoration.
By combining creativity and technical know-how, you can transform broken items into functional and even improved versions of their original form.
Key Points Covered
- Understand the basics of 3D printing and its role in repairs.
- Learn how to identify everyday items that can benefit from repairs.
- Discover the essential tools and software needed to design replacement parts.
- Follow a step-by-step guide for preparing, printing, and finishing restored items.
- Solve common printing issues to improve your success rate.
- Explore the environmental benefits of using this technology for sustainable repairs.
Getting Started with 3D Printing for Repairs
What is 3D Printing?
3D printing is a manufacturing process where objects are built layer by layer from a digital design. This method allows for precise, customizable shapes that would be difficult or impossible to achieve with traditional techniques.
Unlike conventional methods that often require molds or subtractive processes, this technique is highly adaptable, making it ideal for creating custom or one-off parts. For repairs, this adaptability means you can replicate or modify existing parts to fit specific needs.
Types of 3D Printers and Their Applications
Different types of printers cater to various requirements:
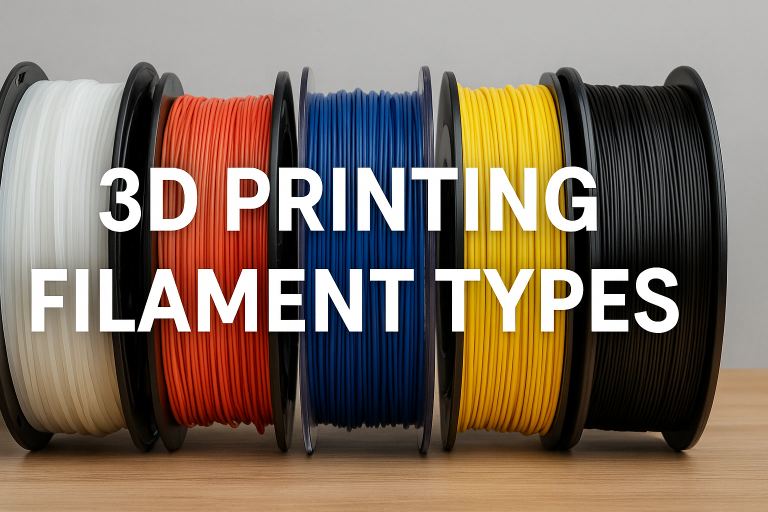
- Fused Deposition Modeling (FDM): Popular among hobbyists, FDM printers use filament materials like PLA or ABS, melting them layer by layer. This method is budget-friendly and versatile.
- Stereolithography (SLA): This method uses liquid resin hardened by a laser. It excels in producing highly detailed and intricate designs, making it ideal for small parts requiring precision.
- Selective Laser Sintering (SLS): By sintering powdered materials such as nylon, SLS creates robust, durable items, perfect for heavy-duty repairs.
Choosing the right printer depends on the complexity of your project and the durability required.
Everyday Items You Can Restore
Common Household Repairs
One of the most exciting aspects of this technology is its versatility. Here are some examples of items that can be repaired:
- Kitchen Appliances: Replace small yet crucial parts like knobs, handles, or blender gears.
- Toys: Broken limbs on action figures or intricate parts of model kits can be recreated with precision.
- Furniture Hardware: Missing screws, brackets, or even chair legs can be reprinted to save valuable pieces.
- Electronics: Repair battery covers, stands, and adapters for various devices.
Deciding Whether to Repair or Replace
Repairing is often the more eco-friendly and cost-effective option, especially for items that hold sentimental value or are otherwise irreplaceable. However, some considerations may guide your decision:
- Cost Analysis: If the repair costs exceed the value of the item, replacement might be more practical. Use our free 3d printing cost calculator to find out.
- Time Investment: Simple repairs often justify the time spent, whereas more complex projects require a commitment to design and test parts.
- Environmental Impact: Repairs reduce landfill waste and minimize resource consumption, making them a responsible choice.
Preparing for a 3D Printing Repair
Before diving into a repair project, careful planning and the right 3d printing tools are essential.
Gather Essential Tools
To ensure success, collect the following items:
- High-quality filament suited for your printer.
- Measuring tools such as calipers for precise dimensions.
- CAD (Computer-Aided Design) software for creating replacement parts.
- Adhesives or painter’s tape for securing the build plate.
- Maintenance tools like a nozzle cleaning kit to keep your printer in top shape.
Designing Replacement Parts
Creating a part that fits seamlessly into an existing item starts with accurate measurements. Using CAD software, such as Tinkercad, Fusion 360, or SolidWorks, you can draft detailed designs tailored to your project’s requirements.
- Measurement Precision: Use tools like calipers to measure dimensions accurately.
- Design Features: Incorporate additional functionality or reinforcements to improve upon the original.
- Simplify Where Possible: Overcomplicated designs may lead to printing errors.
Printing the Replacement
Preparing Your Printer
Setting up your printer correctly is the foundation of a successful repair:
- Level the build plate to ensure the print adheres properly.
- Load the filament carefully, ensuring it’s free from tangles.
- Preheat the nozzle and plate to the correct temperature for the material in use.
Printing Techniques for Strong, Functional Parts
Some adjustments can significantly improve the outcome of your prints:
- Layer Height: A smaller height increases detail but extends print time.
- Infill Density: Use higher density for stronger parts, particularly for load-bearing items.
- Supports: Add structures where overhangs are present, then remove them after printing.
Quality Control
Inspect each part to confirm it meets design specifications:
- Dimensional Accuracy: Compare printed dimensions to your original measurements.
- Surface Finish: Smooth any rough areas with sandpaper for a clean appearance.
- Durability Testing: Check whether the item performs well under normal usage.
Finishing and Customizing
Post-Printing Enhancements
After printing, take steps to refine your part:
- Remove Supports: Carefully detach support structures with pliers or craft knives.
- Sanding: Start with coarse sandpaper and gradually move to finer grit for a polished finish.
- Painting: Use spray paint or acrylics to match the original color of the object.
Adding Unique Features
One advantage of creating your own parts is the ability to customize. Whether it’s engraving your initials, adjusting dimensions for a better fit, or adding aesthetic flourishes, the possibilities are endless.
Troubleshooting Common Issues
No project is without challenges, but understanding how to address them can save time and materials:
- Layer Shifting: Ensure the build plate is stable and level.
- Filament Jams: Check the nozzle for blockages and clean it regularly.
- Bed Adhesion Problems: Apply adhesive or adjust the build plate temperature.
The Environmental Benefits of Repair
By extending the life of household items, 3D printing promotes sustainability:
- Reduced Waste: Fixing items eliminates the need to throw them away, decreasing landfill contributions.
- Resource Efficiency: Printing only what is needed conserves raw materials.
- Recycling Opportunities: Some filaments are made from recycled plastics, adding another layer of environmental responsibility.
Looking Ahead
Advancements in this technology show no signs of slowing down. Materials are becoming more robust, printers more accessible, and designs more intuitive. The growing integration of AI into design tools promises even greater customization and precision, making this method increasingly viable for a wide range of users.
This technology doesn’t just repair—it redefines the possibilities of what can be saved, restored, or improved.
By choosing to repair instead of replace, you’re not only preserving objects but also contributing to a more sustainable way of living.
Make sure to let us know what ou have managed to make over I our Facebook group or the dedicated 3d printing Discord server!
This page contains affiliate links and I earn a commission if you make a purchase through one of the links, at no cost to you. As an Amazon Associate I earn from qualifying purchases.