Best PETG Settings for Perfect Prints: Step by Step Guide
If you’ve been 3D printing with PLA for a while and you’re ready to try something a little more advanced, PETG is probably the next filament on your list. And for good reason, it’s one of the most popular materials among makers.
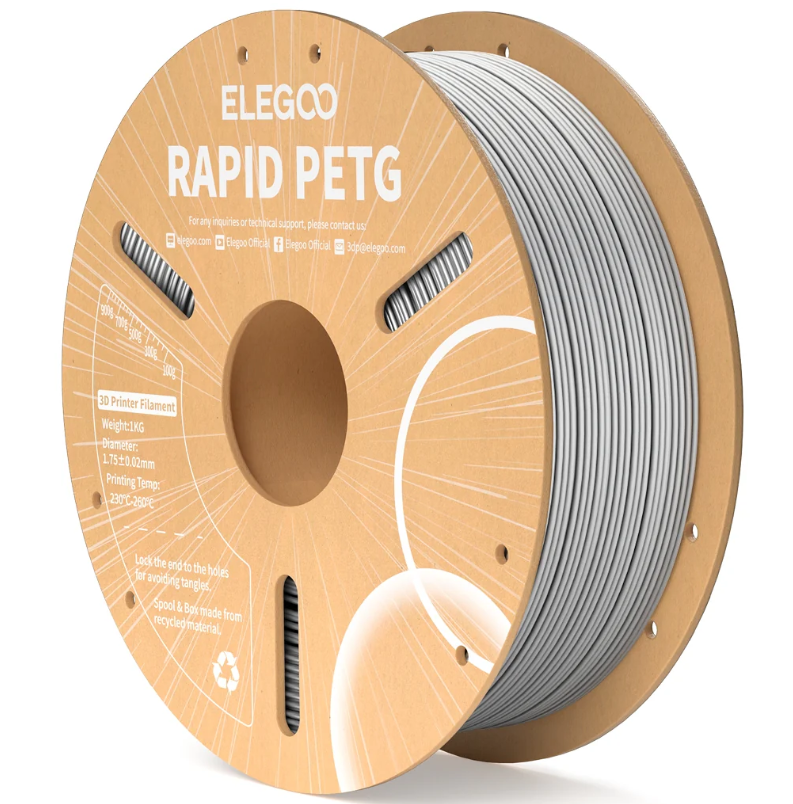
PETG (short for polyethylene terephthalate glycol) gives you the best of both worlds: it’s stronger and more durable than PLA, but easier to work with than ABS. On top of that, it has a little bit of flexibility, which means your prints can handle more stress without snapping. Think of PETG as the “tough but still friendly” option in the filament family.
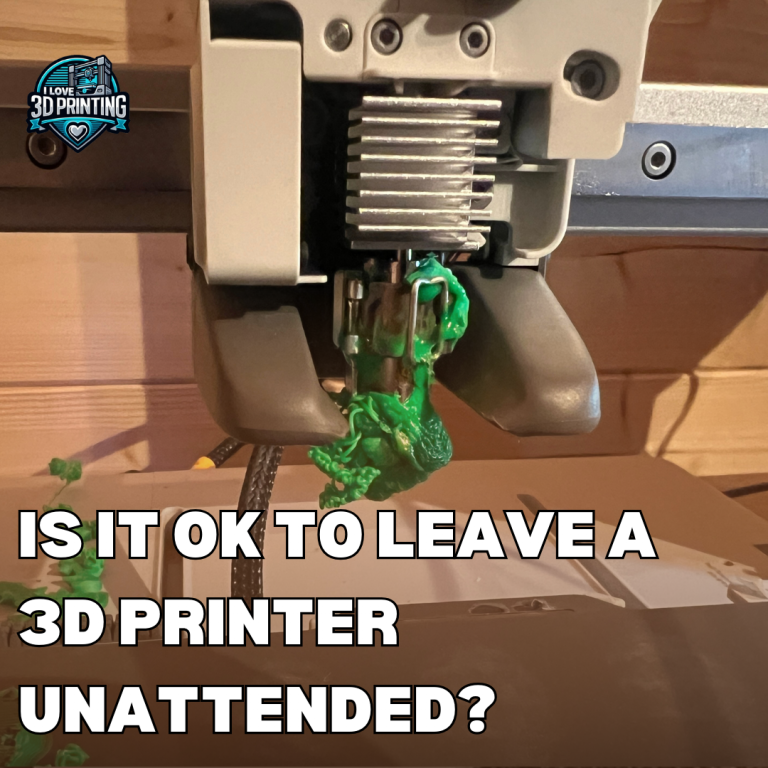
But like most filament there is a learning curve to PETG filament, you might have run into issues like stringing, poor bed adhesion that makes your first layers peel up, or messy bridging when your printer tries to span gaps. These problems are common, but the good news is, they’re fixable.
In this guide, I’ll walk you through the best PETG settings for temperature, speed, retraction, and more. By the end, you’ll know exactly how to dial in your slicer so you can get smooth, strong, and reliable prints with PETG every single time.
Why Choose PETG Over PLA or ABS?
Before we jump into the settings, let’s talk about why PETG is worth using in the first place. If PLA is the “easy-going” starter filament, PETG is like its older, tougher sibling, it can take more heat, more stress, and still look good doing it.
PETG compared to PLA:
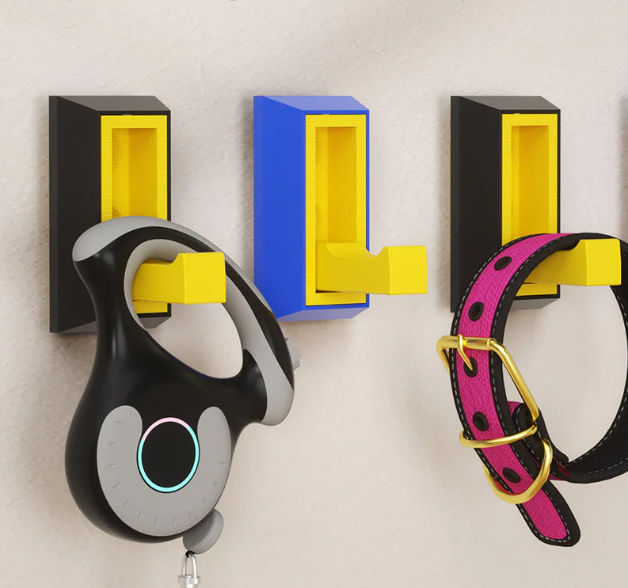
- PLA is great for beginners, but it can be brittle. Drop a PLA print and it might snap. PETG, on the other hand, has a little flex to it. That flexibility makes it much stronger for functional parts like brackets, tool holders, or anything that might get knocked around.
- PETG also handles higher temperatures than PLA, so if you leave a PETG part in a hot car or near a window in summer, it won’t warp as easily.
PETG compared to ABS:
- ABS is known for being strong and heat-resistant, but it can be a nightmare to print, warping, cracking, and filling your room with unpleasant fumes. PETG gives you almost the same toughness, but without the drama. It sticks to the bed more reliably and doesn’t require a fully enclosed printer.
- Plus, PETG has a glossy finish that many makers love, while ABS often needs post-processing to look good.
So, PETG hits a sweet spot: it’s tougher and more heat-resistant than PLA, but far easier to manage than ABS. That’s why it has become the go-to choice for people making functional prints that need to last.
Printer Preparation for PETG
Before you even hit that “print” button, a little prep work goes a long way with PETG. Think of it like cooking, cleaning your tools and setting up properly makes the whole job smoother.
1. Clean Your Nozzle
PETG is a bit sticky compared to PLA, and if there’s leftover filament in your nozzle, it can cause clogs or uneven extrusion. A quick cold-pull or a nozzle cleaning kit will keep things flowing smoothly.
2. Clean Your Print Bed
Bed adhesion is one of the biggest challenges with PETG. Finger oils, dust, or old glue can mess up that crucial first layer. Wipe your bed down with isopropyl alcohol (IPA) before each print, this simple step makes a huge difference.
3. Choose the Right Bed Surface
PETG loves to stick (sometimes too much). A PEI sheet, glass plate, or textured build surface usually works best. If your prints are sticking too well and you’re worried about damaging your bed, a thin layer of glue stick or hairspray can act as a release agent. That way, you get great adhesion during printing, but your part pops off easier once it cools.
If you have PETG stuck to your bed you should read this article – How To Remove PETG That is Stuck To Your Print Bed
We use a BIQU Cryogrip Frostbite and haven’t had a single bed adhesion problem, period.
4. Level Your Bed & Check Z-Offset
PETG needs a slightly higher first layer than PLA. If your nozzle is too close to the bed, PETG can weld itself onto the surface. Keep your first layer squish moderate, enough to stick, but not so much that it fuses permanently.
A well-prepped printer means fewer headaches later. Once your machine is ready, it’s time to dial in the best temperature settings for PETG.
Best Temperature Settings for PETG
Temperature makes or breaks a PETG print. Too hot, and you’ll get stringy, blobby parts. Too cold, and layers won’t bond properly, leaving your print weak. The trick is finding that sweet spot for your specific printer and filament brand.
Nozzle Temperature
- PETG usually prints best between 230°C and 250°C.
- Start around 240°C if you’re unsure, that’s the safe middle ground.
- If you notice lots of stringing or blobs, try lowering by 5°C.
- If layers aren’t sticking together or the print looks brittle, bump it up 5°C.
Signs Your Nozzle Temp Is Too Low:
- Weak layer adhesion (prints snap easily).
- Under-extrusion (gaps in walls or infill).
- Dull, rough-looking surfaces.
Signs Your Nozzle Temp Is Too High:
- Excessive stringing and oozing.
- Blobs or zits on the surface.
- Shiny, almost “wet” looking filament.
Hotend Cooling
Unlike PLA, PETG doesn’t love full-blast cooling. Too much fan can make layers separate. Keep your part cooling fan low, around 20–40% is usually ideal.
Every brand of PETG is slightly different, so don’t be afraid to run a temperature tower test. Spending 30 minutes testing now will save you hours of frustration later.
Next up, let’s look at the bed temperature, another big factor in getting PETG to stick (and stay stuck) to your build plate.
Best Bed Temperature for PETG
A solid first layer is everything when printing with PETG. Get your bed temperature right, and your print will stick beautifully. Get it wrong, and you’ll be chasing corners that lift up mid-print.
Bed Temperature Range
- PETG usually works best with the bed set between 70°C and 90°C.
- Start at 80°C if you’re not sure, most printers handle that well.
- If your part is lifting or warping, bump the bed temp up by 5°C.
- If your part is sticking too much (to the point it’s hard to remove), lower it a little or add a release layer like glue stick.
- If you are using a cool plate then you should be ok to operate at 35°C.
Tips for Strong First-Layer Adhesion:
- Make sure your bed is really clean (IPA wipe before every print).
- Add a brim in your slicer for parts with small footprints, it gives more surface area to hold onto the bed.
- PETG doesn’t shrink much, so warping is rare compared to ABS, but the right bed temp helps keep things flat.
Watch Out for Over-Sticking
PETG is famous for bonding too well to smooth glass or PEI sheets, sometimes pulling chunks out of your build surface when you remove it. To avoid this:
- Use a thin layer of glue stick or hairspray as a barrier.
- Personally I let the bed cool completely before trying to remove your print, PETG often pops off by itself once it’s cool.
Once you’ve nailed bed adhesion, you’re ready to fine-tune your print speed and cooling settings, which play a huge role in surface quality and strength.
Print Speed & Cooling
Once you’ve got your temperatures dialed in, the next piece of the puzzle is how fast you print and how much cooling you use. PETG behaves differently than PLA here, it prefers a more relaxed pace and gentle airflow.
Print Speed
- The sweet spot for PETG is usually 40-60 mm/s.
- Printing too fast can lead to poor layer bonding and messy surfaces.
- If you’re aiming for extra-strong functional parts, stick closer to 40 mm/s.
- For quick prototypes where looks don’t matter as much, you can push closer to 60 mm/s.
Cooling Settings
- Unlike PLA, PETG doesn’t need (or like) full fan power.
- Start with your part cooling fan around 20-40%.
- Too much cooling can cause weak layer adhesion or brittle prints.
- Not enough cooling can make overhangs sag or bridges look sloppy.
Pro Tip: Try running a bridging test with different fan speeds. You’ll often find that a little extra cooling helps bridges look sharper, while the rest of the print still benefits from low airflow.
By balancing a slower speed with just enough cooling, you’ll get smoother walls, stronger layer adhesion, and fewer print failures.
Next, let’s tackle one of the biggest headaches people have with PETG: retraction settings, your best defense against stringing.
Retraction Settings
If you’ve ever pulled a PETG print off the bed and found it covered in fine little webs, you’ve met the filament’s most famous quirk: stringing.
The good news? With the right retraction settings, you can tame those spiderwebs and keep your prints looking clean.
Retraction Distance
- For direct drive extruders: Start around 0.8-1.5 mm.
- For Bowden setups: You’ll need more, usually 4-6 mm.
- Too little retraction – lots of strings.
- Too much retraction – clogs or grinding filament.
Retraction Speed
- A safe range is 25-45 mm/s.
- Going too slow won’t pull back the filament fast enough.
- Going too fast can strip or chew up the filament.
Other Retraction Tips
- Enable “Combing” or “Avoid Crossing Perimeters” in your slicer-this reduces unnecessary travel moves that cause stringing.
- Turn on Z-Hop (around 0.2-0.4 mm) to prevent the nozzle from dragging across your print and leaving scars.
- If stringing still won’t go away, try lowering your nozzle temp in 5°C steps-it often helps.
Getting retraction right takes a little trial and error, but once dialed in, your PETG prints will come out much cleaner and require less post-processing.
Up next, let’s cover bed adhesion tips, so your prints stay firmly in place from the first layer to the last.
Bed Adhesion Tips
Bed adhesion can make or break your PETG prints. Too little, and corners lift or the whole print peels away. Too much, and you risk damaging your print surface when you try to remove it. The trick is finding that happy middle ground.
First Layer Settings
- A slightly thicker first layer (0.2-0.3 mm) gives PETG more room to “grab” the bed.
- Slow the first layer speed down to 20-30 mm/s for better accuracy.
- Bump the first layer flow rate up by 5-10% to help it stick firmly.
Adhesion Helpers
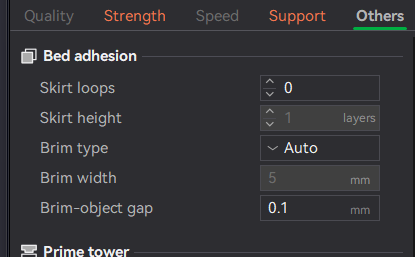
- Brim: Great for prints with small footprints-adds extra surface area.
- Raft: Not usually needed with PETG, but helpful if your bed isn’t perfectly level.
- Skirt: Doesn’t help adhesion, but primes the nozzle for a cleaner start.
Surface Prep
- Wipe with isopropyl alcohol (IPA) before every print-no shortcuts here.
- Apply a thin layer of glue stick or hairspray if you find PETG bonding too aggressively to glass or PEI. It acts as a release layer.
Pro Tip: Let the bed cool completely before removing your part. PETG often “pops” free once it reaches room temperature, saving you from wrestling with a scraper.
With these tweaks, your PETG prints will stay flat and secure while still coming off the bed without a fight.
Advanced PETG Settings
Once you’ve nailed the basics, a few advanced tweaks can really take your PETG prints from good to great. These adjustments aren’t always necessary for beginners, but they can make a huge difference when you’re chasing cleaner surfaces, sharper details, and stronger functional parts.
One area worth fine-tuning is your flow rate (also called the extrusion multiplier). PETG often extrudes a little more heavily than PLA, which can leave you with bulging walls or a slightly overstuffed look.
If this happens, try lowering your flow rate to around 95-98%. Always test with a small calibration cube first before making bigger changes, small tweaks here can go a long way.
Another trick is enabling Z-Hop, which tells the nozzle to lift slightly before moving across the print. A hop of about 0.2-0.4 mm is usually enough to prevent scratches and scars on the surface, especially for taller prints or designs that involve a lot of travel moves.
Paired with coasting and wiping settings available in most slicers, you can greatly reduce the blobs and zits PETG is known for.
While PETG doesn’t require an enclosure like ABS, printing inside one can help maintain stable temperatures and protect the print from drafts. This often improves layer adhesion on tall parts and results in smoother finishes.
Supports and bridging also deserve some extra attention. PETG tends to bond strongly to supports, so you may want to increase the support Z-gap or experiment with tree supports to make removal easier. And when it comes to bridging, adding a little extra fan speed, around 40-50% just for those sections, can help prevent sagging and give you cleaner results.
These advanced tweaks aren’t mandatory, but once you start experimenting, you’ll notice how much more control you have over the look and durability of your PETG prints.
Best Slicer Profiles & Resources
One of the easiest ways to save time when working with PETG is to start with a slicer profile that’s already been tested and tuned. Most popular slicers, like Cura, PrusaSlicer, and Bambu Studio, come with PETG presets built in.
These profiles are a great starting point because they include recommended temperatures, fan speeds, and retraction values that work well for most printers.
That said, every machine and filament brand is a little different, so think of these presets as a foundation rather than a final solution. After running a few prints, don’t be afraid to tweak the settings.
For example, if your Cura PETG profile defaults to 60 mm/s but you notice weak adhesion, you might slow it down to 45 mm/s. Or if your PrusaSlicer profile uses 100% fan but your layers look brittle, drop it down a little.
Many manufacturers also provide suggested settings on the filament spool or packaging, and those recommendations are worth checking. Community forums, Reddit threads, and 3D printing Facebook groups are also full of shared slicer profiles that you can download and test. It’s often faster to start from someone else’s tuned profile for your exact printer and filament brand, then make minor adjustments to suit your setup.
Conclusion
PETG can feel a little tricky at first, but once you dial in the right settings, it quickly becomes one of the most reliable and versatile filaments in your toolbox. With the right nozzle and bed temperatures, a steady print speed, and fine-tuned retraction, you’ll be rewarded with prints that are strong, flexible, and built to last. Add in some careful bed prep and the occasional advanced tweak, and you’ll find PETG opens the door to functional parts that PLA just can’t handle.
Like most things in 3D printing, success with PETG comes from experimenting and making small, thoughtful adjustments. Every printer and filament brand has its own personality, so don’t be afraid to run tests and take notes. The more you print, the better you’ll understand how PETG behaves on your setup.
If you’ve struggled with stringing, adhesion, or surface flaws in the past, I hope this guide gives you the confidence to try PETG again. With a little patience, you’ll get smooth layers, reliable adhesion, and strong, professional-looking results.
Feel free to join the community on Facebook or in the Discord server!
This page contains affiliate links and I earn a commission if you make a purchase through one of the links, at no cost to you. As an Amazon Associate I earn from qualifying purchases.


