How to Manually Tram (Level) Your 3D Printer Bed
Why Manual Bed Tramming Matters
If your first layer is not sticking well or you notice uneven extrusion across the bed, the problem is often a misaligned build surface. Manual bed tramming, also called manual bed leveling, ensures that the nozzle is the correct distance from the bed across its entire surface. A well-leveled bed helps your first layer adhere smoothly and evenly. It reduces common problems like uneven extrusion, corners that are too squished, or gaps in outlines. It improves consistency and reduces failed prints. Even printers with automatic leveling benefit from a solid manual baseline.
Tools You Will Need
To get started, you only need a few basic tools: a sheet of regular printer paper (about 0.1 mm thick), the Allen keys or wrenches that came with your printer, and optionally a feeler gauge if you want extra precision. Good lighting and a little patience also help.
Step One: Home the Printer
Begin by homing the printer so the nozzle and bed return to their starting position.
Step Two: Preheat the Bed and Nozzle
Preheat the bed and nozzle to your normal printing temperatures, as thermal expansion affects accuracy.
Step Three: Position the Nozzle at Each Corner
Move the nozzle to each corner of the bed, such as the front left, front right, back left, back right, and, if possible, the center. Place a sheet of paper between the nozzle and the bed and gently slide it back and forth. You should feel slight resistance: too loose means the nozzle is too far away, and too tight means it is too close.
Step Four: Adjust the Bed Screws
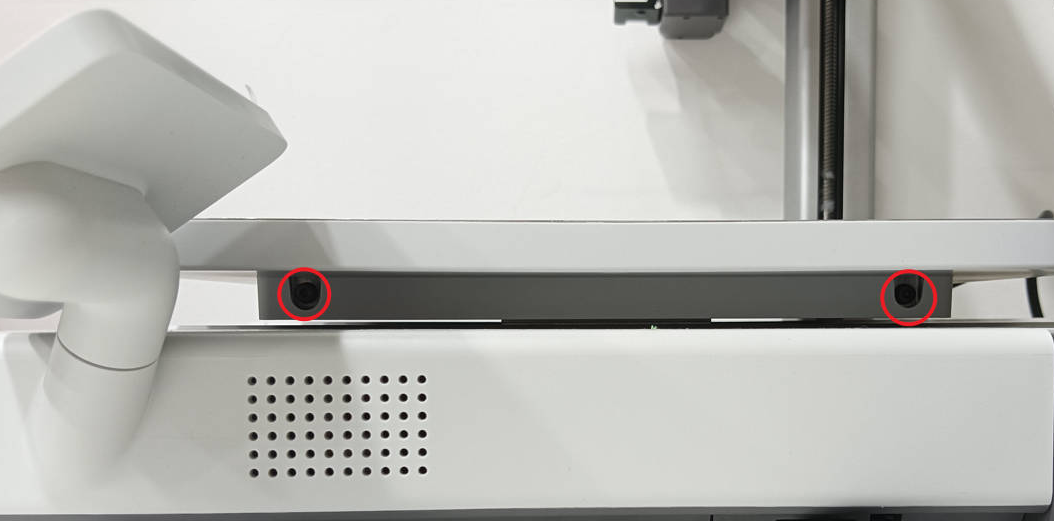
Each corner has an adjustment knob underneath. If the nozzle is too far from the bed, tighten the knob to lower that corner. If the nozzle is too close, loosen the knob to raise it. After adjusting, return to all corners and check again since one adjustment can affect the others. Repeat until the paper feels consistent at every point. If your printer allows, move the nozzle to the middle of the bed and test there as well. Some beds naturally dip or warp slightly, and a center check helps you correct for that.

Step Five: Fine-Tune During the First Layer
When you start your next print, watch the first layer closely. If the lines look too squished, the nozzle is too close. If the lines are thin or not sticking, the nozzle is too far away. Many printers allow you to adjust the Z-offset during printing, which is a great way to fine-tune without stopping the job.
Extra Tips for Better Leveling
Work slowly and make small adjustments to avoid overcorrecting. Always level while the printer is at printing temperature. Use a flat build surface like glass, MIC6 aluminum, or PEI for more reliable results. Check your leveling regularly since vibration and use can shift it over time. Once you find the perfect settings, note the screw positions so you can return to them later. If you want even more precision, consider using feeler gauges instead of paper.
Why Tramming Is Crucial for High-Speed Printers
Manual tramming is especially important for high-speed or multi-material printers. These machines demand higher precision, and even a small tilt becomes obvious at faster speeds or thinner layers. Giving the automatic leveling system a solid manual baseline helps it perform more accurately and improves print quality.
Final Thoughts
Manual bed tramming is one of the most valuable skills in 3D printing. With patience, a piece of paper, and careful adjustments, you can create a perfectly even first layer that supports smoother prints and fewer failures.
✅ Looking for more beginner guides? Visit 3d printing tips for more step-by-step tutorials.
If you require more help try refereeing to the Bambu Labs Wiki.
This page contains affiliate links and I earn a commission if you make a purchase through one of the links, at no cost to you. As an Amazon Associate I earn from qualifying purchases.


