How To Remove PETG That Is Stuck To Your Build Plate
How to Remove Stuck PETG Prints from Your Build Plate
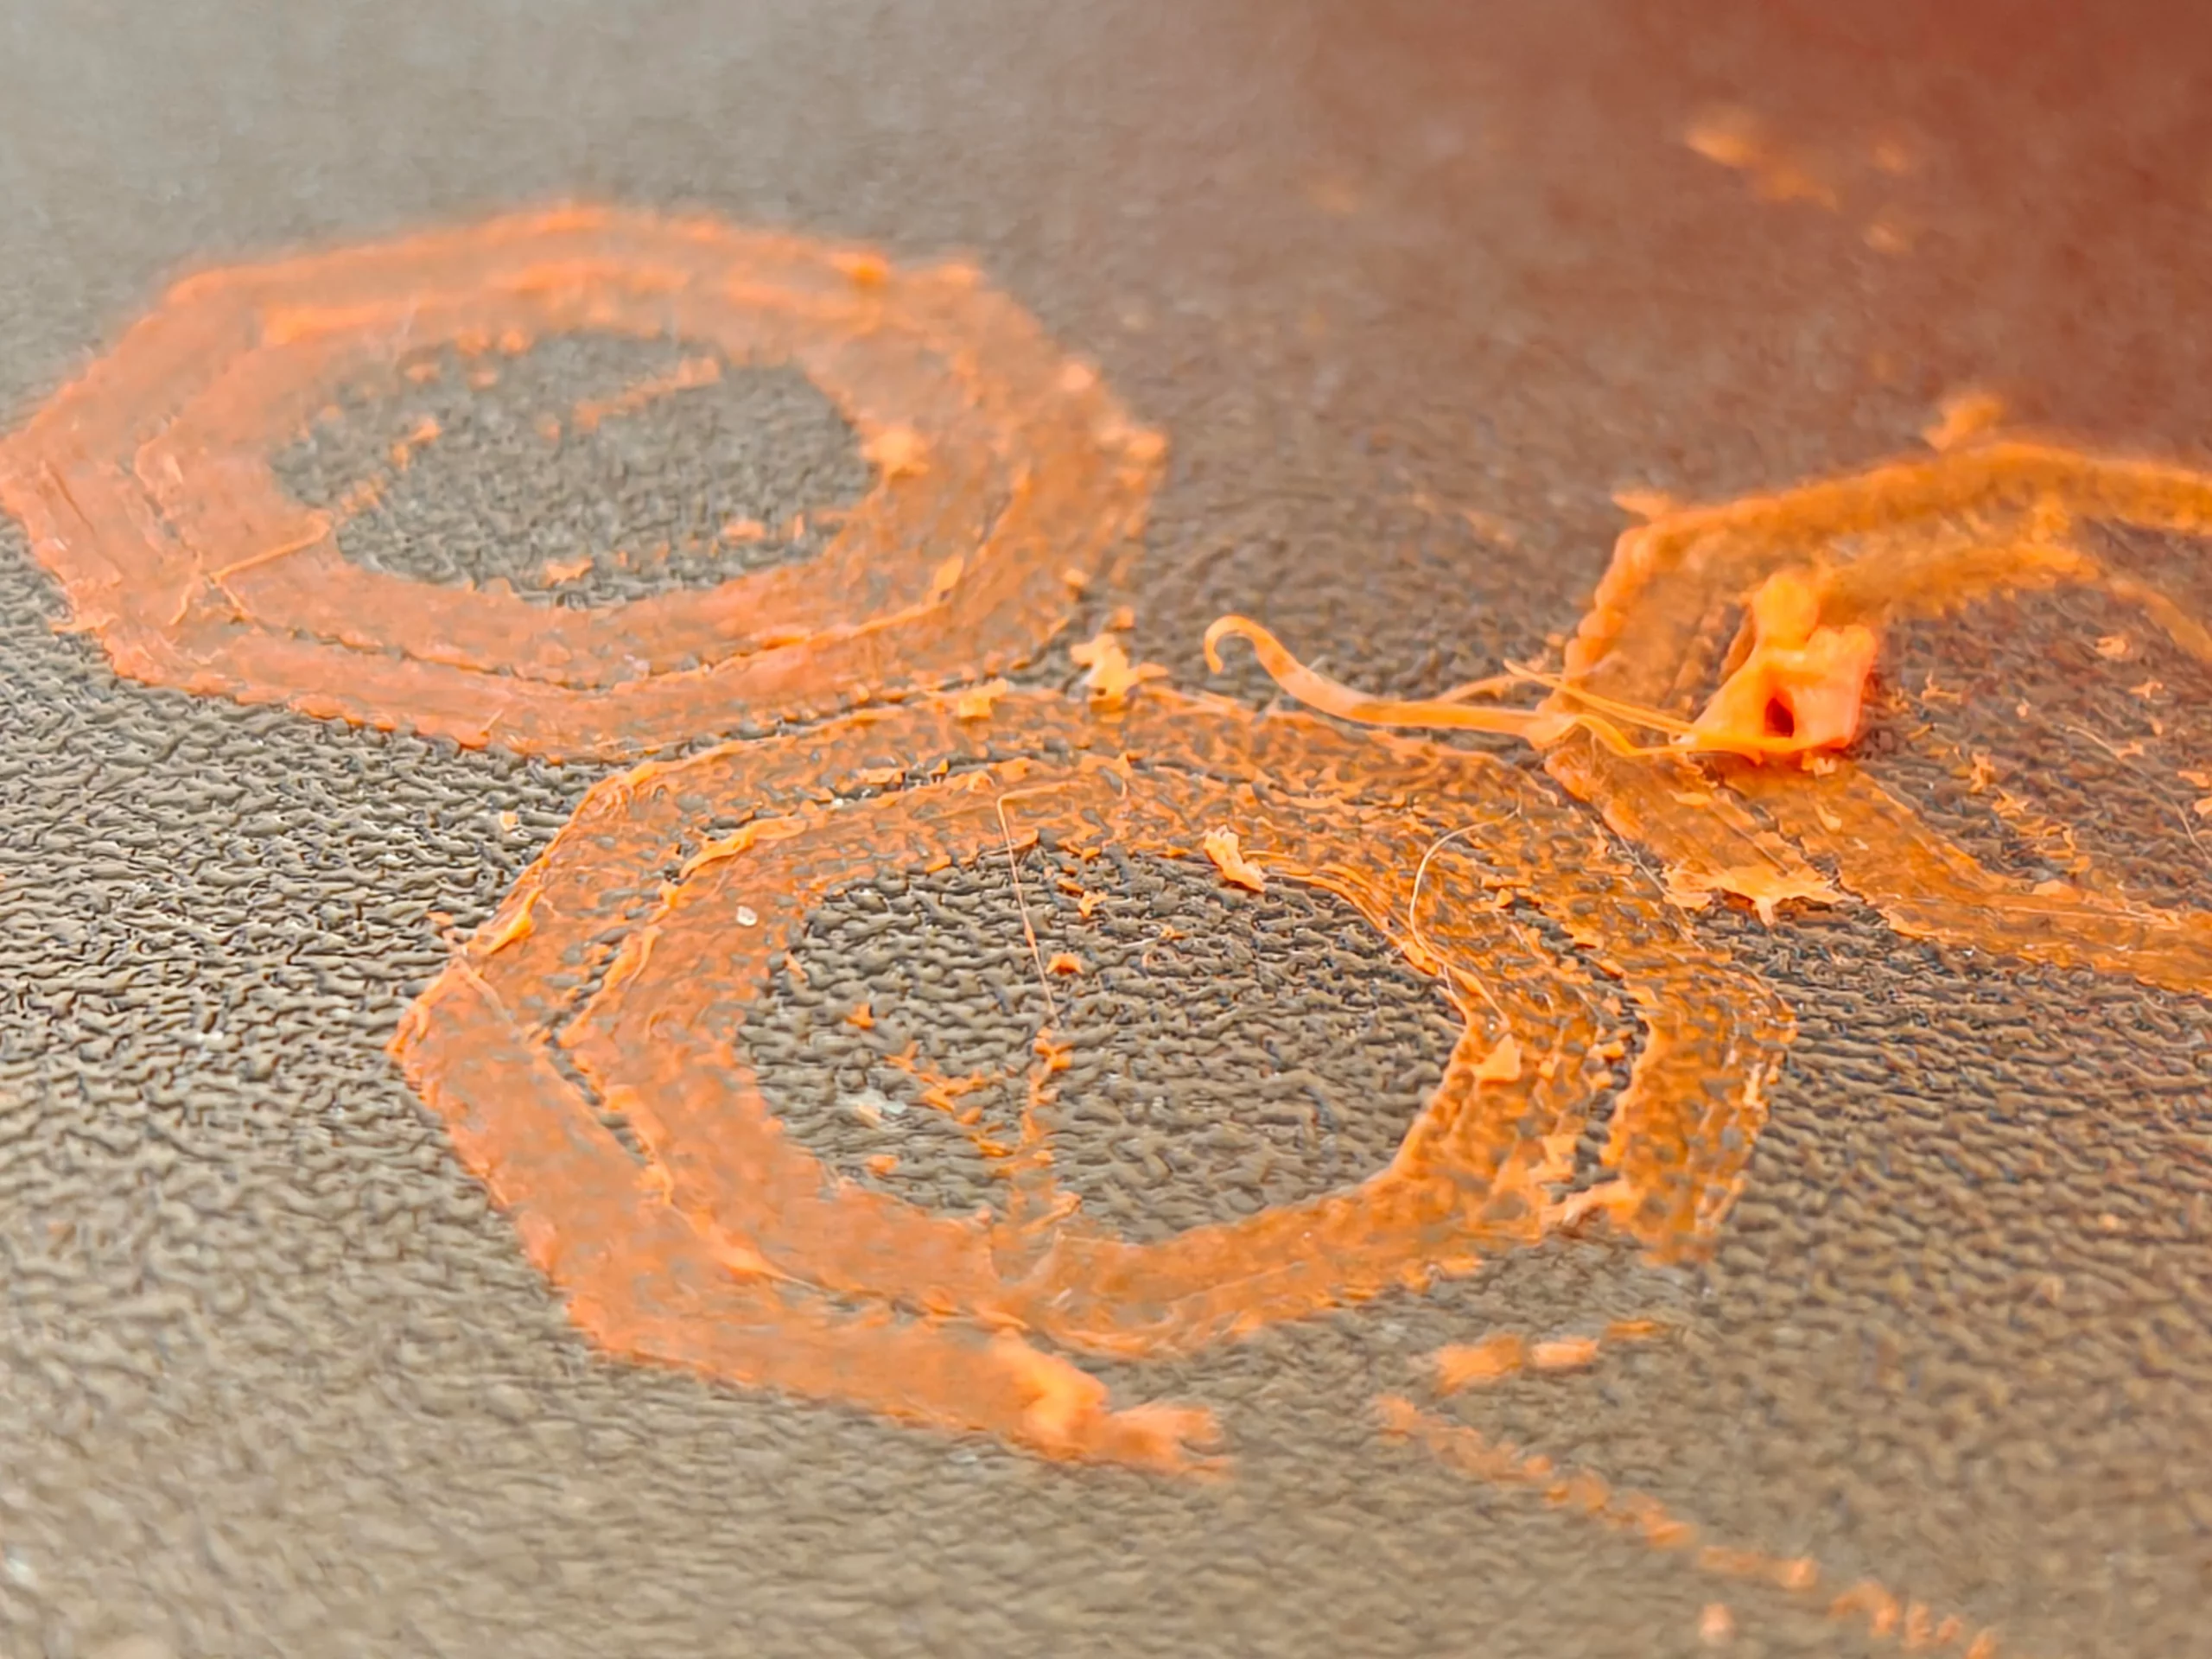
When a 3D Printer extrudes PETG, the melted filament solidifies and often forms a very strong bond. This adhesion helps ensure the print won’t shift mid-print, but it can also make removal difficult and risk damaging the build plate or the printed part. Below are effective removal methods options that often incorporate heat, solvents, or a scraper (spatula) all while minimizing damage and ensuring user safety throughout.

1. Temperature Cycling
- Cooling
- When the printing is finished, let the build plate cool to room temperature. If you need further contraction, place the entire plate (with print still attached) into a refrigerator or freezer for about 20 minutes. This extra cooling often causes the PETG to shrink slightly, loosening its grip since the heat influences the adhesion of PETG.
- Heating
- Conversely, gently reheating the build plate to around 70°C can soften the PETG and help separate it more easily. The idea is that a mild temperature increase causes the print to be pliable enough for lifting, yet not so hot that it warps or permanently deforms.
- Caution: Use safety gear to protect yourself as the build plate will be hot, so use heat-resistant gloves when handling a warm build surface.
2. Mechanical Assistance
- Use of a scraper (Spatula)
- Inserting a thin, flat scraper or spatula under the edge of the print can help lift it off. Because metal scrapers can be effective at removing PETG , it’s important to be gentle to avoid damaging the build plate.
- Tip: A rigid metal scraper can scratch certain surfaces, so consider a plastic one or use a careful and slow technique. Make sure the angled edge is facing upmost.
- Dental Floss
- Sliding dental floss beneath the print and using a gentle “sawing” motion can achieve a similar effect without direct contact from a hard tool. Floss is less likely to scratch the build plate.
- Why it works: This is a technique that leverages tension to separate PETG from the surface with minimal risk.
3. Solvents for Loosening the Bond
- Isopropyl Alcohol (IPA)
- Applying a small amount of IPA around the base weakens the bond since it can weaken the bond of PETG . It can also dissolve leftover adhesive (e.g., glue stick residue), making removal easier.
- Allow the IPA to soak for a minute or two before using a scraper or other method to lift the print.
- Note: Always confirm you can use solvents on your build plate safely. Some coated surfaces can degrade under strong chemicals. Also, wear safety gear to protect against fumes or spills.
Preventive Measures to Avoid Excessive Sticking
1. Bonding Agent as a Release Layer
- Glue Stick or Hairspray
- A thin coating on the build plate ensures good initial grip without making the bond too strong. This way, the PETG should have a hard time sticking.
- Using these products helps the part detach more easily after printing—effectively reducing the force needed.
2. Selecting the Right [ Build Plate ] Surface
- Avoid Printing Directly on Glass
- Glass can cause excessively strong adhesion with PETG, risking cracks or chips (i.e., using force with a scraper).
- PEI sheets or specialized coatings usually provide a more controlled bond or can be used with a bonding agent to regulate sticking.
3. 3D Printer Calibration
- Adjust Z-Offset
- Ensuring the first layer is not pressed too firmly against the build plate is crucial; if the nozzle is too close, it can over-squish the filament, making removal more difficult.
- Correct Z-offset calibration means the 3D printer heats the build plate at just the right temperature for solid adhesion but easy release.
Conclusion
By using temperature cycling, mechanical assistance, or solvents, you can effectively manage how PETG adheres to the build plate, and reduce the chance of damage. Combine these steps with preventive practices like applying the right bonding agent and calibrating your 3D printer, and you’ll experience smoother PETG removals while extending the life of your printing surface. Throughout the process, remember that safety gear should be worn to help protect against the heat, sharp tools, and chemical exposure.
References:
- Reddit user experiences (reddit.com)
- Wevolver guides (wevolver.com)
- Forum discussions (forum.bambulab.com, 3dprintingspace.com)
This page contains affiliate links and I earn a commission if you make a purchase through one of the links, at no cost to you. As an Amazon Associate I earn from qualifying purchases.