Troubleshooting Bottom Layer Issues with 3D Prints: Tips for Smoother Results
If you’ve ever found your bottom layers looking rough or uneven after removing supports, you’re not alone. One common question many 3D printing enthusiasts have is: How can I make my prints look smoother, especially on the bottom layers? Here are some community-proven tips and tricks to help you achieve cleaner results without having to spend too much time sanding or polishing.
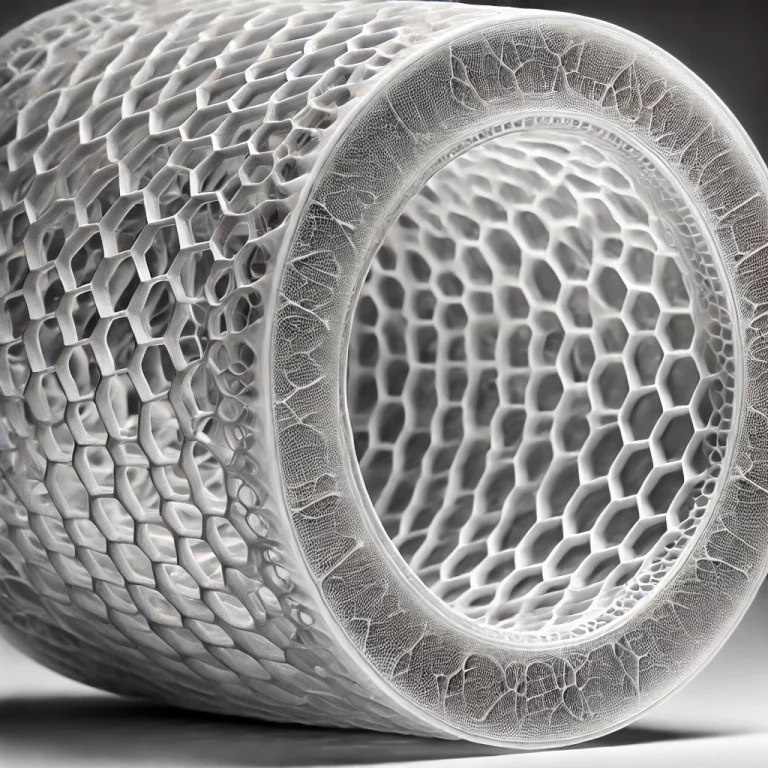
Rough 3D Printed Bottom Layer
The rough texture on the bottom layers of your 3d print is often due to the gap left between the support material and the actual print. When supports are used, there’s typically a small gap that allows them to be easily removed. Unfortunately, this gap can also leave behind an uneven surface, making the bottom layer look messy.
This isn’t so much of a problem for prototyping, but when you are looking to have your prints on display or even looking to sell your 3d prints then having a perfect bottom layer is important.

Tips to Reduce Bottom Layer Imperfections
Here are some practical ways to improve the smoothness of your bottom layers and minimize the impact of support material:
- Adjust the Support Gap
- Reduce the Gap: You can fine-tune the gap between the support and your print to be smaller. Keep in mind, however, that reducing this gap might make it more difficult to remove the supports. Experiment with small changes until you find the balance between ease of removal and 3d print quality.
- Re-orient the Model
- Model Orientation: One of the simplest ways to reduce the need for supports is to change how your model is positioned in the slicer. Try to orient the model in such a way that minimizes the need for support material. For example, positioning the larger flat surface directly on the print bed can lead to better surface quality and reduce the need for supports.
- Design for Printing: If it’s your own design, consider modifying the model to avoid steep overhangs. Designing for FDM (fused deposition modeling) printing can reduce the need for supports, which often leads to a cleaner final result.
- Strategic Support Placement
- Partial Support Usage: Sometimes, reorienting your model will still leave a few areas that require support. In such cases, you can use supports selectively. Adding supports only to areas that absolutely need them (such as intricate overhangs) can minimize their impact on the final look of your print. One user suggested printing a part upside down or with minimal supports to make it look much cleaner while still being structurally sound.
- Calibrate Your Printer
- Calibrate Esteps: Uneven extrusion can also contribute to imperfect bottom layers. Make sure your extruder steps (esteps) are properly calibrated. Incorrect calibration can cause under-extrusion, which results in poor layer adhesion and rough surfaces.
- Use Appropriate Settings
- Support Interface and Density: Adjusting the support interface thickness (e.g., setting it to 0.24mm) and increasing the support density can lead to cleaner separation lines between the supports and the print itself. It might take some trial and error, but playing around with these settings could be the key to a smoother finish.
Balancing Strength and Appearance
One Reddit user pointed out an important trade-off to consider: orientation can affect the strength of the print. If you reorient a model to improve the bottom layer finish, it might impact how the part handles stress. For example, layers printed perpendicular to the model’s primary axis can make it more prone to snapping. If strength is critical, you may need to find a compromise between surface finish and durability.
Final Thoughts
Bottom layer imperfections are a common issue, but there are several ways to tackle them. Start by experimenting with model orientation, fine-tuning support gaps, and calibrating your printer. Each print is unique, so a combination of these methods might be needed to get the best results. While sanding is always an option for a polished look, applying these techniques can save you time and effort, leading to cleaner prints right off the bed.
This page contains affiliate links and I earn a commission if you make a purchase through one of the links, at no cost to you. As an Amazon Associate I earn from qualifying purchases.